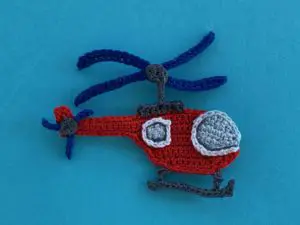
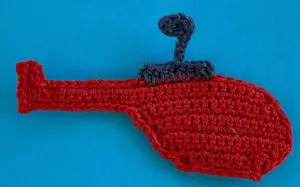
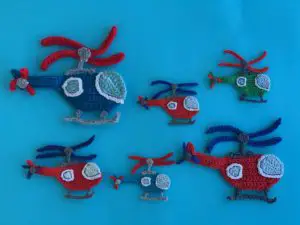
Welcome to my crochet helicopter pattern. This is another request that I received. This is what the finished helicopter applique will look like.
There’s also a video tutorial for this pattern available on my YouTube channel at crochet helicopter tutorial.
To view this pattern for free, continue to scroll down this page. If you would like to download the ad-free version, it’s available on my Ravelry store for $1 at crochet helicopter pattern and on LoveCrafts at crochet helicopter pattern.
This pattern will be using UK terminology. If you would like to view the US version go to crochet helicopter pattern (US version).
Crochet Helicopter Pattern
Abbreviations
- st – stitch
- sts – stitches
- ch – chain
- sl st – slip stitch
- dc – double crochet
- htr – half treble crochet
- tr – treble crochet
- dtr – double treble crochet
Materials Used
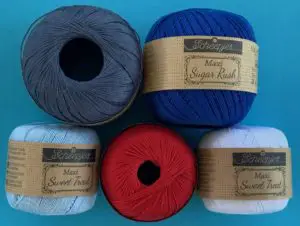
- Crochet cotton or wool, I used Scheepjes Maxi Sugar Rush or Maxi Sweet Treat 2 ply crochet cotton colours (115) Hot Red, (201) Electric Blue, (393) Charcoal, (173) Bluebell and a tiny bit of (106) Snow White for around the windows if desired.
- A crochet hook, I used a 1mm hook.
- Scissors.
- Darning needle to weave in ends.
- Sewing thread and needle to stitch the helicopter together.
Size
Large helicopter (Using 8 ply yarn & a 3mm hook)
14.5cm x 12cm or 5.5” x 4.75”
Medium helicopter (Using 4 ply crochet cotton & a 1.5mm hook)
10cm x 8cm or 4” x 3”
Small helicopter (Using 2 ply crochet cotton & a 1mm hook)
8cm x 5.5cm or 3” x 2”
Body
Using (115) Hot Red make a magic loop.
Row 1: 1 ch, work 1 dc in circle. Pull circle tight. Turn.
Row 2: 1 ch, work 1 dc in st. Turn.
Row 3: 1 ch, work 1 dc in st. 26 ch.
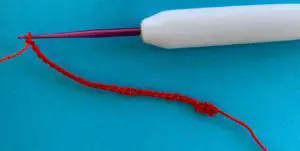
Row 4: Work 2 dc in 2nd ch from hook, 1 dc in each remaining ch and bottom of row 3. Turn. (27 sts)
Row 5: 1 ch, work 1 dc in each st to last st, 2 dc in last st. Turn. (28 sts)
Row 6: 2 ch, work 2 htr in 1st st, 1 dc in each of next 15 sts. Turn. (17 sts)
Row 7: 1 ch, work a joined dc over 1st 2 sts, 1 dc in each st to last st, 2 dc in last st. Turn. (17 sts)
Row 8: 1 ch, work 2 dc in 1st st, 1 dc in each st to last 2 sts, a joined dc over last 2 sts. Turn. (17 sts)
Row 9: 1 ch, work 1 dc in each st. Turn. (17 sts)
Row 10: 1 ch, work 1 dc in each st. Turn. (17 sts)
Row 11: 1 ch, work a joined dc over 1st 3 sts, 1 dc in each st to last 3 sts, a joined dc over last 3 sts. Turn. (13 sts)
Row 12: 1 ch, work a joined dc over 1st 3 sts, 1 dc in each st to last 3 sts, a joined dc over last 3 sts. Turn. (9 sts)
Row 13: 1 ch, work a joined dc over 1st 2 sts, 1 dc in each st to last 2 sts, a joined dc over last 2 sts. Don’t turn or fasten off.
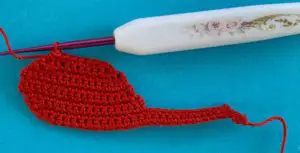
Neatening Row
1 ch, work 1 sl st in each st around. Fasten off.
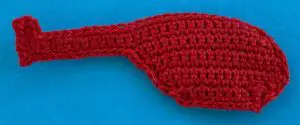
Back Window
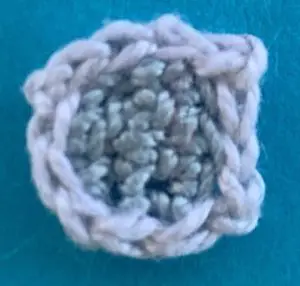
Using (173) Bluebell work 4 ch.
Row 1: Work 1 dc in 2nd ch from hook, 1 tr in next st, 1 dc in last st. Turn. (3 sts)
Row 2: 1 ch, work 1 dc in each st. Turn.
Row 3: 1 ch, work 1 dc in each st. Fasten off.
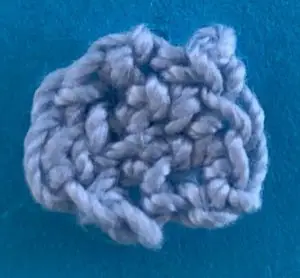
Neatening Row
Join (106) Snow White to any stitch.

Work 1 sl st in each st around. Fasten off.
Front Window
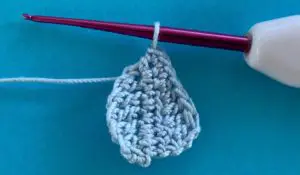
Using (173) Bluebell work 8 ch.
Row 1: Work 1 dc in 2nd ch from hook, 1 htr in next st, 1 tr in following st, 1 dtr in next st, 1 tr in following st, 1 htr in next st, 1 dc in last st. Turn.
Row 2: 1 ch, work 2 dc in 1st st, 1 dc in next st, 1 htr in each of following 2 sts, 1 tr in next st, a joined tr over last 2 sts. Turn.
Row 3: 3 ch, work a joined tr over 1st 2 sts, 1 tr in next st, 1 htr in each of following 2 sts, 1 dc in next st, 2 dc in last st. Don’t turn or fasten off.
Neatening Row
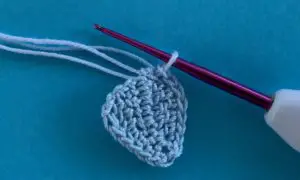
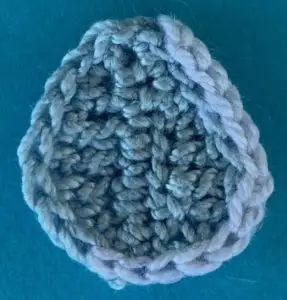
Work 1 sl st in each st to beginning of row 1, join in (106) snow white and work 1 sl st in each st to beginning of row. Fasten off.
Main Rotor Blades
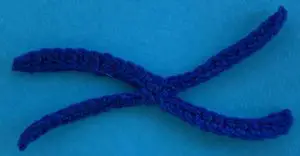
Using (201) Electric Blue make a magic loop.
(13 ch, 1 dc in 2nd ch from hook, 1 htr in each of next 7 sts, 1 dc in each remaining ch, sl st in circle) 2 times, 1 dc in circle (13 ch, 1 dc in 2nd ch from hook, 1 htr in each of next 7 sts, 1 dc in each remaining ch, sl st in circle) 2 times, 1 dc in circle. Pull circle tight and Fasten off.
Rotor Mast
Join (393) Charcoal 4 sts along top of cab where shown.
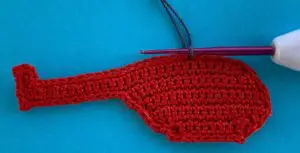
2 ch, work a joined htr over same st as ch and next st, 1 htr in each of next 5 sts, a joined htr over following 2 sts. Fasten off.
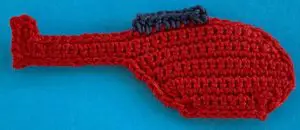
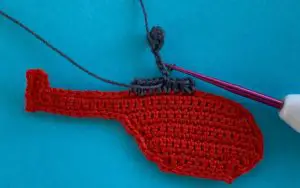
Using (393) Charcoal make a magic loop.
1 ch, into circle work 1 dc, 1 tr, 2 dc, 1 tr and 1 dc, pull circle tight and join with a sl st in top of 1st st. 4 ch, join to middle of rotor mast with a sl st, 1 sl st in each ch, sl st in next st in the side of circle. Fasten off.
Tail Rotor
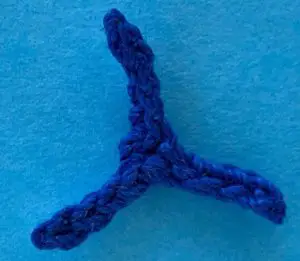
Using (201) Electric Blue make a magic loop.
(5 ch, miss 1st ch and work 1 sl st in each remaining ch, sl st in circle) 3 times. Pull circle tight and fasten off.
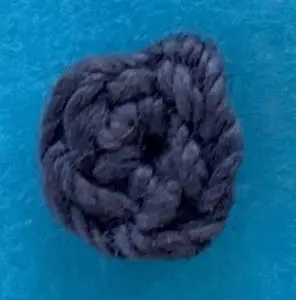
Using (393) Charcoal make a magic loop.
1 ch, work 5 dc in circle, pull circle tight and join with a sl st in top of 1st st. Fasten off.
Skid Tops
Work 1 on 1st st and 1 on last st of flat part of bottom of cabin.
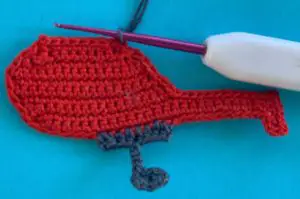
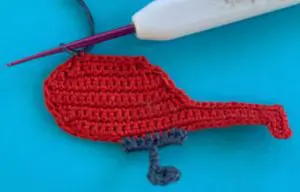
Join (393) Charcoal to st. 3 ch. Miss 1st ch, work 1 sl st in each remaining ch. Sl st in same st as join. Fasten off.
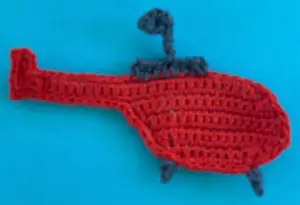
Skid
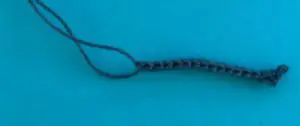
Using (393) Charcoal work 18 ch.
Work 1 sl st in 2nd ch from hook, a joined dc over next 2 sts, 1 sl st in each remaining ch. Fasten off leaving a long tail to stitch it to the skid tops.
To Make Up
Weave in ends. Stitch the front window to the front of the cabin where shown, I used grey cotton and worked a line of stitching on the outside of the light blue from where the window met the edge.
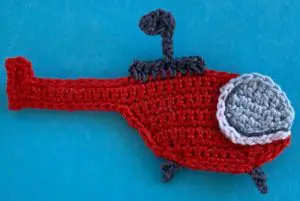
Attach the back window to the cabin with a line of grey stitching.
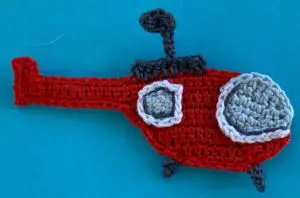
Sew the tail rotor to the back of the tail.
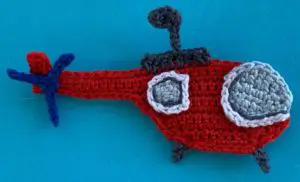
Stitch the small grey circle over the top of the middle of the tail rotor.
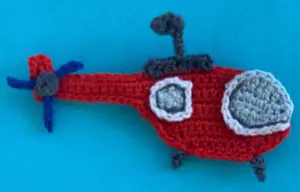
Attach the main rotor blades in behind the circle at the top of the rotor mast.
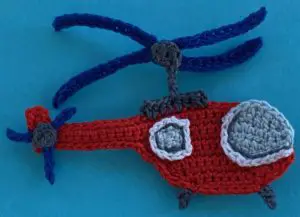
Sew the skid to the skid tops.

And there’s the finished helicopter applique. I’ve also made it in different sizes and colours.
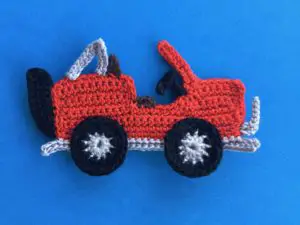
I hope that you’ve enjoyed the pattern. If you’ve liked it, you may want to look at some of my other patterns including the crochet motorbike, the convertible car, the crochet airplane pattern, the log truck and the jeep pattern.
