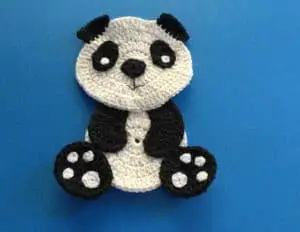
I will be making a cute panda crochet applique today. The panda will look like this.
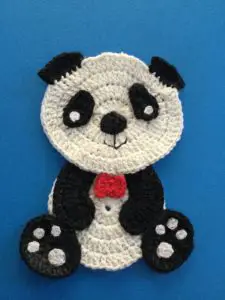
If you would like to get a tutorial you can follow along with my video guide on how to make this panda at the Sitting Panda Crochet Pattern Tutorial.
This pattern will be using US terminology, so if you would like to get the UK version go to Sitting Panda Crochet Pattern (UK Version).
Sitting Panda Crochet Pattern US
Abbreviations
- st – stitch
- sts – stitches
- ch – chain
- sl st – slip stitch
- sc – single crochet
- hdc – half double crochet
- dc – double crochet
- tr – treble crochet
Materials Used
- Small amounts of black and white cotton or wool.
- Thin white cotton or felt circles.
- Crochet hook.
- Scissors.
- Thread to sew together.
- Sewing needle.
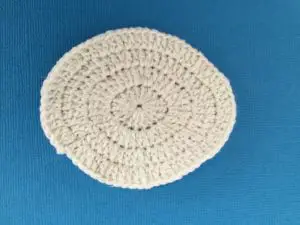
Head
Make a magic loop.
Row 1: 4 ch, 1 tr, 6 dc, 3 tr, 6 dc, 1 tr, pull loop tight and join with a sl st in 4th ch.
Row 2: 4 ch, 1 tr in same place as ch, 2 tr, in next st, 2 dc in each of next 6 dc, 2 tr in each of next 3 tr, 2 dc in each of next 6 dc, 2 tr in next tr. Join with a sl st in 4th ch.
Row 3: 4 ch, 1 tr in same st, 1 tr in next st, 2 tr in following st. then 1 tr in next tr, (2 dc in next st, 1 dc in each of next 2 sts) 4 times, (2 tr in next st, 1 tr in next st) 3 times, (2 dc in next st, 1 dc in each of next 2 sts) 4 times, (2 tr in next st, 1 tr in next st. sl st into 4th ch.
Row 4: 3 ch, (1 dc in each of next 2 sts, 2 dc in next st) repeat around. Join with a sl st. in 3rd ch. Fasten off.
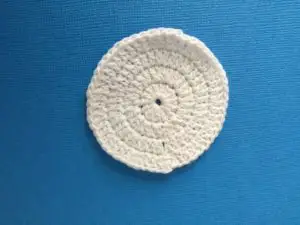
Body
Make a magic loop.
Row 1: 3 ch. Work 14 dc into loop and pull tight. Slip st. into 3rd ch.
Row 2: 3 ch. 1 dc in same place. Work 2 dc into each dc. Join with a sl st in 3rd ch.
Row 3: 3 ch. *Work 1 dc in each of next 2 dc and 2 dc in following dc, * repeat from * to * to end, sl st. in 3rd ch.
Row 4: 3 ch. *Work 1 dc in each of next 2 dc and 2 dc in following dc, * repeat from * to * to end, sl st. in 3rd ch. Fasten off.
1st Arm
10 ch.
Row 1: 1 dc in 4th ch from hook, 2 dc in each of next 2 ch, 3 tr in next st, 2 tr in each st to last ch, 3 tr in last st, 4 ch, sl st in same st,
Row 2: 1 ch, 1 sc in next st, 1 joined sc over next 2 sts, sc in each st around to beginning of row, join with a sl st into 1st sc. Fasten off.
2nd Arm
11 ch.
Row 1: 3 tr in 5th st from hook, 2 tr in next ch, 3 tr in next st, 2 tr in next st, 2 dc in each st to end.
Row 2: 1 sc around but working a joined sc where the arm curves in as shown. Fasten off.
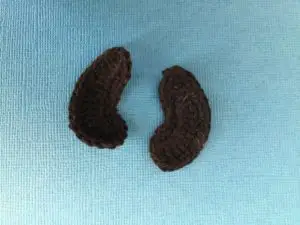
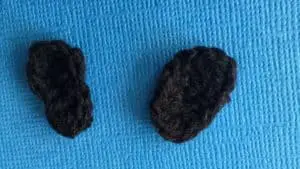
Eyes (Make 2)
8 ch, 4 tr in 5th ch from hook, 1 hdc in each of next 2 sts, 3 hdc in next st, 1 hdc in back of next 2 ch, sl st in 4th ch. Fasten off.
Nose
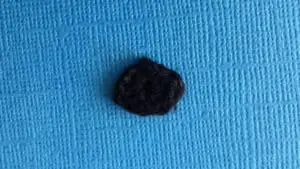
Make a magic loop.
1 ch, 1 sc, 1 hdc, 1 dc, 1 hdc, 1 sc, 1 hdc, 1 dc, 1 hdc, 1 sc, sl st in ch. Pull loop tight. Fasten off.
Foot (Make 2)
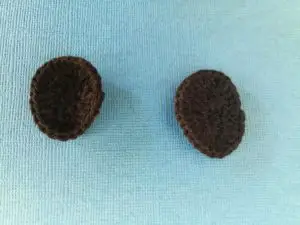
Row 1: 8 ch, 4 tr in 5th ch from hook, 1 hdc in each of next 2 sts, 3 hdc in next st, 1 hdc in back of next 2 ch, sl st in 4th ch.
Row 2: 3 ch, 1 dc in same place as ch, 2 dc in each st around. Sl st in 3rd ch. Fasten off.
Small Spots (Make 8)
Make a magic loop.
1 ch, 6 sc in loop. Pull loop tight and join with a sl st in ch. Fasten off.
Large Spots (Make 2)
Make a magic loop.
2 ch, 10 hdc in loop. Pull loop tight and join with a sl st in 2nd ch. Fasten off.
Ears
Attach black cotton to head (I crochet on the ears once the panda is made up as I have trouble getting the ears on straight).
3 ch, dc in same place, 2 tr in next st, 1 dtr in each of next 2 sts, 2 tr in next st, 1 dc in next st, 3 ch sl st in same st as last dc. Fasten off.
To make up
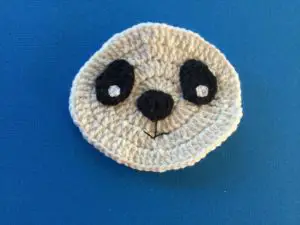
Weave in endings. Attach a small spot to the centre of the wider end of each eye marking.
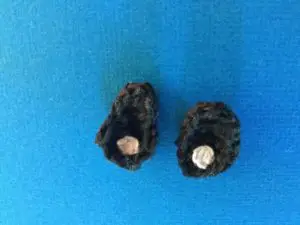
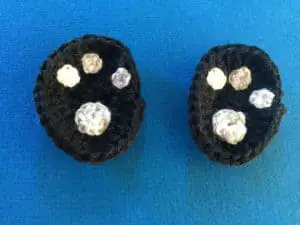
Attach three small spots and a large spot onto each foot as shown.
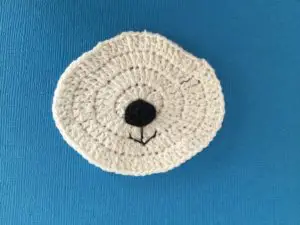
Attach the nose to the head just covering the bottom of the centre circle. Embroider a mouth.
Attach the eyes to the head.
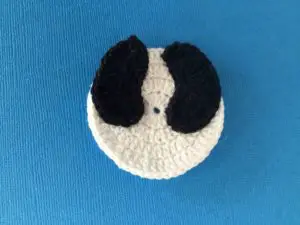
Attach the arms to the body as shown.
Attach the head to the body and then the feet to each side of the bottom of the body. Crochet on ears.
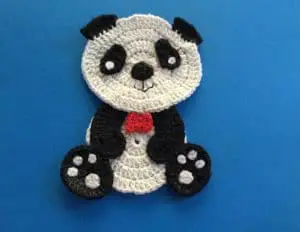
Add a flower, bow or bow tie if desired.
I hope you have enjoyed this pattern for the panda crochet and have as much fun making it as I did.
this little sitting panda is ADORABLE.. i love it and will try to make it.
THANKS so much for sharing the pattern.Kerri!!!!
You’re welcome Pam. I’d love to see it when you’ve finished.