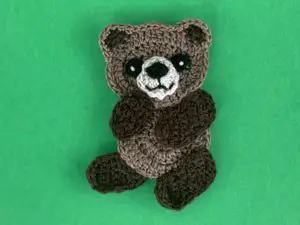
Today I’ve got a crochet teddy bear appliqué pattern for you. There’s a pattern and video tutorial that will guide you through crocheting it. This is what the teddy bear will look like.
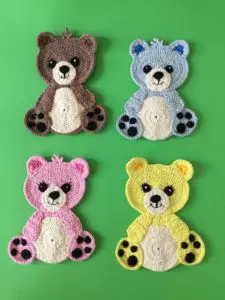
If you would like to follow along with the video tutorial it’s available at Crochet Teddy Bear Video Tutorial.
I also have this pattern available for download on my Ravelry store for $1 which you can get by clicking buy now or at LoveCrafts at Crochet Teddy Bear Pattern.
This pattern will use US terminology. If you would like to get the UK version go to Crochet Teddy Bear Pattern (UK Version).
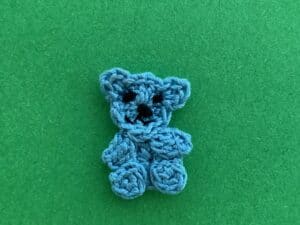
I’ve also got a small amaguri teddy bear pattern available as well.
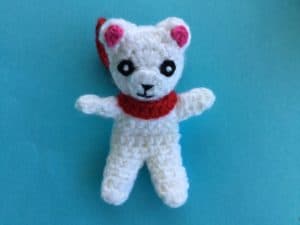
Crochet Teddy Bear Pattern
Abbreviation
- st – stitch
- sts – stitches
- ch – chain
- sl st – slip stitch
- sc – single crochet
- hdc – half double crochet
- dc – double crochet
- tr – treble crochet
- dtr – double treble crochet
Materials Used
- Crochet cotton or wool, I used Scheepjes Maxi Sweet Treat 2 ply crochet cotton colours (238) Powder Pink, (222) Tulip, (106) Snow White and (110) Black.
- Crochet hook, I used a 1mm hook
- Scissors.
- Thread to sew together.
- Sewing needle.
- Darning needle to weave in ends.
Size
Medium teddy (Using 4 ply crochet cotton & a 1.5mm hook)
Height 13.5cm Width 10.5cm or Height 5.25″ Width 4″
Small teddy (Using 2 ply crochet cotton & a 1mm hook)
Height 12cm Width 9cm or Height 4.75″ Width 3.5″
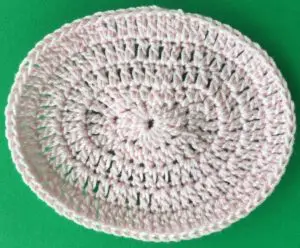
Head
Make a magic loop.
Row 1: 2 ch, 2 hdc, 3 tr, 6 hdc, 3 tr, 3 hdc into circle. Pull circle tight and join with a sl st.
Row 2: 2 ch, 1 hdc in next st, 2 hdc in next st, work 2 tr in each of next 3 sts, work 2 hdc in next st, work 1 hdc in each of next 4 sts, 2 hdc in next st, work 2 tr in each of next 3 sts, work 2 hdc in next st, 1 hdc in remaining sts. Sl st in 2nd ch.
Row 3: 3 ch, 1 dc in each of next 4 sts, 2 dc in each of next 5 sts, 1 dc in each of next 8 sts, 2 dc in each of next 5 sts, 1 dc in each st to end. Join with a sl st in the 3rd ch.
Row 4: 3 ch, 1 dc in same place as ch, 1 dc in each of next 2 sts, 2 dc in next st, (1 dc in next st, 2 dc in following st) 6 times, (1 dc in each of next 2 sts, 2 dc in next st) 2 times, (1 dc in next st, 2 dc in following st) 6 times, 1 dc in each of next 2 sts, 2 dc in following st. dc into any remaining sts. Sl st into 3rd ch.
Row 5: 3 ch, 1 dc in same place as ch, (1 dc in each of next 2 sts, 2 dc in following st,) repeat around. Sl st in 3rd ch. Fasten off.
Ears
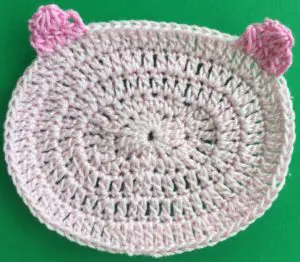
Join cotton to head where shown.
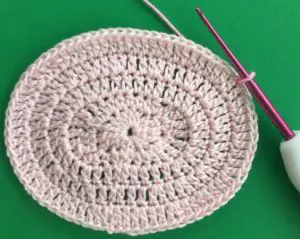
Row 1: 2 ch, joined hdc over same and next st, 1 hdc in each of next 2 sts, 1 joined hdc over same st as last hdc and next st. Turn.
Row 2: 2 ch, work a hdc cluster over all the sts. Fasten off.
Miss 15 sts and work the 2nd ear the same as the 1st ear.
Around the ears
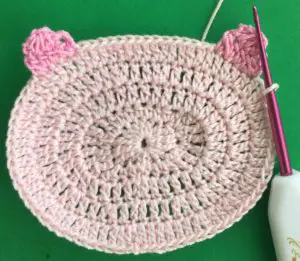
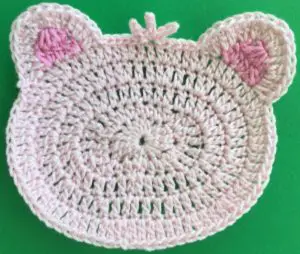
Join the same colour cotton as the head 2 sts before the first ear, work 2 dc in each st around the 1st ear, sl st in each st to halfway between the 2 ears, 3 ch, work 1 sl st in 2nd ch from hook and 1 sc in next st, sl st into same place on head, 4 ch, 1 st sl in 2nd ch from hook, 1 sc in each of next 2 ch, sl st into same place on head, 3 ch, sl st in 2nd ch from hook, 1 sc in next st and sl st into same place on head. Sl st along head until 2 sts before 2nd ear. Work 2 dc in each st around ear. Sl st into head and fasten off.
Muzzle
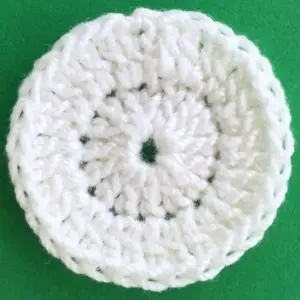
Make a magic loop.
Row 1: 3 ch. Work 14 dc into loop and pull tight. Slip st. into 3rd ch.
Row 2: 3 ch. 1 dc in same place. Work 2 dc into each dc. Join with a sl st in 3rd ch. Fasten off.
Nose
Make a magic loop.
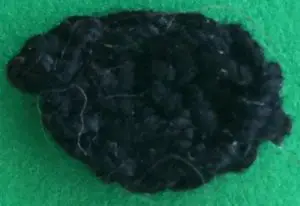
Work 3 ch and 4 dc in circle. Pull circle tight but don’t join. Fasten off.
Eyes (Make 2)
Make a magic loop.
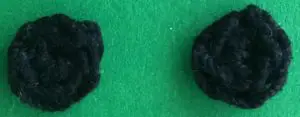
Work 2 ch and 6 hdc into circle. Pull tight and sl st in 2nd ch. Fasten off.
Body
Make a magic loop.
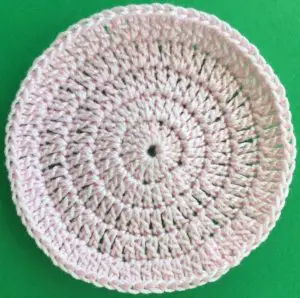
Row 1: 3 ch. Work 14 dc into loop and pull tight. Slip st. into 3rd ch.
Row 2: 3 ch. 1 dc in same place. Work 2 dc into each st. Join with a sl st in 3rd ch.
Row 3: 3 ch. *Work 1 dc in each of next 2 dc and 2 dc in following dc, * repeat from * to * to end, sl st. in 3rd ch.
Row 4: 3 ch. *Work 1 dc in each of next 2 dc and 2 dc in following dc, * repeat from * to * to end, sl st. in 3rd ch.
Row 5: 3 ch. *Work 1 dc in each of next 2 dc and 2 dc in following dc, * repeat from * to * to end, sl st. in 3rd ch. Fasten off.
Tummy Part
Make a magic loop.
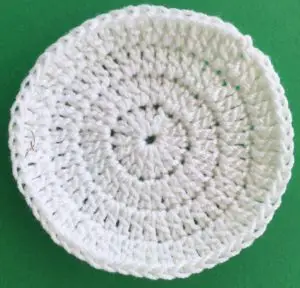
Row 1: 3 ch. Work 14 dc into loop and pull tight. Slip st. into 3rd ch.
Row 2: 3 ch. 1 dc in same place. Work 2 dc into each dc. Join with a sl st in 3rd ch.
Row 3: 3 ch. *Work 1 dc in each of next 2 dc and 2 dc in following dc, * repeat from * to * to end, sl st. in 3rd ch.
Row 4: 3 ch. *Work 1 dc in each of next 2 dc and 2 dc in following dc, * repeat from * to * to end, sl st. in 3rd ch. Fasten off.
Arms (Make 2)
Make a magic loop.
Row 1: Work 3 ch and 3 dc in circle, pull circle tight but don’t join. Turn.
Row 2: 3 ch, work 1 dc in each st and 1 dc in top of 3 ch. Turn.
Row 3: 3 ch, work 1 dc in each st and 1 dc in top of 3 ch. Turn.
Row 4: 3 ch, work 1 dc in each st and 1 dc in top of 3 ch. Turn.
Row 5: 3 ch, work 1 dc in each st and 1 dc in top of 3 ch. Turn.
Row 6: 3 ch, work a dc cluster over all sts. Fasten off.
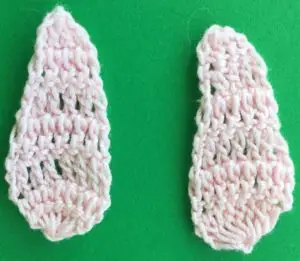
Feet (Make 2)
Row 1: 8 ch, 4 tr in 5th ch from hook, 1 hdc in each of next 2 sts, 3 hdc in last ch, 1 hdc in back of next 2 ch, sl st in 4th ch.
Row 2: 3 ch, 1 dc in same place as ch, 2 dc in each st around. Sl st in 3rd ch.
Row 3: 1 ch, 1 sc in each st around. Join with a sl st in ch. Fasten off.
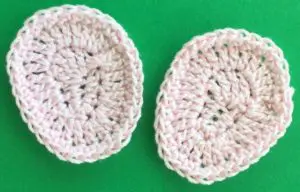
Large spots for feet (Make 2)
Make a magic loop.
Work 2 ch and 8 hdc into circle. Pull circle tight, sl st in 2nd ch and fasten off.
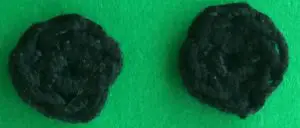
Small spots for feet (make 6)
Make a magic loop.
Work 1 ch and 4 sc into circle. Pull circle tight, sl st in ch and fasten off.
To make up
Embroider white spot on each eye.

Stitch nose on to muzzle and embroider on a mouth.
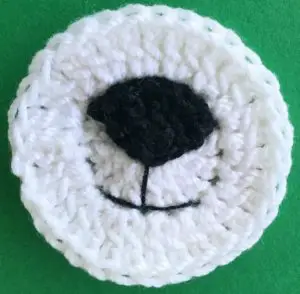
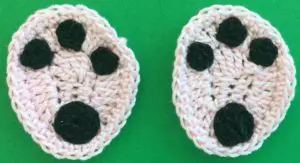
Attach the 4 spots on to each foot as shown.
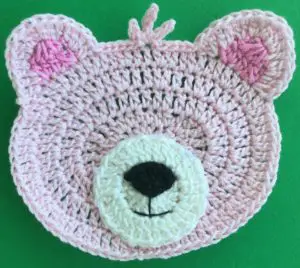
Sew muzzle onto head with the muzzle at the bottom of the head.
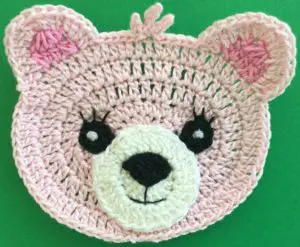
Attach the eyes to the head just above the muzzle and embroider on eyelashes if desired.
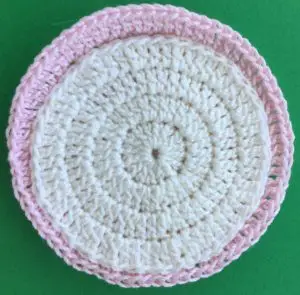
Stitch tummy piece to body.
Attach one foot on each side of the body.
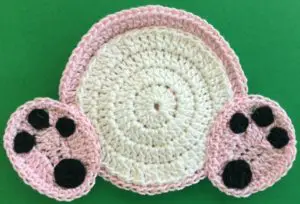
Stitch the arms onto the body.
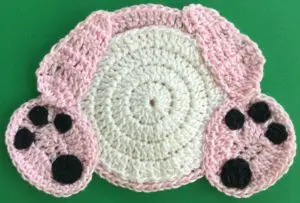
Attach the head.
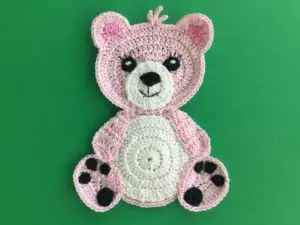
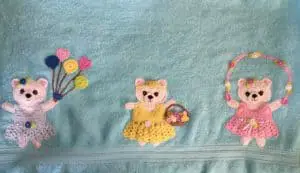
I’ve also used this teddy in a teddy bears picnic blanket that I made.
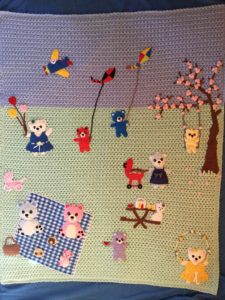
Other patterns that are in the teddy bears picnic blanket series include the blanket, the plaid picnic blanket, picnic basket, airplane, the kite, picnic table, food for the picnic table, food for the picnic blanket, barbecue, barbecue apron and utensils, pram, tree, blossoms and swing, teddy bear applique, child teddy bear, baby teddy bear, teddy bear with accessories and combining the teddy bears picnic baby blanket.
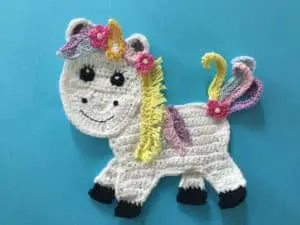
If you’ve enjoyed this pattern you might like my other teddy bear pattern that also comes with a dress, skipping rope, a basket of flowers and some balloons. And I’ve made a small teddy bear pattern and a tiny teddy bear. I’ve also got this crochet unicorn.
Thank you so much!!! Love these. I was looking for appliques.?
Thank you Agnes, I hope that you enjoy them.
These are absolutely adorable. I can’t wait to make them.
Thank you Jimmie Anne, I glad that you like them.
I enjoyed making the teddy bear. I used the video and the written directions. The written instructions are incorrect however on row 4 of the head. The direction line that starts with 6 dc…6 times.
Hello Yvette, I’m sorry you’ve had trouble with the teddy bear pattern. I couldn’t find a line that starts with 6 dc…6 times. I’ve checked the US pattern by making another teddy and can’t find where the instructions are incorrect. I’ll get a tester to crochet it for me to find where the mistake is. Kerri
I’m sorry I should have been more specific. Please look at row 4 for the teddy bear head. Thanks
Hello Yvette, we had the teddy bear pattern checked by a tester and it appears to be fine. It could be just a bit different from the tutorial. Sometimes I will change a pattern slightly when I test it. Kerri.
This is just what I was looking for. I want to put a bear on a blanket for my new grandaughter. Thank you for sharing your beautiful creativity.
Thank you Janet. I’m happy that the pattern is useful for you. I hope that your granddaughter enjoys the blanket. Kerri.
Love this pattern! How long is the bear? From head to bottom.
Thank you !
Hello Carolyn, using 4 ply crochet cotton it’s 5″ or 13cm long.
Hi you have a fine website It was very easy to post good job
I love the little bear… BUT … your work is so small that it is impossible to see you actually making it, basically we have to go by your words or the printed pattern.
I need a crochet pattern for a 12by12 0r less to go onto the middle of a plain blanket for a 10 year old could you please help me I do not know what or how to do this even a teddy bear will do
Hello Pat, are your measurements inches or centimeters and what type of yarn are you planning to use?
I need a teddy bear pattern to fit into a 24by20 square on a childs quilt willing to pay for the pattern
I need a pattern to pattern to fit into a 24by20 square on a childs quilt willing to pay for the pattern
Hi Kerri, I just made all the Bear “parts”. I’ll be assembling them and adding to a baby blanket for a coworker. I found your pattern very user friendly and it works up quickly. This is the perfect addition for my Afghan. Thank you so much!!! I’ll post a pic as soon as it’s finished.
Thank you Laurel. I’m looking forward to seeing it when it’s finished.
I don’t know how to post a picture, but I made the bear, and he is absolutely adorable!!! Thank you for your free pattern, which is very easy to follow!! Thank you again Keri!!
Hello Dawn, it’s great that you made the bear. I’d love to see it. The easiest ways to show the pattern would be either my FaceBook group at https://www.facebook.com/groups/272727866654904/ or you could email it to me at kerriscrochet@gmail.com.
What size hook are you using?
Hello Lori. I used a 1.25 mm crochet hook for this one.