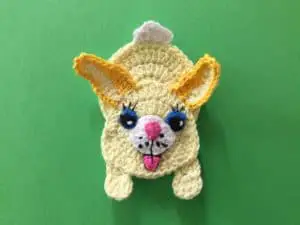
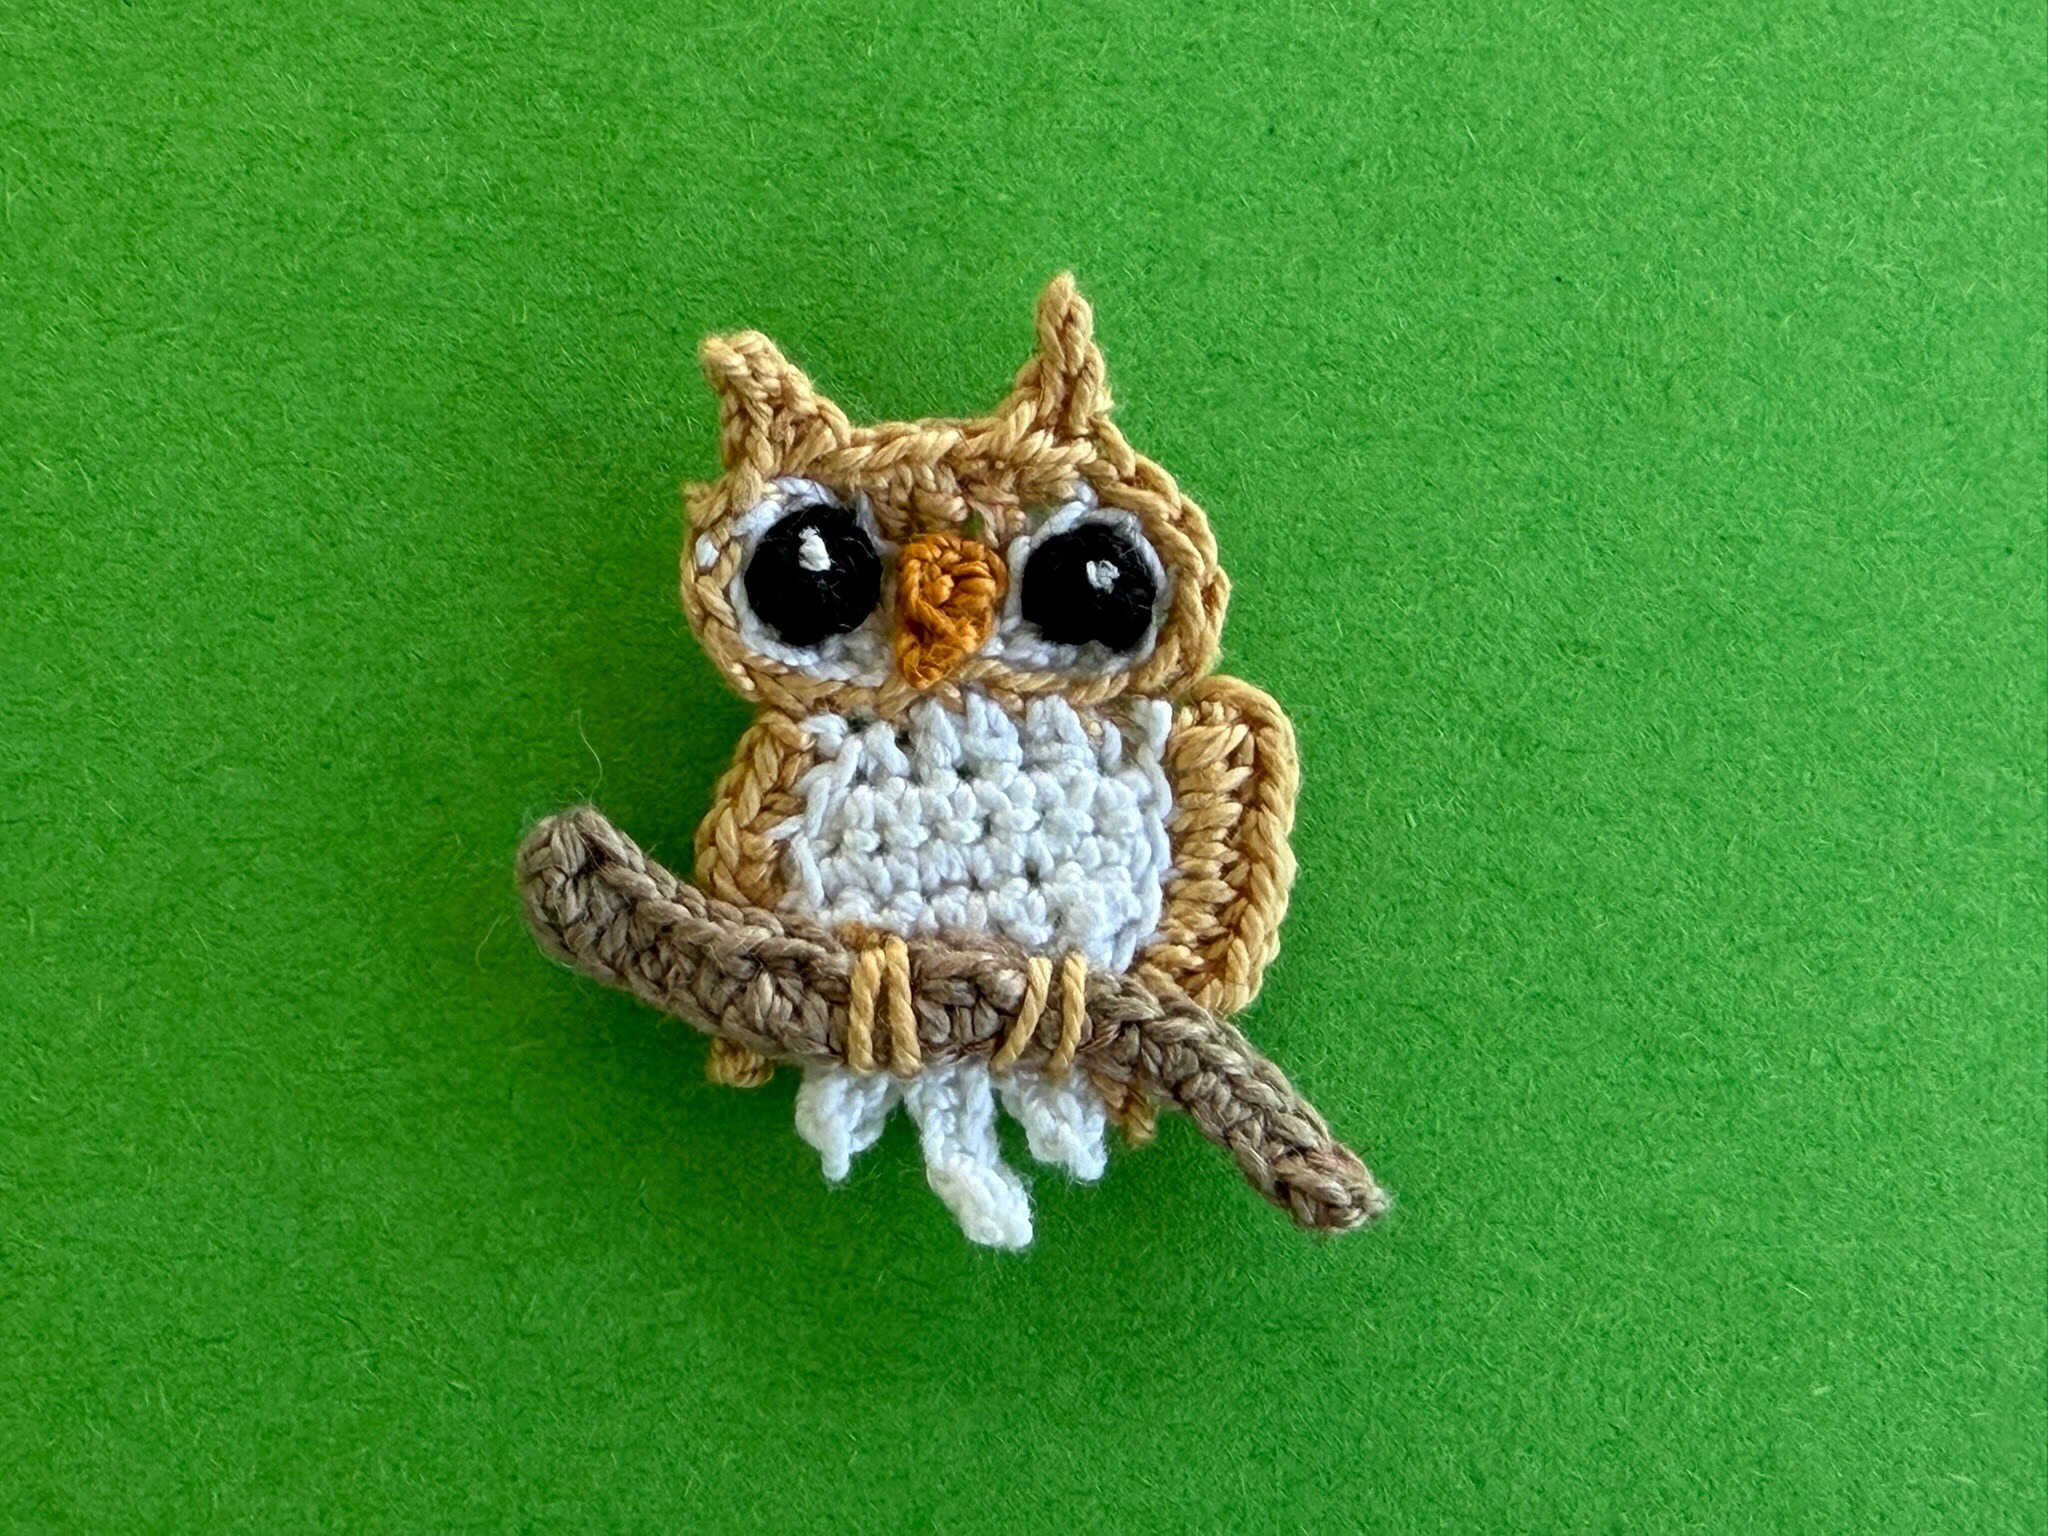
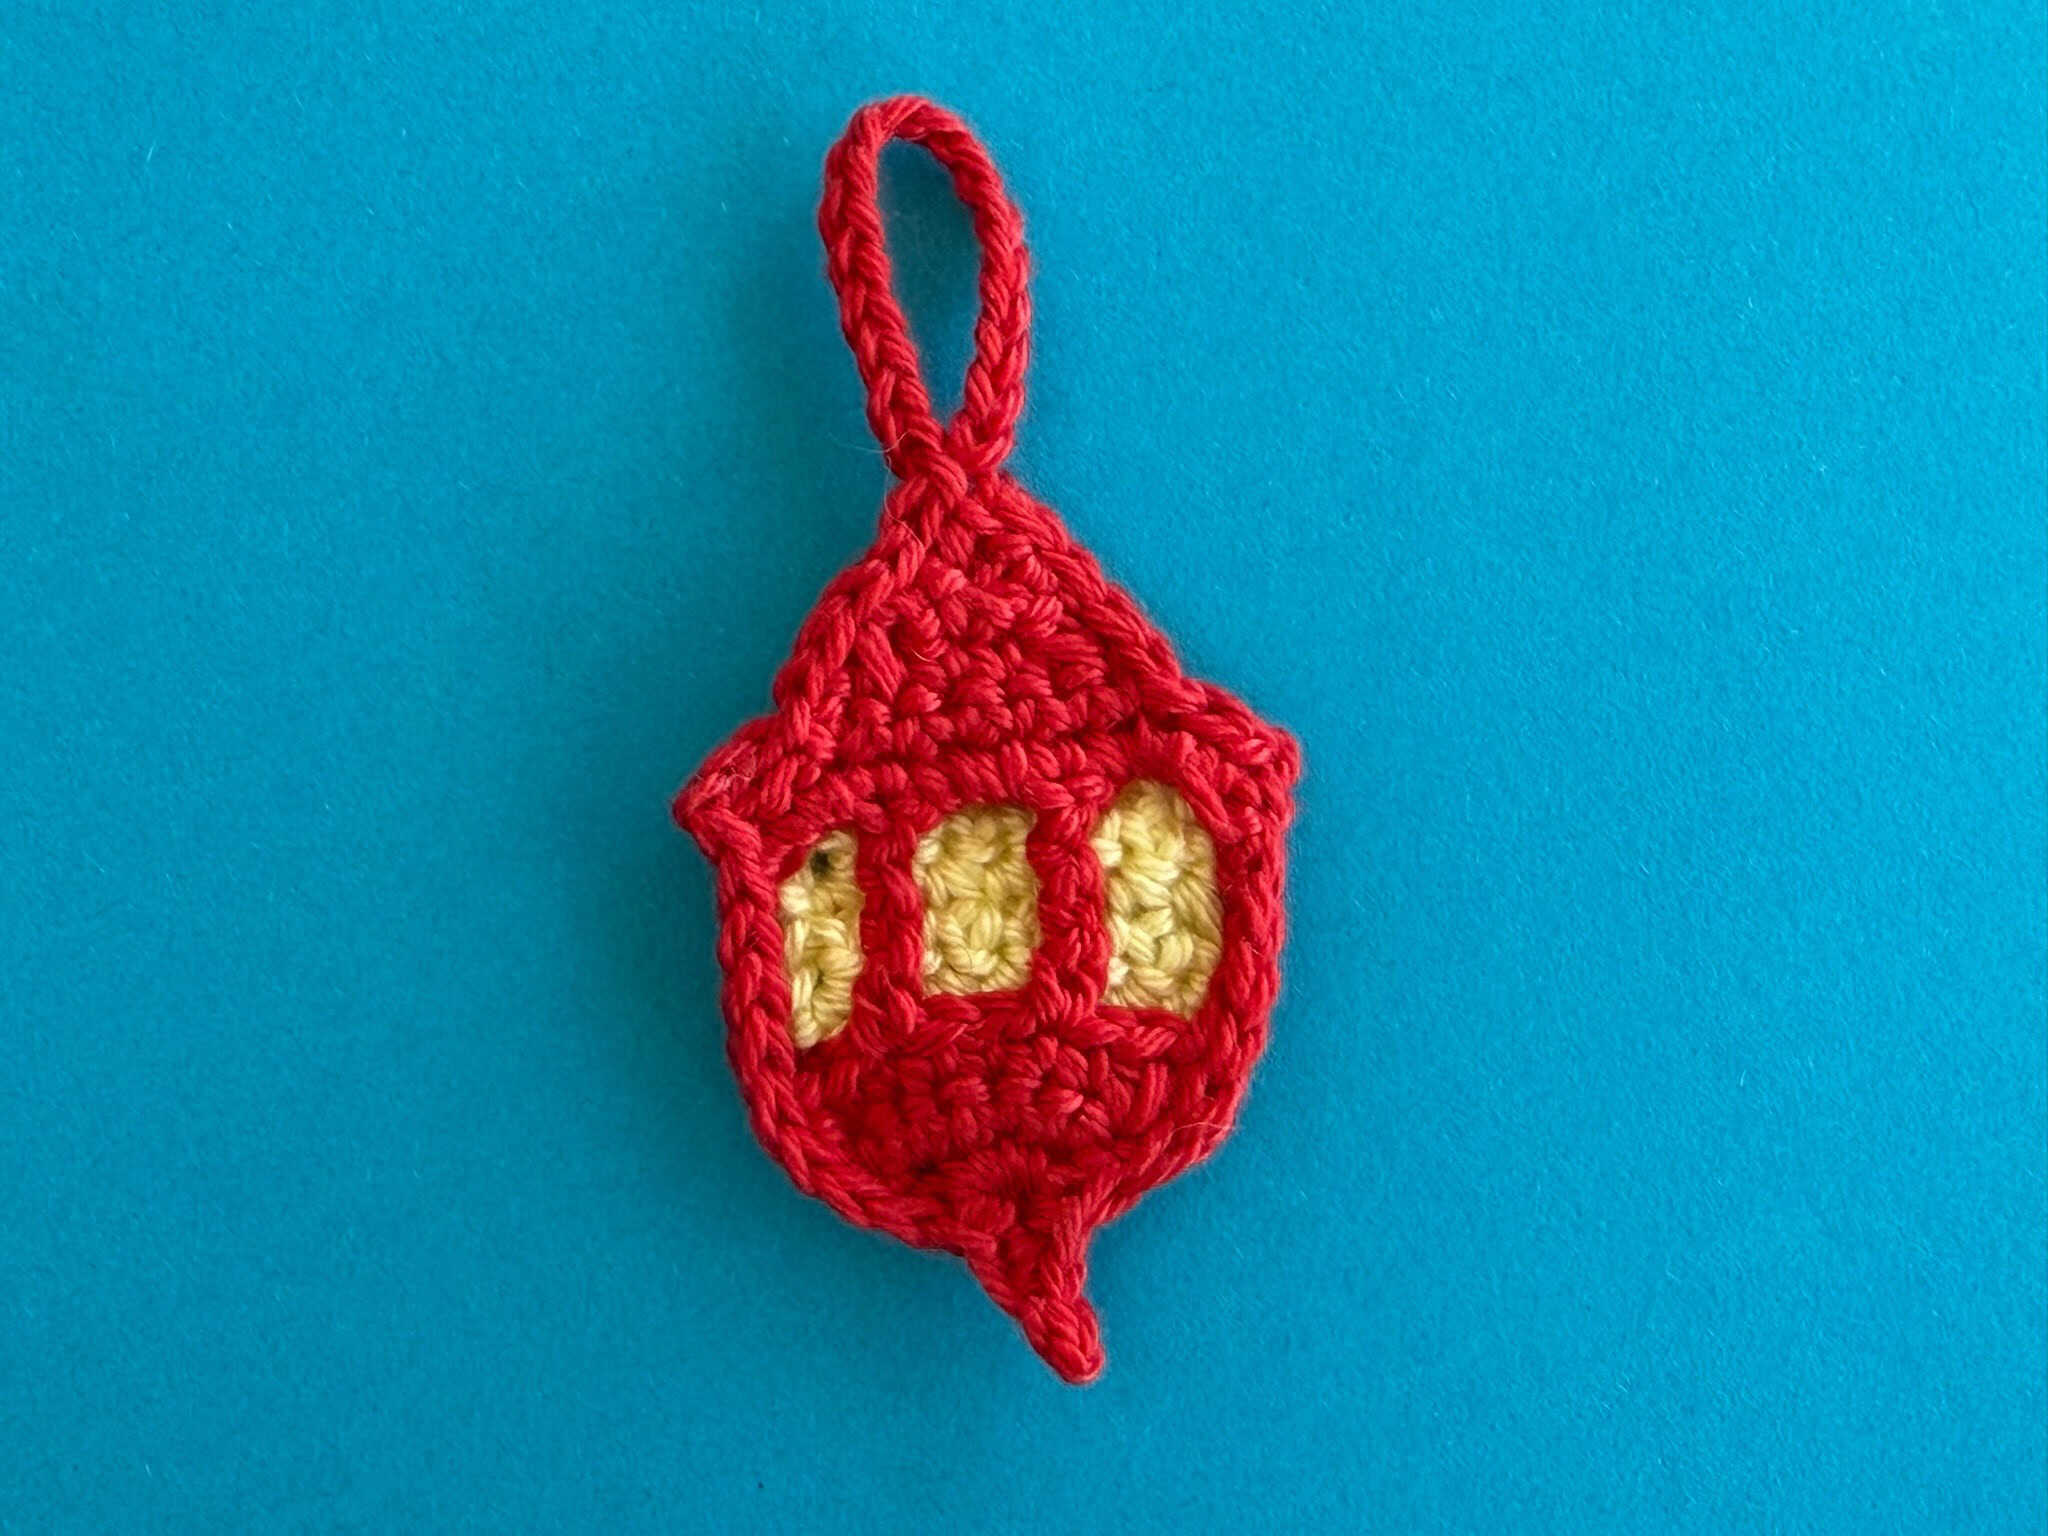
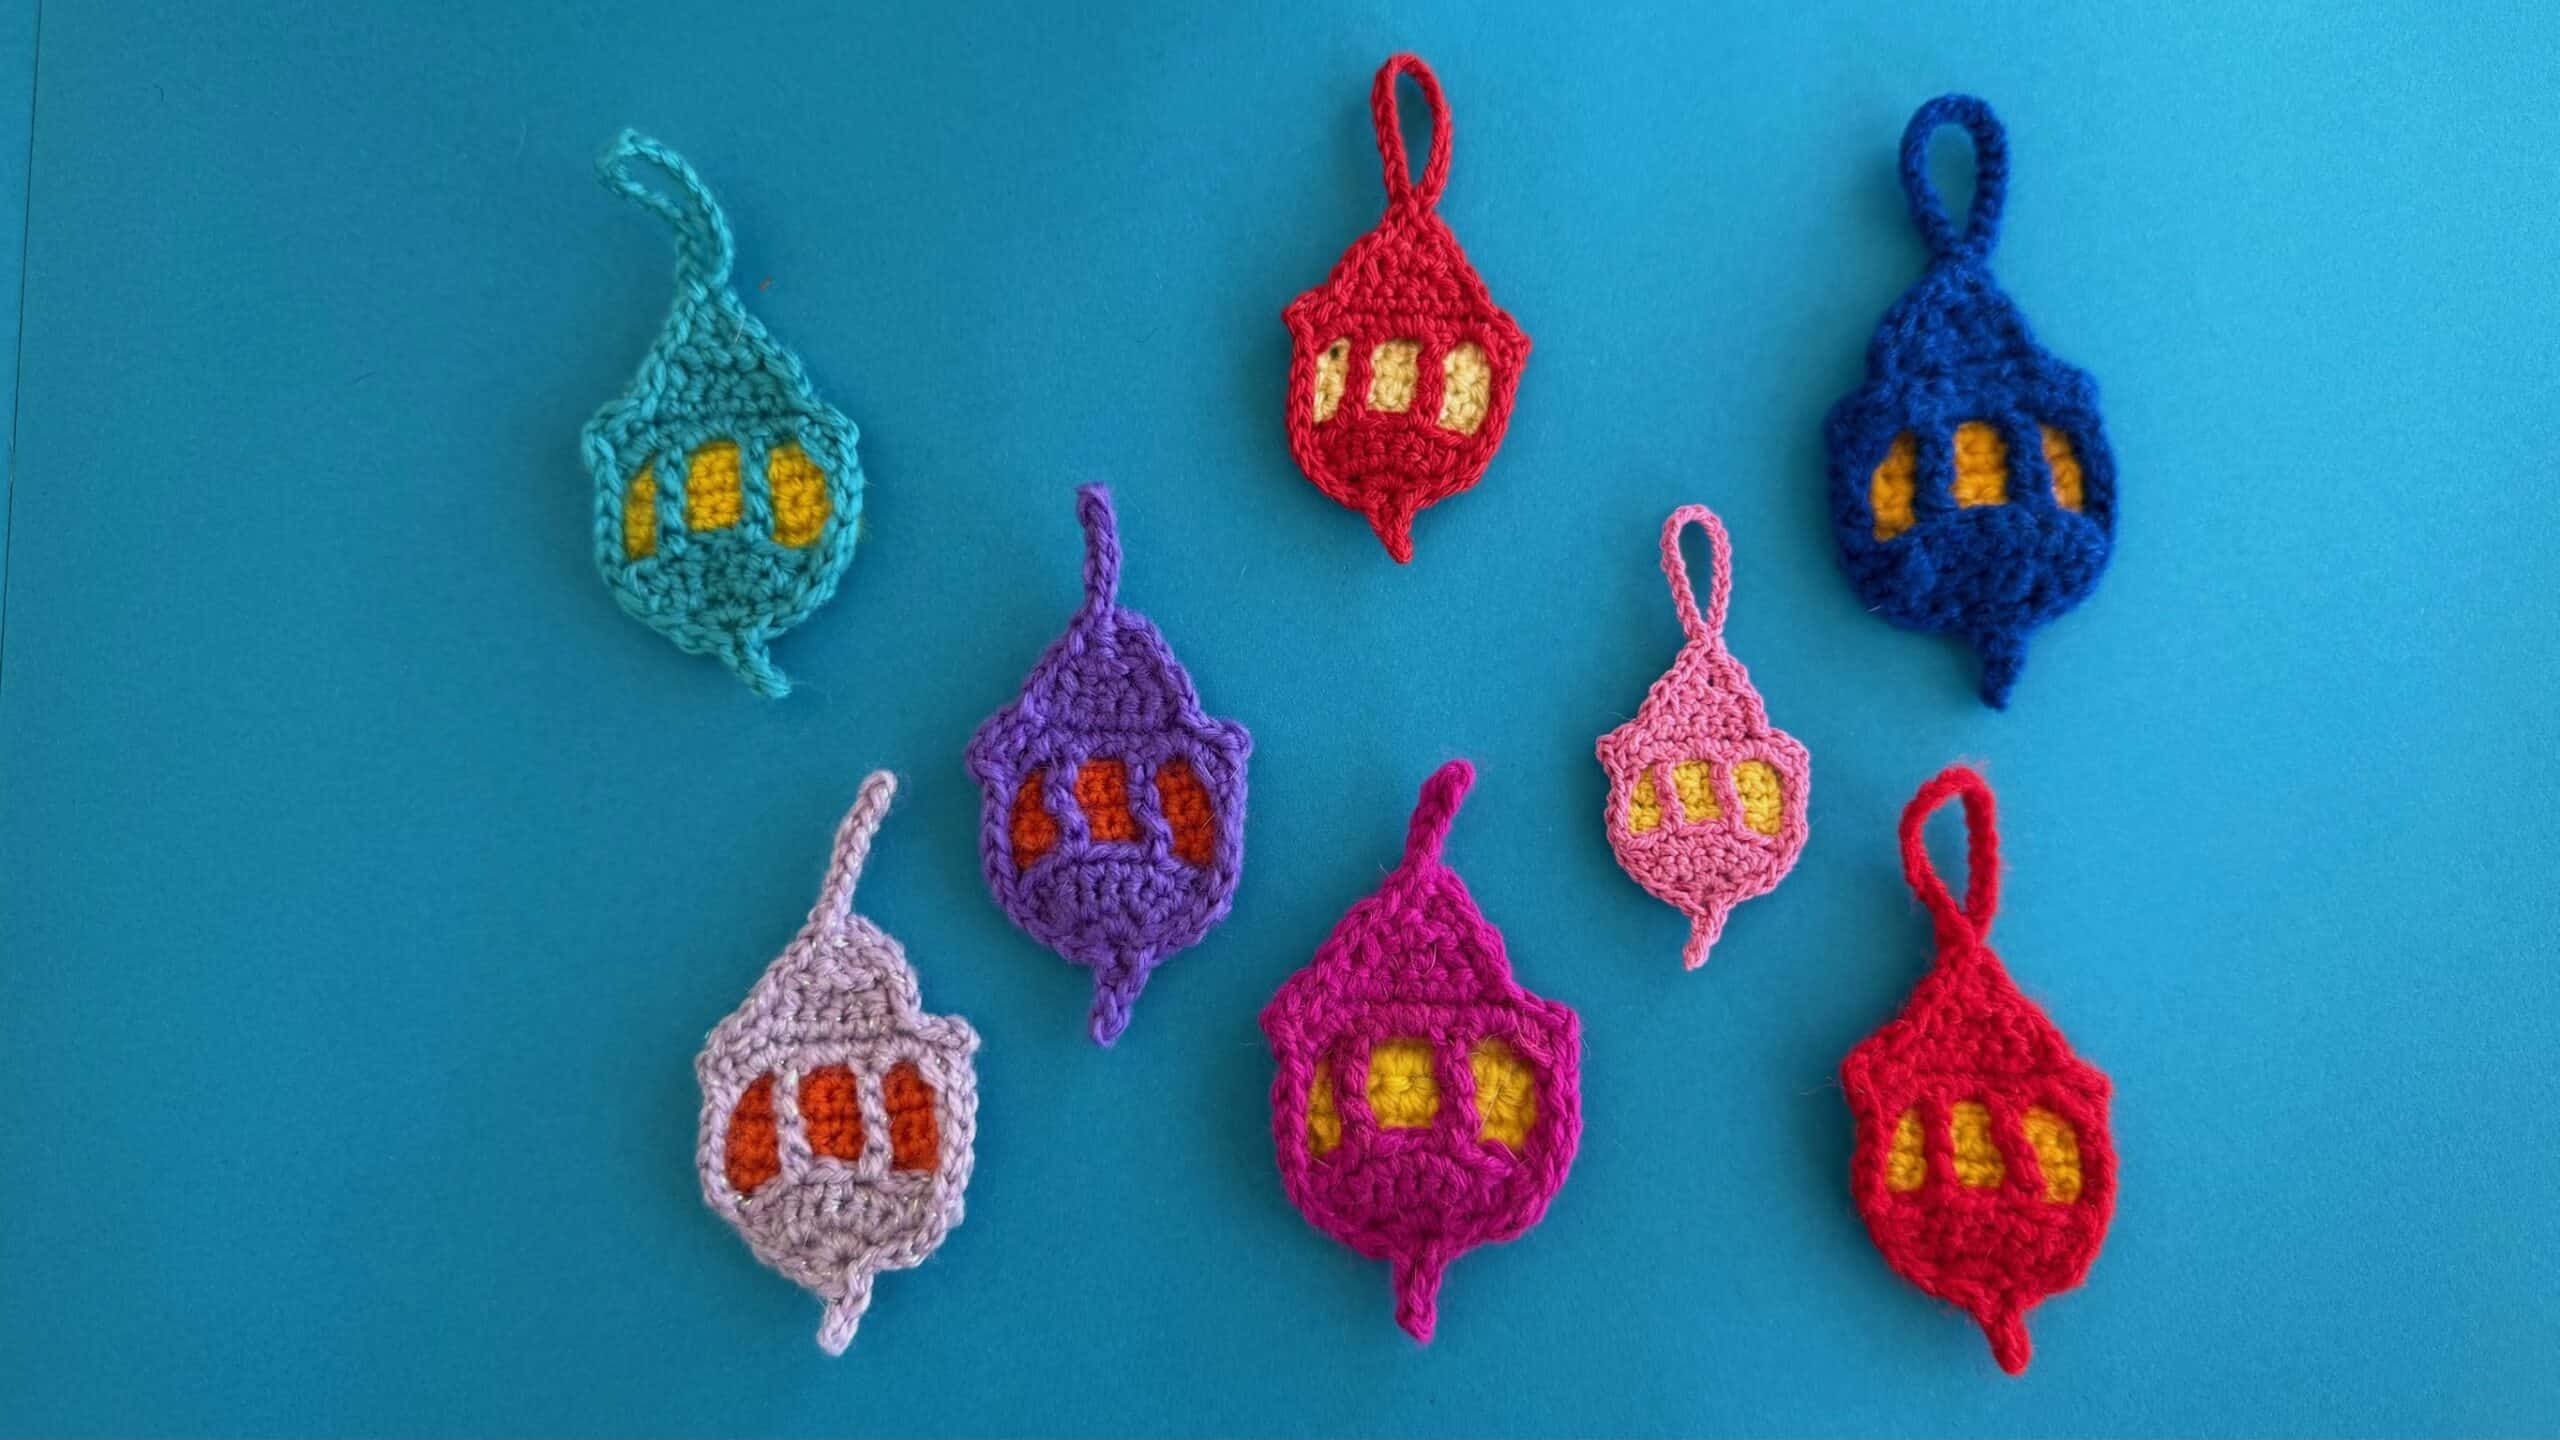
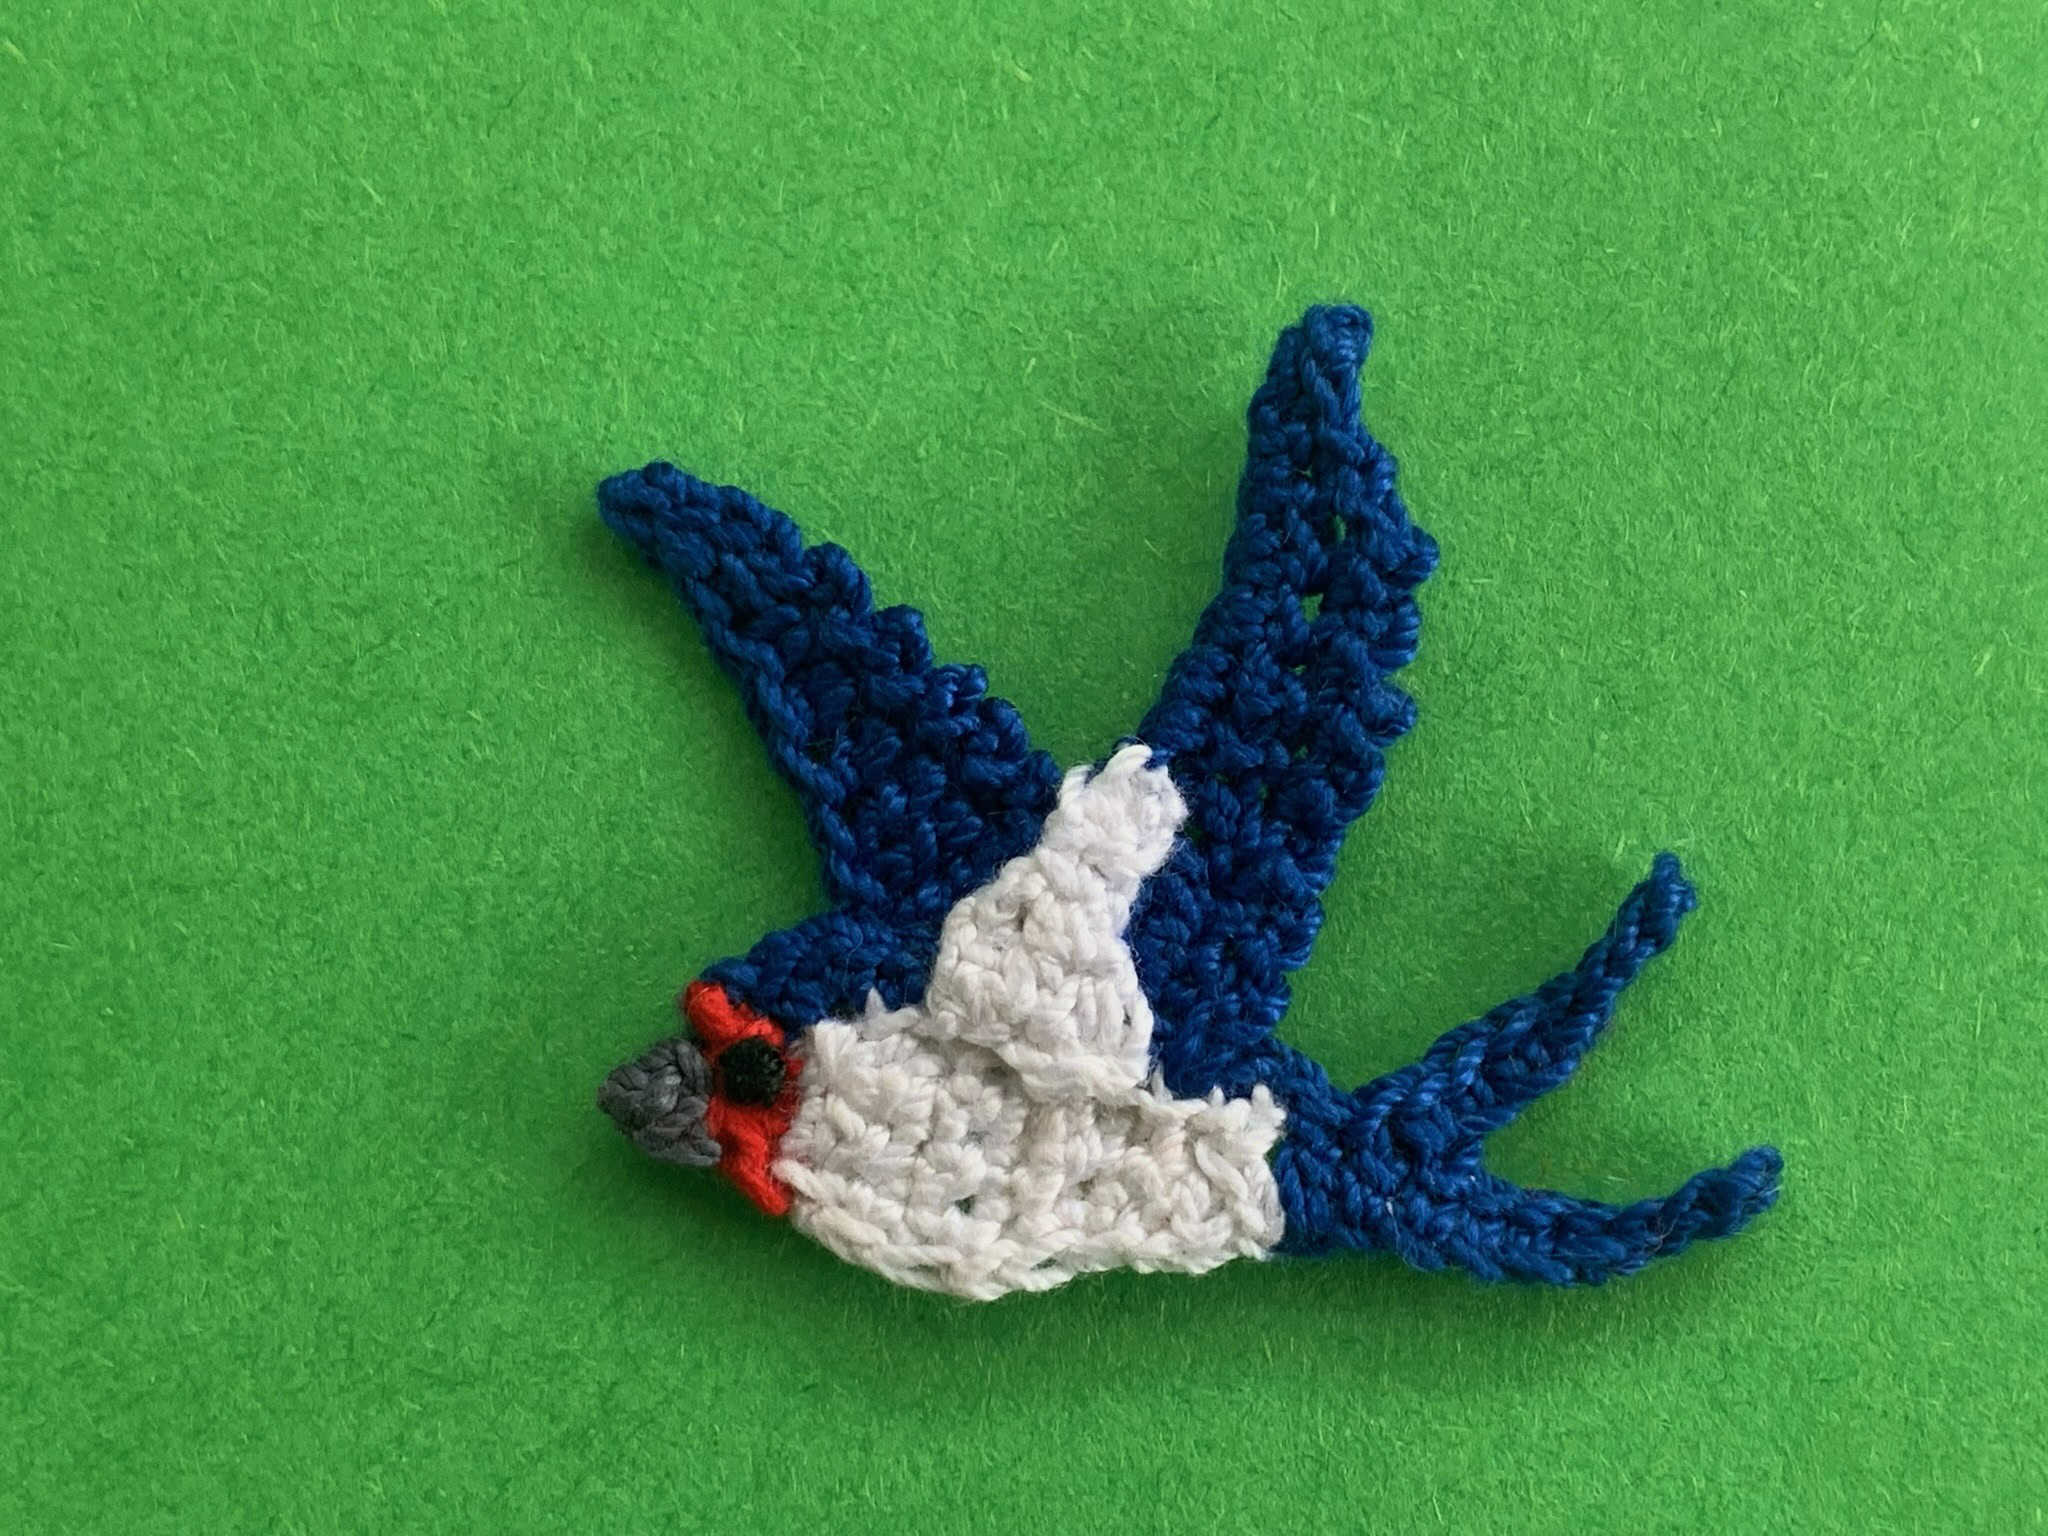
Welcome to my crochet rabbit pattern. This pattern was another request. This is what the finished rabbit applique will look like.

There’s also a video tutorial for this pattern available on my YouTube channel at crochet rabbit tutorial.
To view this pattern for free, continue to scroll down this page. If you want to download the ad-free version, it’s available on my Ravelry store for $1 at crochet rabbit pattern and on LoveCrafts at crochet rabbit pattern.
This pattern will be using US terminology. If you want to view the UK version, go to crochet rabbit pattern (UK version).
Crochet Rabbit Pattern
Abbreviations
- st – stitch
- sts – stitches
- ch – chain
- sl st – slip stitch
- sc – single crochet
- hdc – half double crochet
- dc – double crochet
- tr – treble crochet
Materials Used
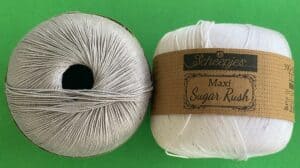
- Any thickness crochet cotton or yarn, I used Scheepjes Maxi Sweet Treat 2 ply crochet cotton colors (074) Mercury and (106) Snow White.
- A crochet hook, I used a 1mm hook.
- A darning needle to weave in ends.
- Scissors.
- Thread and needle to stitch the tail to the rabbit.
Size
Large rabbit (Using 8 ply yarn & a 3mm hook)
7cm wide x 9cm high or 2.75” wide x 3.5” high
Medium rabbit (Using 4 ply crochet cotton & a 1.5mm hook)
5cm wide x 6cm high or 2” wide x 2.5” high
Small rabbit (Using 2 ply crochet cotton & a 1mm hook)
3cm wide x 5cm high or 1.25” wide x 2” high
Body & Head
Using (074) Mercury work 8 ch.
Row 1: Work 1 sc in 2nd ch from hook, 1 hdc in next ch, 1 dc in following ch, 1 tr in next ch, 1 dc in following ch, 1 hdc in next ch, 1 sc in last ch. Turn. (7 sts)
Row 2: 1 ch, work 2 sc in 1st st, 1 sc in each of next 5 sts, 2 sc in last st. Turn. (9 sts)
Row 3: 1 ch, work 1 sc in each st. Turn. (9 sts)
Row 4: 1 ch, work a joined sc over 1st 2 sts, 1 sc in each of next 5 sts, a joined sc over last 2 sts. Turn. (7 sts)
Row 5: 1 ch, work 1 sc in each st. Turn. (7 sts)
Row 6: 1 ch, work a joined sc over 1st 2 sts, 1 sc in each of next 3 sts, a joined sc over last 2 sts. Turn. (5 sts)
Row 7: 1 ch, work 1 sc in each st. Turn. (5 sts)
Row 8: 1 ch, work a joined sc over 1st 2 sts, 1 sc in next st, a joined sc over last 2 sts. Turn. (3 sts)

Row 9: 1 ch, work 3 sc in 1st st, 1 sc in next st, 3 sc in last st. Turn. (7 sts)
Row 10: 1 ch, work 2 sc in 1st st, 1 sc in each of next 5 sts, 2 sc in last st. Turn. (9 sts)
Row 11: 1 ch, work 1 sc in each st. Turn. (9 sts)
Row 12: 1 ch, work a joined sc over 1st 2 sts, 1 sc in each of next 5 sts, a joined sc over last 2 sts. Turn. (7 sts)
Row 13: 1 ch, work a joined sc over 1st 2 sts, 1 sc in each of next 3 sts, a joined sc over last 2 sts. Turn. (5 sts)
Row 14: 1 ch, work a joined sc over 1st 2 sts, 1 sc in next st, a joined sc over last 2 sts. Don’t turn or fasten off.

Neatening Row
1 ch, work 1 sl st in each st around to last st at side of head. Don’t fasten off.

1st Ear
9 ch.

Work 1 hdc in 2nd ch from hook, 1 dc in each of next 3 ch, 2 dc and 1 hdc in following ch, 1 sc in each remaining ch, sl st in each st to last st along head. Don’t fasten off.

2nd Ear
11 ch.

Work 1 hdc in 2nd ch from hook, 1 dc in each of next 3 ch, a joined dc over following 3 ch, and 1 sc in each remaining ch, sl st in next st. Fasten off.

Tail
Using (106) Snow White make a magic loop.
1 ch, (work 1 sc and 1 ch in circle) 5 times, join with a sl st in top of 1st st. Fasten off.

To Make Up
Weave in ends. Stitch the tail to centre bottom where shown.
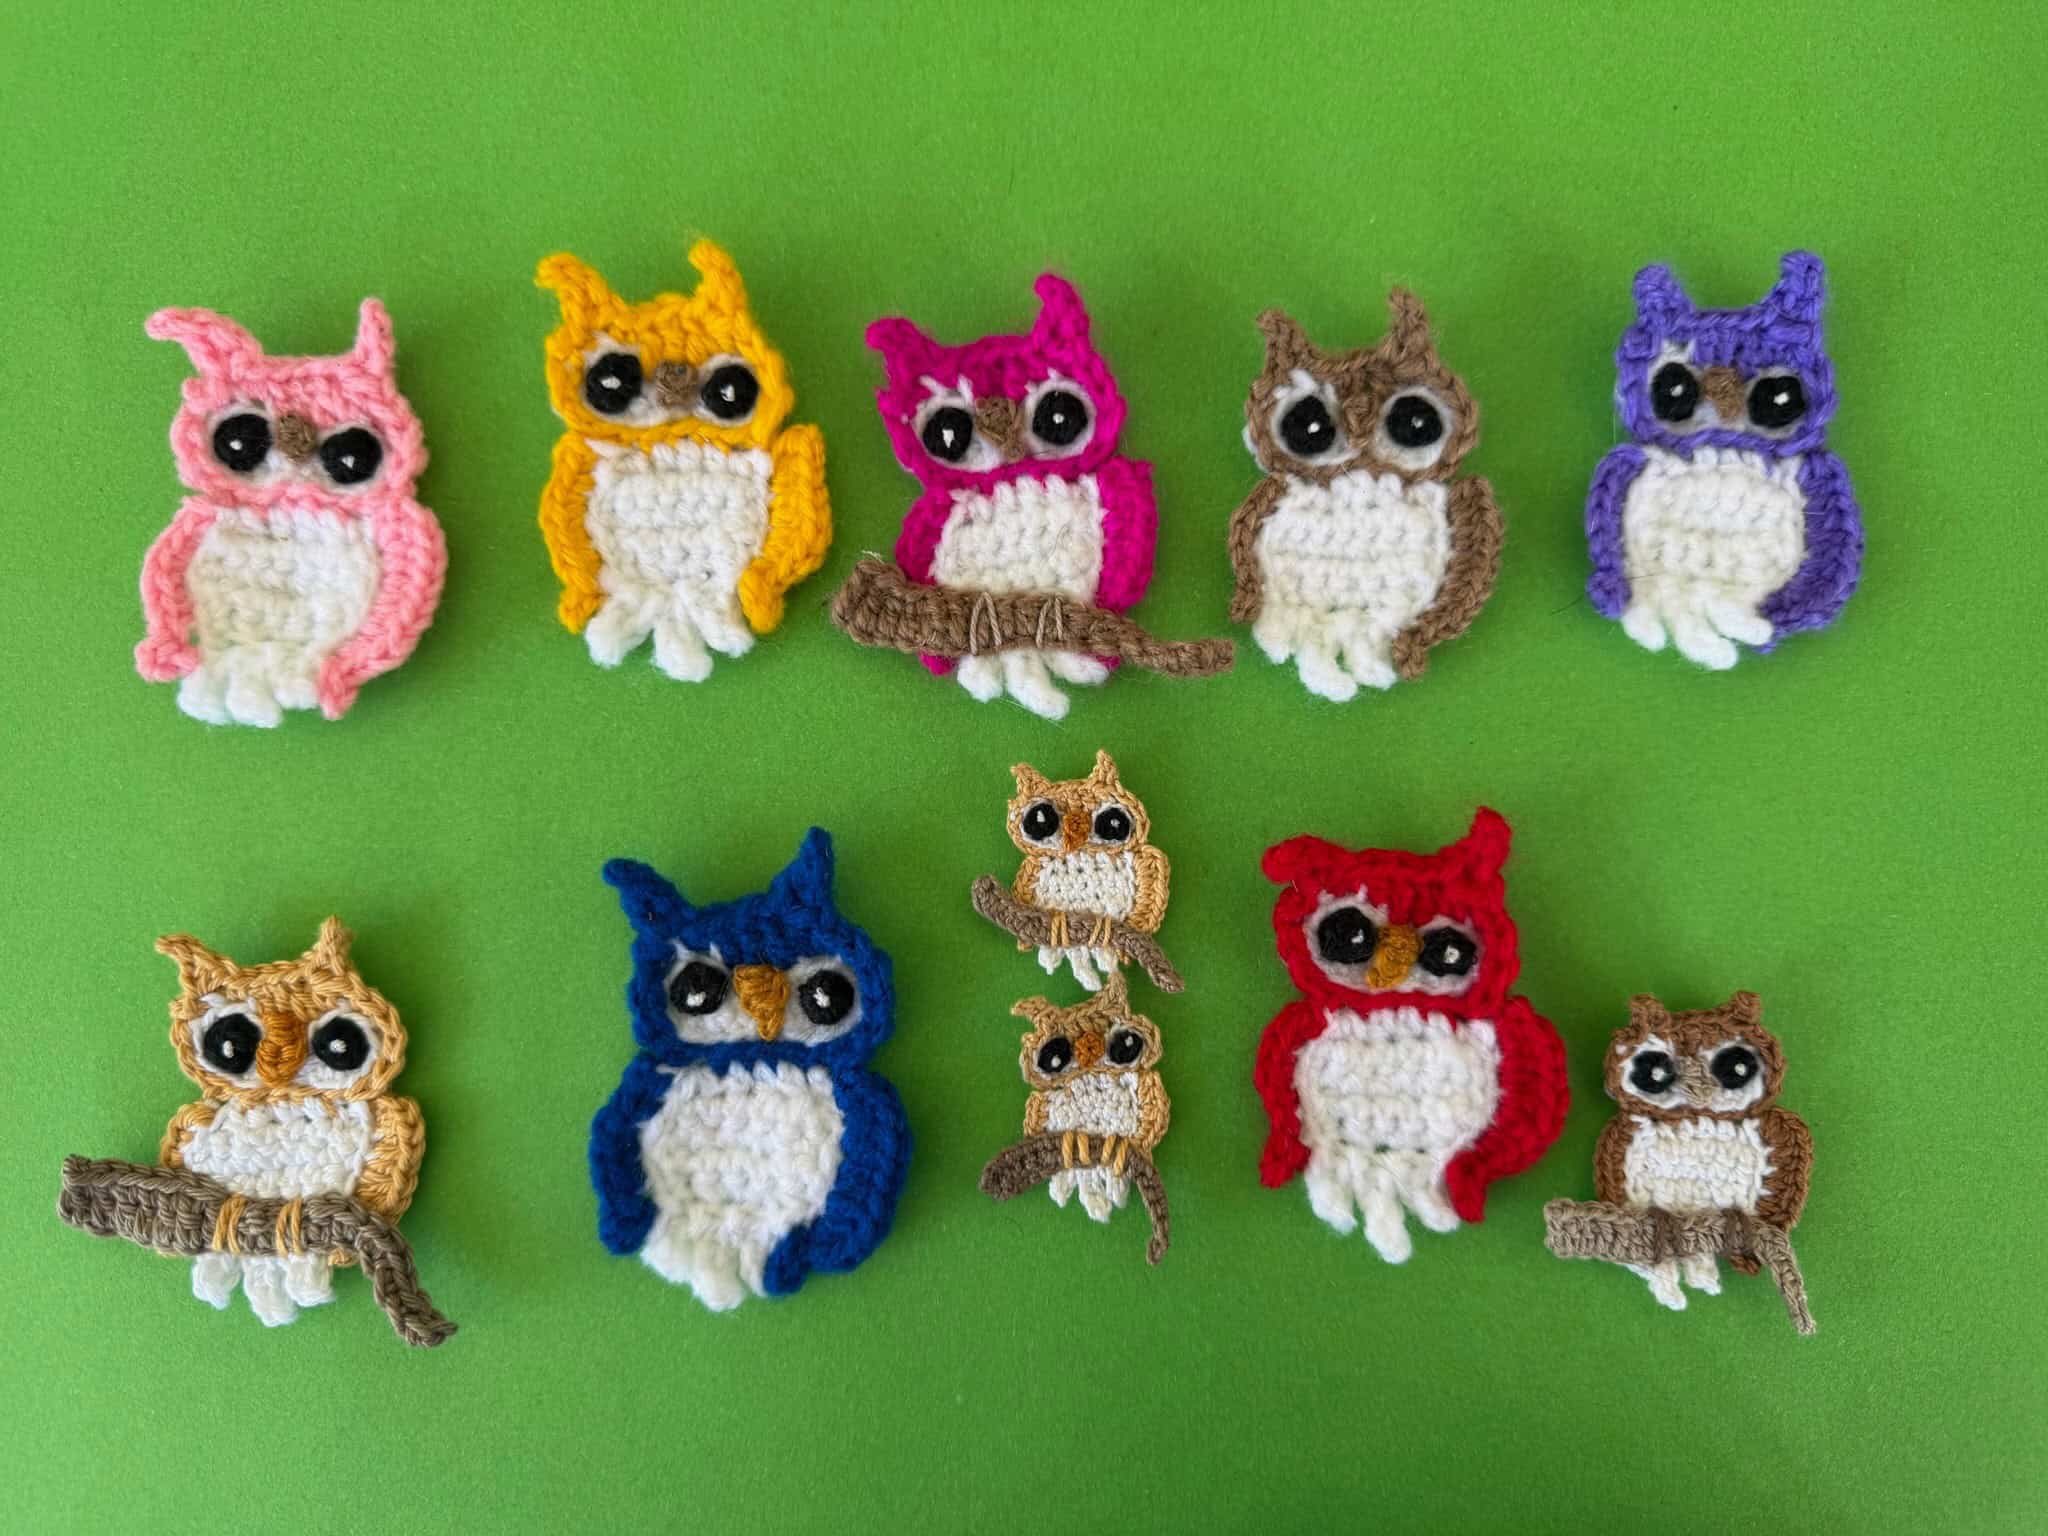
And there’s the finished rabbit applique. I’ve also made it in different sizes and colors.

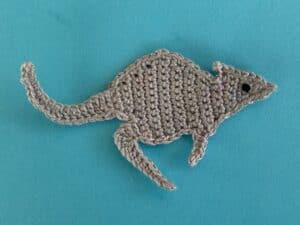
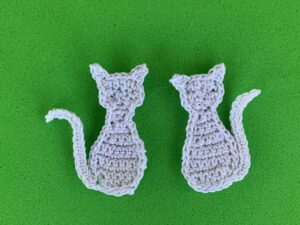
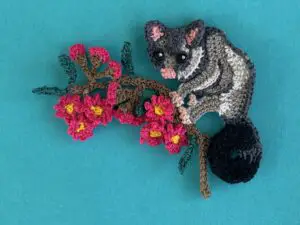
I hope that you’ve enjoyed the pattern. Have a look at some of my others including the rabbit, the small bee, the wallaby pattern, the crochet small cat and the possum.