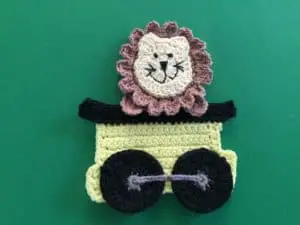
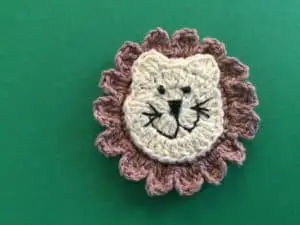
Welcome to this crochet lion face pattern that I have for you. Today I will be continuing the train series with this lion face appliqué pattern that can go on one of the carriages. This is what the finished lion is going to look like.
There is also an accompanying how-to video tutorial available at How to crochet a Lion (Train series Part 5).
To view the full pattern continue to scroll down this page. If you would like to download the pattern in PDF format it’s available on my Ravelry store at Lion Face Crochet Pattern. You can buy it individually for $1 or the complete set of nine patterns for $5.
This post will have the US terminology, for the UK version go to Crochet pattern for Lion appliqué (UK version).
If you would like to go back to the start of the series have a look at my crochet train.
Crochet Lion Face Pattern
Abbreviations
- st – stitch
- sts – stitches
- ch – chain
- sl st – slip stitch
- sc – single crochet
- hdc – half double crochet
- dc – double crochet
- tr – treble crochet
Materials Used
- Small amount of two colours of cotton or wool, I used tan and brown 4 ply crochet cotton.
- A crochet hook, I used a 1.25mm hook.
- Sewing or embroidery cotton for the facial features.
- A sewing needle.
- A darning needle to weave in end.
Head
Make a magic loop.
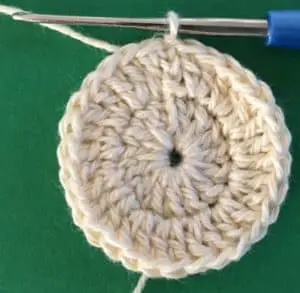
Row 1: 3 ch. Work 14 dc into loop and pull circle tight. Sl st into 3rd ch.
Row 2: 3 ch. Work 2 dc into each st to end. Join with a sl st into 3rd ch. Don’t fasten off.
Ears
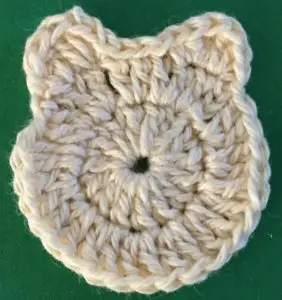
Work 1 sc, 1 hdc and 1 dc in same place as sl st. Work 1 dc, 1 hdc and 1 sc in next st. Sl st into each of next 4 sts. Into following st work 1 sc, 1 hdc and 1 dc, into next st work 1 dc, 1 hdc and 1 sc. Sl st into next st. Fasten off.
Mane
Make a magic loop.
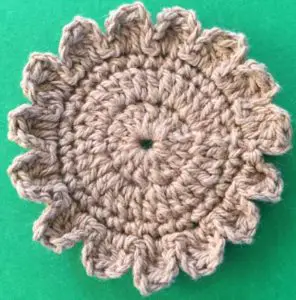
Row 1: 3 ch. Work 14 dc into loop and pull circle tight. Sl st into 3rd ch.
Row 2: 3 ch. Work 2 dc into each st to end. Join with a sl st into 3rd ch.
Row 3: 1 ch, work 1 sc in each st around. Join with a sl st in 1st ch.
Row 4: (3 ch, 1 joined dc over same st as ch and next st, 3 ch, sl st in same st as last part of joined dc, sl st into next st) repeat to end of row. Fasten off.
Paws (If needed) (Make 2)
Make a magic loop.
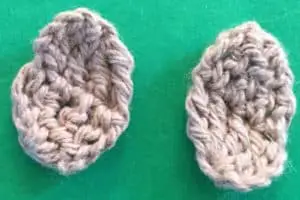
Row 1: 4 ch, 4 tr in loop, pull circle tight but don’t join. Turn.
Row 2: 4 ch, work a 4 tr cluster across the 4 sts. Fasten off.
To Make Up
Weave in endings. Embroider nose, mouth, eyes and whiskers on lions face.
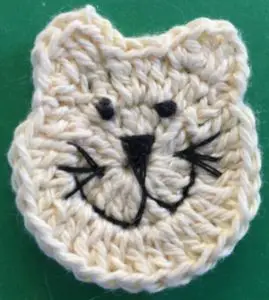
Attach face to mane.
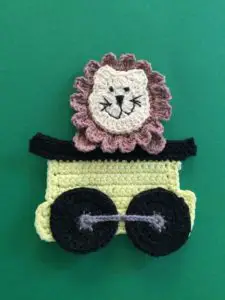
And here’s how the crochet lion face looks when it’s on the train carriage.
Let me know how you are going with the patterns and tutorials and in the next update to the train series I will be doing a panda face, I look forward to seeing you then.
