Welcome to my crochet Labrador head pattern. This was a request that I got. The finished Labrador will look like this.
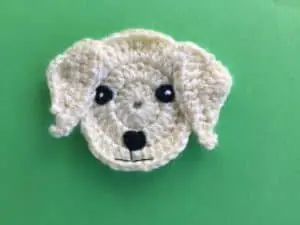
There’s also a video tutorial for this pattern available on my YouTube channel at crochet Labrador head tutorial.
To view this pattern for free, continue to scroll down this page. If you would like to download the ad-free version, it’s available on my Ravelry store for $1 at Labrador head crochet pattern.
This pattern will be using US terminology. If you would like to view the UK version go to crochet Labrador head pattern (UK Version).
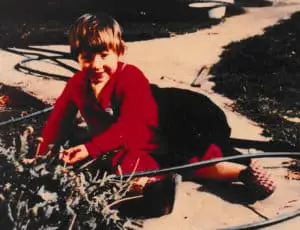
We had a black Labrador called Sooty when I was a child. She was very much part of the family, she seemed to be in every photo taken and came on all our camping trips around Tasmania. Here she is gardening with me.
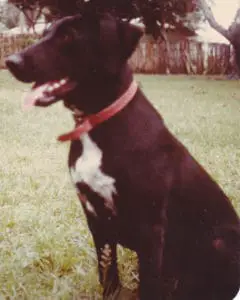
Then we also had a Labrador cross called Pipi, who lived with us when we were in Papua New Guinea and Queensland.
Crochet Labrador Head Pattern
Abbreviations
- st – stitch
- sts – stitches
- ch – chain
- sl st – slip stitch
- sc – single crochet
- hdc – half double crochet
- dc – double crochet
- tr – treble crochet
Materials Used
- I used 1 color of 8 ply yarn which is light worsted in the US and double knit in the UK.
- For the eyes and nose I used black 4 ply crochet cotton, you could use felt or embroider the eyes and nose on if you prefer.
- Crochet hooks, I used a 3mm hook and a 1.5mm hook.
- Scissors.
- Thread to sew together.
- Sewing needle.
- Darning needle to weave in ends.
Size
Large Labrador (Using 8 ply wool)
8.5cm x 6.5cm or 3.25” x 2.5”
Medium Labrador (Using 4 ply crochet cotton)
6cm x 4.5cm or 2.25” x 1.75”
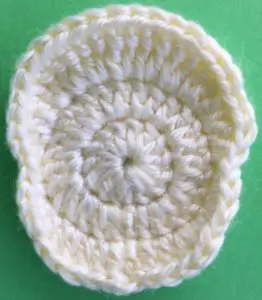
Head
Using main color and a 3mm hook make a magic loop.
Row 1: 2 ch, work 14 dc into circle. Pull circle tight and join with a sl st in top of 1st st.
Row 2: 2 ch, work 1 dc in same place as ch and 2 dc in each st to end, join with a sl st in top of 1st st.
Row 3: 2 ch, work 1 dc in same place as ch, 1 dc in next st and 2 dc in following st, 1 hdc in next st, 2 hdc in following st, 1 sc in next st, a sl st in following st, 1 hdc in next st, 2 dc in following st, 1 dc in next st, 2 tr in each of following 7 sts, 1 dc in next st, 2 dc in following st, 1 hdc in next st, a sl st in following st, 1 sc in next st, 2 hdc in next st, 1 hdc in following st, 2 dc in next st, 1 dc in following st and 2 dc in last st. Join with a sl st in top of 1st st and fasten off.
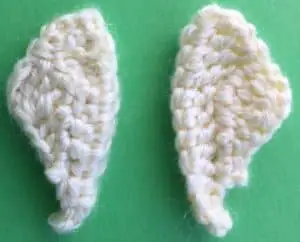
Ears (Make 2)
Using main color and a 3mm hook work 12 ch.
Row 1: Work 1 sl st in 2nd ch from hook, 1 sc in next st, 1 hdc in following st, 1 hdc and 1 dc in next st, 1 dc in each of following 2 sts, 1 tr in each of next 2 sts, a joined tr over last 3 sts. Turn.
Row 2: 4 ch, work a joined tr over 1st 3 sts, 1 dc in next st, 1 hdc in following st, 1 sc in next st and a sl st in following st. Fasten off.
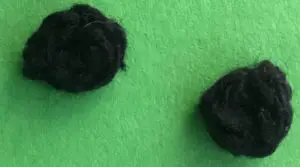
Eyes (Make 2)
Using black 4 ply crochet cotton and a 1.5mm hook make a magic loop.
1 ch, work 5 sc into circle, pull circle tight and join with a sl st in top of 1st st. Fasten off.
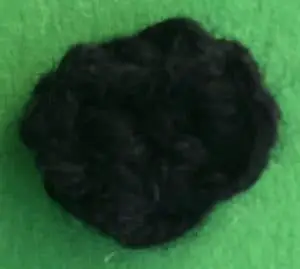
Nose
Using black 4 ply crochet cotton and a 1.5mm hook make a magic loop.
3 ch, work 3 dc into circle, pull circle tight but don’t join. Fasten off.
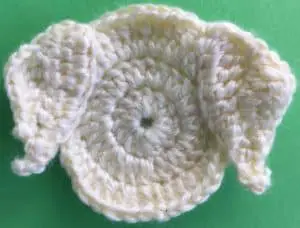
To Make Up
Weave in ends. Stitch the ears to the head as shown.
Attach the nose to the head and embroider on a mouth.
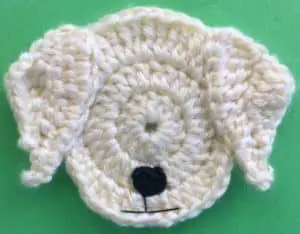
Embroider a white dot on each eye. Sew the eyes to the head where shown.

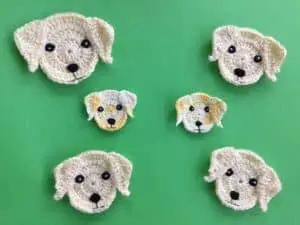
And there’s the finished Labrador head. I’ve also made it in different sizes.
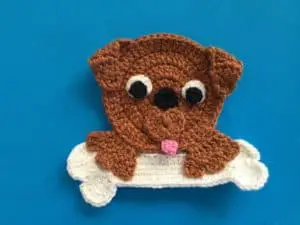
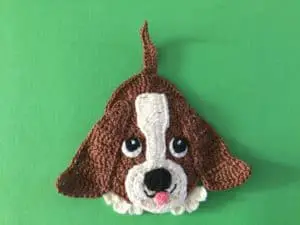
I hope that you’ve enjoyed the pattern. If you have you might also like my other patterns including, a dog with a bone and a Bassett hound.
