The pattern and tutorial I’ll be showing you today is this crochet dog potholder pattern. This was another request that I got quite some time ago.
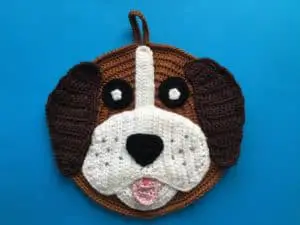
If you would like to follow along with the video tutorial, it’s available at Crochet Dog Potholder Tutorial.
You can view the full pattern on this page if you continue to scroll down or if you would like to download a PDF version it’s available on Ravelry for $1 at Crochet Dog Potholder Pattern.
This pattern will be using UK terminology. If you would like to get the US version go to Crochet Dog Potholder Pattern (US Version).
Crochet Dog Potholder Pattern
Abbreviations
- st – stitch
- sts – stitches
- ch – chain
- sl st – slip stitch
- dc – double crochet
- htr – half treble crochet
- tr – treble crochet
- dtr – double treble crochet
Materials Used
- Brown for the dog’s head (darker brown wool for the ears if desired), pink for the tongue, white and black cotton or wool, I used 8 ply wool which is light worsted in the US and double knitting in the UK. (Don’t use synthetic wool as it would melt).
- A crochet hook, I used a 2.5mm hook.
- Scissors.
- Thread to sew together.
- Sewing needle.
- Darning needle to weave in ends.
- Grey embroidery cotton to sew on the dots.
- Darker pink cotton or wool for the tongue marking if desired.
Head
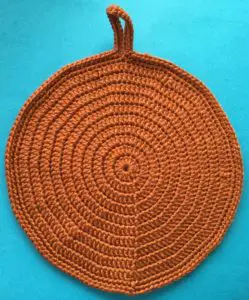
Make a magic loop.
Row 1: 3 ch. Work 14 tr into circle and pull circle tight. Sl st into 3rd ch.
Row 2: 3 ch. 1 tr in same place as ch. Work 2 tr into each st around. Join with a sl st in 3rd ch.
Row 3: 3 ch. Work 1 tr in same place as ch (1 tr in each of next 2 sts and 2 tr in following st) repeat to end, sl st in 3rd ch.
Row 4: 3 ch. Work 1 tr in same place as ch (1 tr in each of next 2 sts and 2 tr in following st) repeat to end, sl st in 3rd ch.
Row 5: 3 ch. Work 1 tr in same place as ch (1 tr in each of next 3 sts and 2 tr in following st) repeat to end, sl st in 3rd ch.
Row 6: 3 ch. Work 1 tr in same place as ch (1 tr in each of next 4 sts and 2 tr in following st) repeat to end, sl st in 3rd ch.
Row 7: 3 ch. Work 1 tr in same place as ch (1 tr in each of next 5 sts and 2 tr in following st) repeat to end, sl st in 3rd ch.
Row 8: 3 ch. Work 1 tr in same place as ch (1 tr in each of next 6 sts and 2 tr in following st) repeat to end, sl st in 3rd ch.
Row 9: 3 ch. Work 1 tr in same place as ch (1 tr in each of next 7 sts and 2 tr in following st) repeat to end, sl st in 3rd ch.
Row 10: 3 ch. Work 1 tr in same place as ch (1 tr in each of next 8 sts and 2 tr in following st) repeat to end, sl st in 3rd ch.
Row 11: 1 ch. Work 1 dc in each st to halfway, 25 ch, 1 dc in same place as last dc, 1 dc in each st to end. Join with a sl st in 1st ch.
Row 12: 1 ch. Work 1 dc in each st to end. Join with a sl st in 1st ch. Fasten off.
Muzzle
17 ch.
Row 1: Miss 2 ch, work 1 htr in each st to end. Turn.
Row 2: 2 ch, work 2 htr in 1st st, 1 htr in each st to end. Turn.
Row 3: 2 ch, work a joined htr over 1st 2 sts, 1 htr in each st to last st, 2 htr in last st. Turn.
Row 4: 2 ch, work 2 htr in 1st st, 1 htr in each st to end. Turn.
Row 5: 2 ch, work a joined htr over 1st 2 sts, 1 htr in each st to last st, 2 htr in last st. Turn.
Row 6: 2 ch, work 2 htr in 1st st, 1 htr in each st to end. Turn.
Row 7: 2 ch, work a joined htr over 1st 2 sts, 1 htr in each st to last st, 2 htr in last st. Turn.
Rows 8-9: 2 ch, work a joined htr over 1st 2 sts, 1 htr in each st to last 2 sts, a joined htr over last 2 sts. Turn.
Row 10: 2 ch, work 2 joined htr over 1st 4 sts, 1 htr in each st to last 4 sts, 2 joined htr over last 4 sts. Turn.
Row 11: 2 ch, work 2 joined htr over 1st 4 sts, 1 htr in each st to last 4 sts, 2 joined htr over last 4 sts. Fasten off.
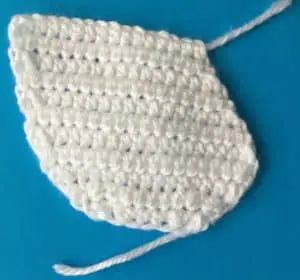
Other Side of Muzzle
Join cotton to beginning ch where tail is, as shown and work in back of ch.
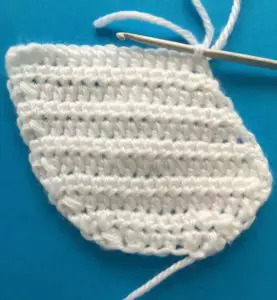
Row 1: 2 ch, work 1 htr in each st to end. Turn.
Row 2: 2 ch, work 1 htr in each st to last st, 2 htr in last st. Turn.
Row 3: 2 ch, work 2 htr in 1st st, 1 htr in each st to last 2 sts, a joined htr over last 2 sts. Turn.
Row 4: 2 ch, work 1 htr in each st to last st, 2 htr in last st. Turn.
Row 5: 2 ch, work 2 htr in 1st st, 1 htr in each st to last 2 sts, a joined htr over last 2 sts. Turn.
Row 6: 2 ch, work 1 htr in each st to last st, 2 htr in last st. Turn.
Row 7: 2 ch, work 2 htr in 1st st, 1 htr in each st to last 2 sts, a joined htr over last 2 sts. Turn.
Rows 8-9: 2 ch, work a joined htr over 1st 2 sts, 1 htr in each st to last 2 sts, a joined htr over last 2 sts. Turn.
Row 10: 2 ch, work 2 joined htr over 1st 4 sts, 1 htr in each st to last 4 sts, 2 joined htr over last 4 sts. Turn.
Row 11: 2 ch, work 2 joined htr over 1st 4 sts, 1 htr in each st to last 4 sts, 2 joined htr over last 4 sts. Don’t fasten off.
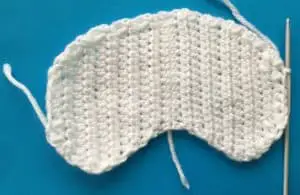
Neatening Row
1 ch, work 1 dc in each st around whole muzzle. Fasten off.
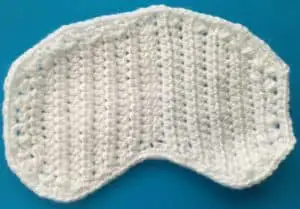
Chin
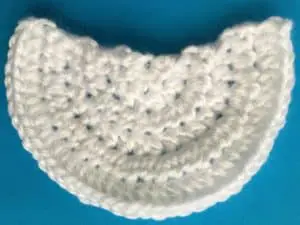
Make a magic loop.
Row 1: 2 ch, 5 htr in circle, pull circle tight but don’t join. Turn.
Row 2: 2 ch, work 1 htr in same place as ch, 2 htr in each st to end. Turn.
Rows 3-5: 2 ch, work 1 htr in same place as ch, (1 htr in next st and 2 htr in following st) repeat to end. Turn.
Row 6: 2 ch, work 1 htr in same place as ch, (1 htr in next st and 2 htr in following st) repeat to end. Fasten off.
Nose
9 ch.
Row 1: Miss 2 ch, work 1 htr in each st to end. Turn.
Rows 2-3: 2 ch, work 1 joined htr over 1st 2 sts, 1 htr in each st to last 2 sts, 1 joined htr over last 2 sts. Turn.
Row 4: 2 ch, work a htr cluster over all sts. Don’t fasten off.
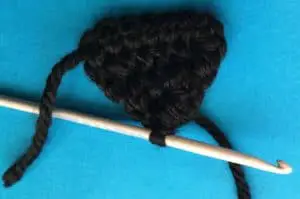
Neatening Row
1 ch, work 1 dc in each st around nose. Fasten off.
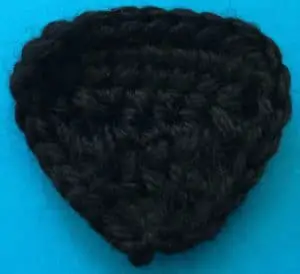
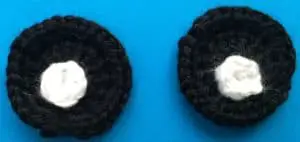
Outer Eye (Make 2)
Make a magic loop.
Row 1: 3 ch, work 14 tr into circle and pull circle tight. Sl st into 3rd ch.
Row 2: 1 ch, work 2 dc in each st around to end. Join with a sl st in ch. Fasten off.
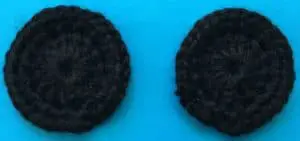
Inner Eye (Make 2)
Make a magic loop.
1 ch, work 5 dc into circle. Pull circle tight and join with a sl st in ch. Fasten off.
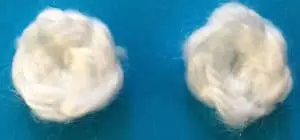
Top Face Marking
30 ch.
Row 1: Miss 3 ch, work 1 tr in each st to end.
Row 2: 1 ch, work 1 dc in each st right around both sides. Sl st in ch. Fasten off.

Tongue
Make a magic loop.
Row 1: 2 ch, 3 htr in circle. Pull circle tight but don’t join. Turn.
Rows 2-3: 2 ch, 1 htr in each st and in top of ch. Turn.
Row 4: 2 ch, 1 htr in each st to end. Turn.
Row 5: 2 ch, work a htr cluster over all sts. Don’t fasten off.
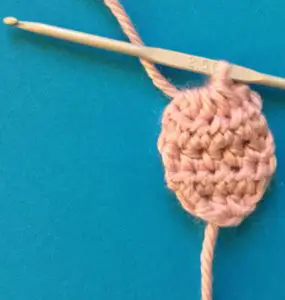
Neatening Row
1 ch, work 1 dc in each st around, join with a sl st in ch. Fasten off.
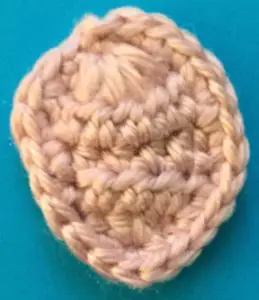
Tongue Marking
6 ch. Fasten off.

Ears (Make 2)
Make a magic loop.
Row 1: 3 ch, 2 tr in circle. Pull circle tight but don’t join. Turn.
Row 2: 3 ch, 2 tr in 1st st, 1 tr in next st, 1 tr in top of ch. Turn.
Row 3: 3 ch, 1 tr in each st to last st, 2 tr in last st. Turn.
Row 4: 3 ch, 2 tr in 1st st, 1 tr in each st to end. Turn.
Row 5: 3 ch, 1 tr in each st to last st, 2 tr in last st. Turn.
Row 6: 3 ch, 2 tr in 1st st, 1 tr in each st to end. Turn.
Row 7: 3 ch, 1 tr in each st to last st, 2 tr in last st. Turn.
Row 8: 3 ch, 2 tr in 1st st, 1 tr in each st to end. Turn.
Row 9: 2 ch, joined htr over 1st 2 sts, 1 tr in each st to end. Turn.
Row 10: 3 ch, joined tr over 1st 2 sts, 1 tr in each st to last 2 sts, 1 htr in each of last 2 sts. Turn.
Row 11: 2 ch, joined htr over 1st 2 sts, 1 tr in each st to end. Turn.
Row 12: 3 ch, joined tr over 1st 2 sts, 1 tr in each st to last 2 sts, 1 htr in each of last 2 sts. Turn.
Row 13: 2 ch, joined htr over 1st 2 sts, 1 tr in each st to end. Turn.
Row 14: 3 ch, joined tr over 1st 2 sts, 1 tr in each st to last 2 sts, 1 htr in each of last 2 sts. Turn.
Row 15: 3 ch, work a tr cluster over all sts. Don’t fasten off.
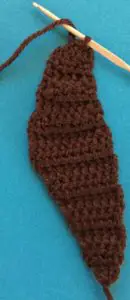
Neatening Row
For the 2nd ear turn the ear over before working the neatening row, so the ears point in different directions.
2 ch, work htr around the ear, working 2 htr in a st when needed to keep the ear flat. Sl st in top of 2 ch. Fasten off.
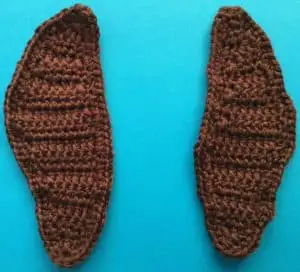
To Make Up
Weave in ends. Stitch inner eye to outer eye.
Stitch nose to muzzle.
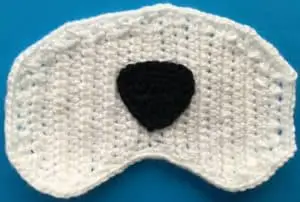
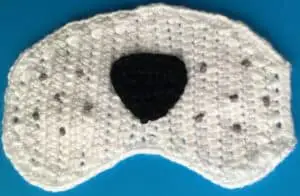
Embroider six dots to each side of muzzle.
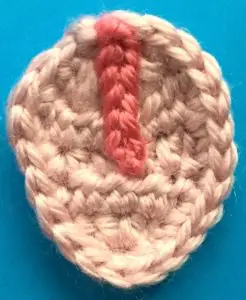
Sew the tongue marking onto the tongue.
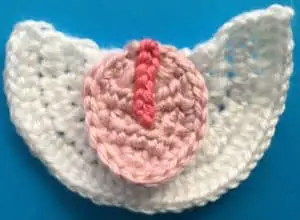
Attach the tongue to the chin stitching just along the top.
Sew the face marking onto the head.
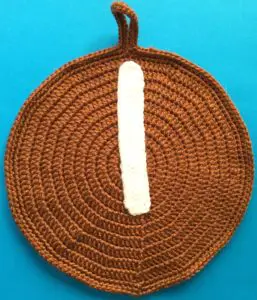
Attach the chin to the head near the bottom of the head.
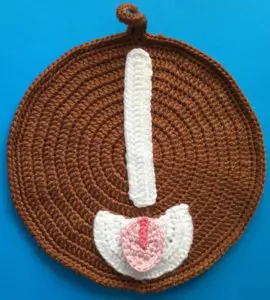
Sew the muzzle onto the head over the top of the face marking and chin.
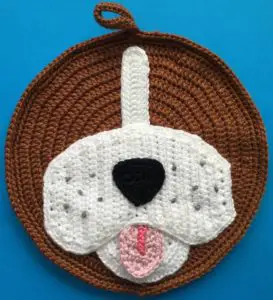
Stitch the eyes to the head where shown.
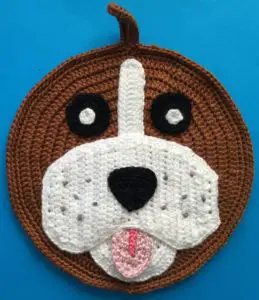
Attach the ears to the head.

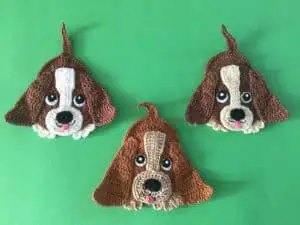
If you like dogs I’ve done a few other patterns that you might like. Here is a basset hound.
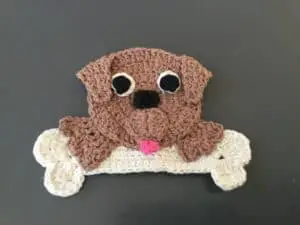
And here’s a dog with a bone.

It’s a shame you don’t have a donate button! I’d most certainly donate to this outstanding blog!
I suppose for now i’ll settle for bookmarking and adding your RSS feed to my Google account.
I look forward to brand new updates and will talk about this website with my Facebook group.
Chat soon!