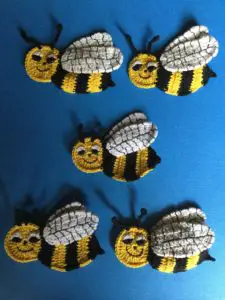
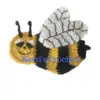
Today I will be showing you the crochet bee pattern that is the design for my logo. The finished bee will look like this.
If you would like to follow along with a video tutorial, the how to video is available on YouTube at Crochet Bee Tutorial.
The full crochet pattern is available to view on this page if you continue scrolling down. If you would like to download the pattern for offline use, it’s available at Ravelry for $1 at Crochet Bee Pattern.
This pattern will be using US terminology, if you would like to get the UK version it’s available at Crochet Bee Pattern (UK Version).
Crochet Bee Pattern
Abbreviations
- st – stitch
- sts – stitches
- ch – chain
- sl st – slip stitch
- sc – single crochet
- hdc – half double crochet
- dc – double crochet
- tr – treble crochet
Materials Used
- Small amounts of yellow, black and white crochet cotton or wool.
- Crochet hook.
- Black sewing or embroidery cotton for wing markings and face.
- Sewing needle.
- Darning needle to weave in ends.
- Scissors.
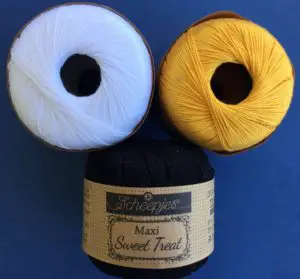
Purchasing Supplies
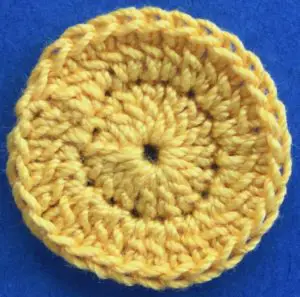
Head
Make a magic loop.
Row 1: 3 ch. Work 14 dc into loop and pull tight. Sl st into 3rd ch.
Row 2: 3 ch. Work 2 dc into each dc. Join with a sl st in 3rd ch. Fasten off.
Body
Join black thread to head.
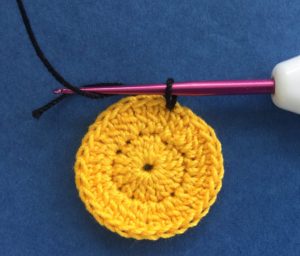
Row 1: Ch 3, work another dc in same place and then 1 dc in next 2 sts, 3 tr in following st and 1 dc in each of next 2 sts. Then 2 dc in next st. Turn.
Row 2: Ch 3, 1 dc in same place, work 1 dc in each of next 3 dc, 1 tr in each of next 3 tr, 1 dc in each of next 3 dc and 2 dc in last st. Turn.
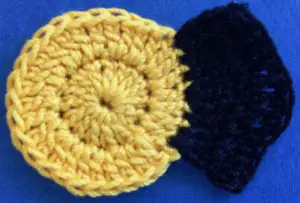
Change to yellow
Row 3: 3 ch, 1 dc in same st, 1 dc in each st to last st, 2 dc in last st. Turn.
Row 4: 3 ch, 1 dc in same st, 1 dc in each st to last st, 2 dc in last st. Turn.
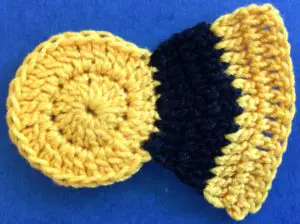
Change to black
Row 5: 3 ch. 1 dc in each st across. Turn.
Row 6: 3 ch dec dc in next 2 sts, dc across to last 2 sts. Dec dc in these 2 sts. Turn.
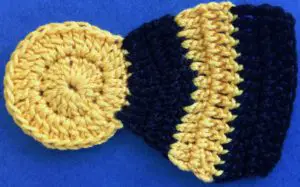
Change to yellow
Row 7: 3 ch 2 dec dc over next 4 sts, dc to last 4 sts, 2 dec dc in these sts. Turn.
Row 8: 3 ch 2 dec dc over next 4 sts, dc to last 4 sts, 2 dec dc in these sts. Turn.
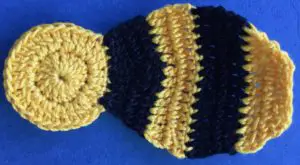
Change to black
Row 9: 2 ch, 1 hdc and 1 dc over next 2 sts, 2 tr into next st, 1 dc and 1 hdc over next 2 sts. Fasten off.
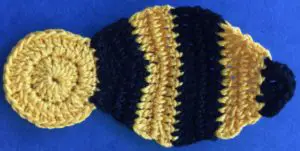
Sc around the body and head using the colours of the stripes working a stinger in the middle of the last black section by doing 3 ch, 1 sc in 2nd ch from hook and 1 hdc, continue sc around.
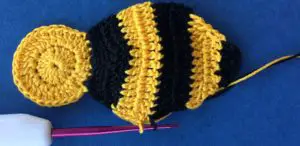
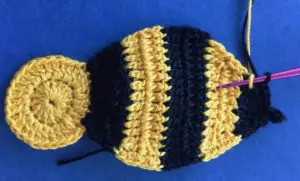
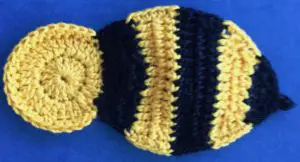
Wings (Make 2)
Ch 18.
Row 1: 2 dc in 4th ch from hook, 1 dc in each ch to last, 3 dc in last ch, continue working a dc into the back of each ch, sl st. into top at beginning of row.
Row 2: ch 2, 1 hdc in same place, work 2 hdc into each of next 3 sts and then 1 dc into each of next 2 sts, 1 tr into each of next 7 sts, 1 dc into each of next 2 sts, work 2 hdc into each of next 6 sts. 1 dc into each of next 2 sts, 1 tr into each of next 7 sts, 1 dc into each of next 2 sts and then 2 hdc into each of next 2 sts. Sl st into 2nd ch.
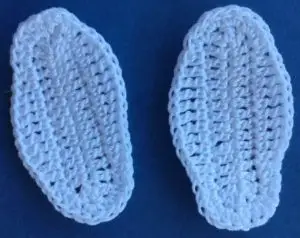
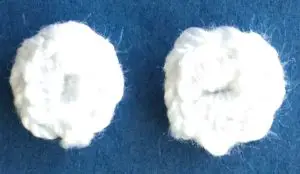
Eyes (Make 2)
Make a magic loop.
Row 1: 1 ch. Work 10 sc into loop and pull tight. Slip st. into 1st ch.
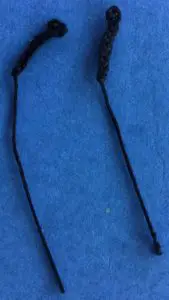
Antenna (Make 2)
Ch 9, hdc in 2nd ch from hook. Fasten off.
To Make up
Finish off ends. Embroider markings on wings if desired. Embroider markings on eyes, a nose over the centre circle and a mouth. Sew on eyes.
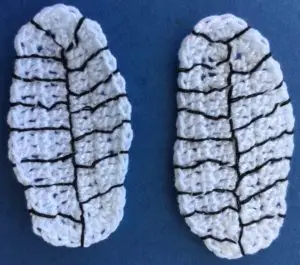
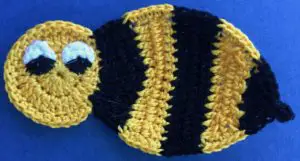
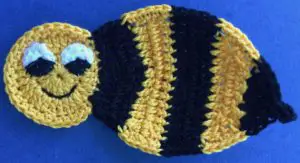
Sew on wings.
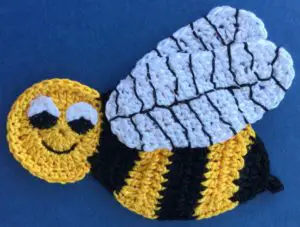
Attach Antenna.
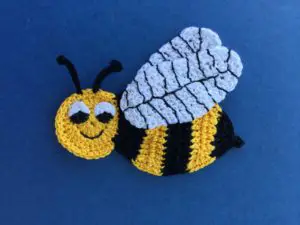
I hope you have enjoyed the crochet bee pattern and if you have any issues let me know in the comments.
whoah this blog is excellent i love reading your posts. Keep up the great work! You know, a lot of people are hunting around for this info, you can help them greatly.
Thank you Dyan, it’s great to get the feedback.
I’d need to verify with you here. Which isn’t something I often do! I get pleasure from reading a submit that can make people think. Additionally, thanks for allowing me to comment!
Do you mind if I quote a few of your posts as long as I provide credit and sources back to your webpage? My blog is in the exact same area of interest as yours and my users would definitely benefit from a lot of the information you present here. Please let me know if this ok with you. Appreciate it!
Yes Tania, that would be ok. Thank you for asking.
That train is the cutest thing. Does it matter if I use different needle and yarn….only because so are to see. Thanks for sharing your talent and time.
Hello Mary, thank you. Feel free to use whatever size needle and yarn you feel comfortable with. The only thing that will change will be the size of the finished train.