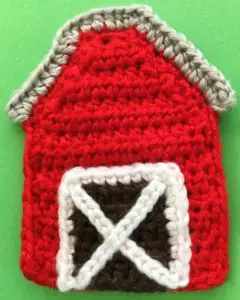
For my beginner crochet guide today I’ll be showing you how to make this crochet barn.
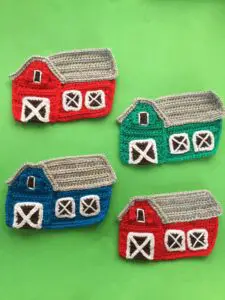
There is also a video tutorial available at Crochet Barn Tutorial.
To view the full pattern for free continue scrolling down the page. Or if you would like to download the pattern you can on my Ravelry store for $1 at Crochet Barn Pattern or from LoveCrafts at Crochet Barn Pattern.
This pattern will be using US terminology. If you would like to view the UK version go to Crochet Barn Pattern (UK Version).
Crochet Barn Pattern
Abbreviations
- st – stitch
- sts – stitches
- ch – chain
- sl st – slip stitch
- sc – single crochet
- hdc – half double crochet
- dc – double crochet
Materials Used
- Red, brown, white and grey cotton or wool, I used 8 ply wool, which is light worsted in the US and double knit in the UK.
- A crochet hook, I used a 2.5mm hook.
- Scissors.
- Sewing needle.
- Darning needle to weave in ends.
- Sewing thread to stitch the barn together.
Barn Front
14 ch.
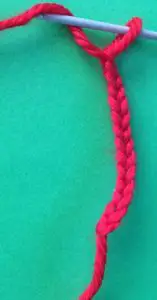
Row 1: Miss 1st 2 ch and work 1 hdc in each st to end. Turn.
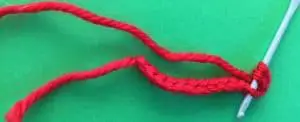

Rows 2-9: 2 ch, work 1 hdc in each st to end. Turn.
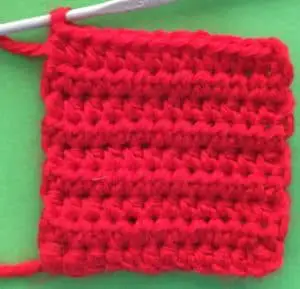
Rows 10-13: 2 ch, work a joined hdc over 1st 2 sts, 1 hdc in each st to last 2 sts, a joined hdc over last 2 sts. Turn.

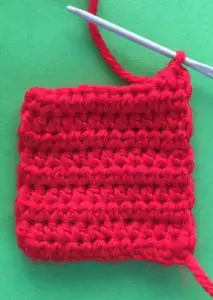
Row 14: 2 ch, work a joined hdc over 1st 2 sts and a joined hdc over last 2 sts. Don’t Fasten off.
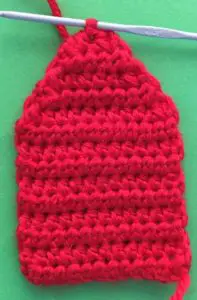
Neatening Row
1 ch, work 1 sc in each st on sides and 1 sc, 1 ch and 1 sc into each corner st. join with a sl st in 1st ch. Fasten off.
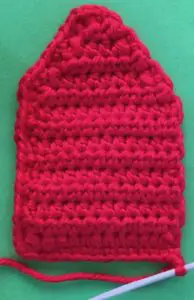
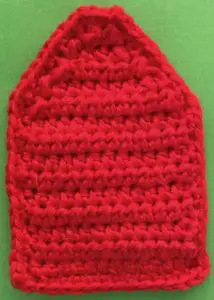
Barn Front Roof
Join wool in st of 1st dec. as shown.
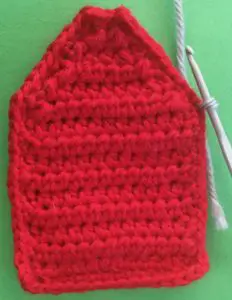
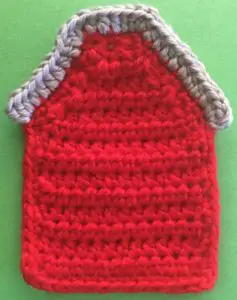
2 ch, working up the roof work 1 hdc in same place as ch, 1 hdc in each st to corner st, 3 hdc in corner st, 1 hdc in each st along top of roof, 3 hdc in corner st, 1 hdc in each st down to st before 1st dec., 2 hdc in next st. Fasten off.
Barn Door
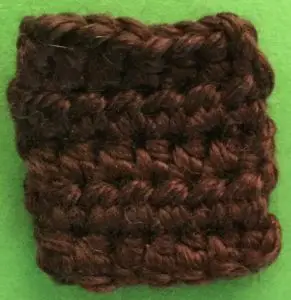
8 ch.
Row 1: Miss 1st 2 ch and work 1 hdc in each st to end. Turn.
Rows 2-4: 2 ch, work 1 hdc in each st to end. Turn.
Row 5: 2 ch, work 1 hdc in each st to end. Fasten off.
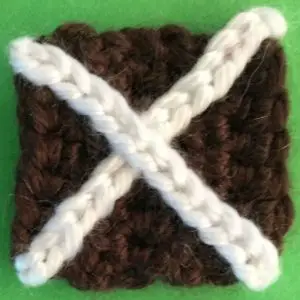
Marking for Door (Make 2)
Make a length of chain to stitch on the barn door diagonally.
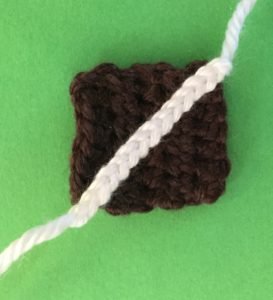
Stitch the 2 lengths of chain to the barn door as shown and weave in ends.
Neatening Row
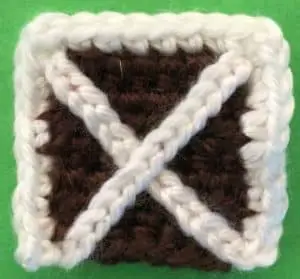
Join white wool to one corner of the barn door.
1 ch, work 1 sc in each st on 3 sides and 1 sc, 1 ch and 1 sc into each corner st. Fasten off.
Small Window
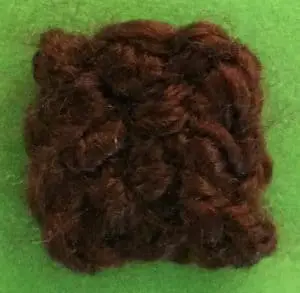
5 ch.
Row 1: Miss 1st 2 ch and work 1 hdc in each remaining ch. Turn.
Row 2: 2 ch, work 1 hdc in each st. Fasten off.
Shutters
Join wool to a corner st.
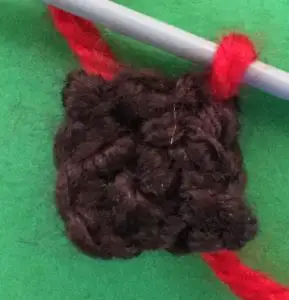
Row 1: 1 ch, work 1 sc in each st to next corner. Turn.
Row 2: 1 ch, work 1 sc in each st. Fasten off.
Work another shutter the same on the other side.
Barn Side
20 ch.
Row 1: Miss 1st 2 ch and work 1 hdc in each st to end. Turn.
Row 2: 2 ch, work 1 joined hdc over 1st 2 sts, 1 hdc in each st to last st, 2 hdc in last st. Turn.
Row 3: 2 ch, work 1 hdc in each st to end. Turn.
Row 4: 2 ch, work 1 joined hdc over 1st 2 sts, 1 hdc in each st to last st, 2 hdc in last st. Turn.
Row 5: 2 ch, work 1 hdc in each st to end. Turn.
Row 6: 2 ch, work 1 joined hdc over 1st 2 sts, 1 hdc in each st to last st, 2 hdc in last st. Turn.
Row 7: 2 ch, work 1 hdc in each st to end. Turn.
Row 8: 2 ch, work 1 joined hdc over 1st 2 sts, 1 hdc in each st to last st, 2 hdc in last st. Turn.
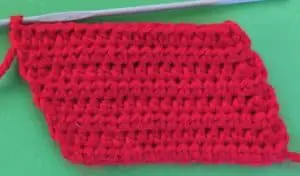
Neatening Row
The barn side needs to slope upwards so make sure it is facing the right way before starting the neatening row.
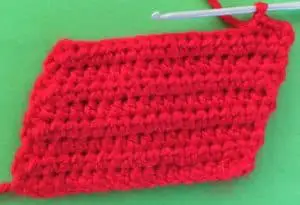
After turning, work 1 ch, then 1 sc in each st, working along the long side first, on sides and 1 sc, 1 ch and 1 sc in each corner st. Join with a sl st in 1st ch. Fasten off.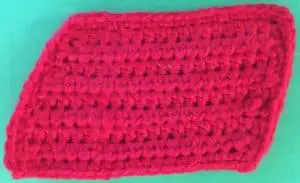
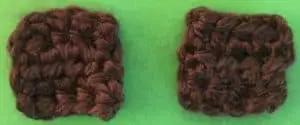
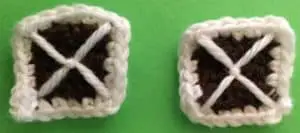
Side Windows (Make 2)
6 ch.
Row 1: Miss 1st 2 ch and work 1 hdc in each st to end. Turn.
Row 2: 2 ch, work 1 hdc in each st to end. Turn.
Row 3: 2 ch, work 1 hdc in each st to end. Fasten off.
Neatening Row
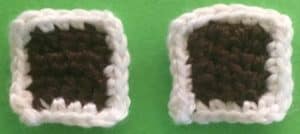
Join white wool to one corner of the window.
1 ch, work 1 sc in each st on sides and 1 sc, 1 ch and 1 sc into each corner st. join with a sl st in 1st ch. Fasten off.
Roof
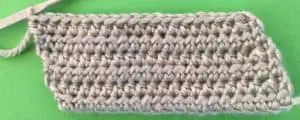
22 ch.
Row 1: Miss 1st 2 ch and work 1 hdc in each st to end. Turn.
Row 2: 2 ch, work 1 joined hdc over 1st 2 sts, 1 hdc in each st to last st, 2 hdc in last st. Turn.
Row 3: 2 ch, work 1 hdc in each st to end. Turn.
Row 4: 2 ch, work 1 joined hdc over 1st 2 sts, 1 hdc in each st to last st, 2 hdc in last st. Turn.
Row 5: 2 ch, work 1 hdc in each st to end. Turn.
Row 6: 2 ch, work 1 joined hdc over 1st 2 sts, 1 hdc in each st to last st, 2 hdc in last st. Turn.
Neatening Row
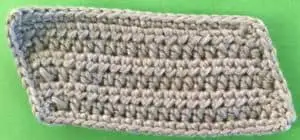
1 ch, then work 1 sc in each st on sides, working along short side first, and 1 sc, 1 ch and 1 sc in each corner st. Join with a sl st in 1st ch. Fasten off.
To Make Up
Weave in Ends. Stitch barn door to the bottom centre of front barn piece with side without the neatening to the bottom.
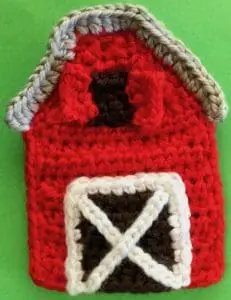
Attach the top window to the front barn piece as shown.
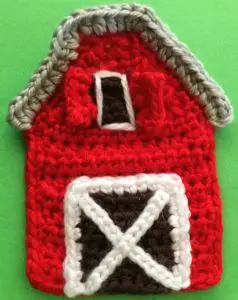
Outline the window part of the top window if desired.
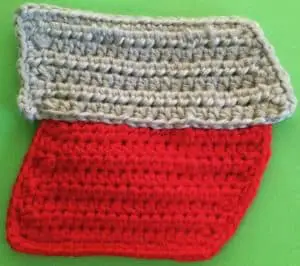
Sew the roof to the side barn piece having the roof overhanging the side.
Stitch the front barn piece to the side barn piece with the front piece on top.
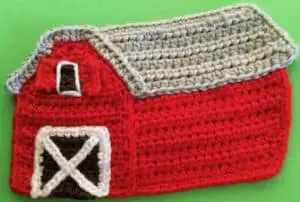
Sew the markings on the side windows as shown.
Attach the side windows to the side of the barn.
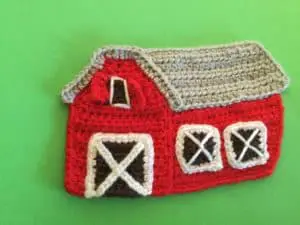
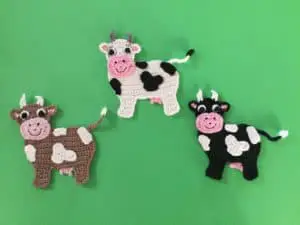
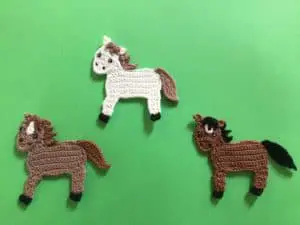
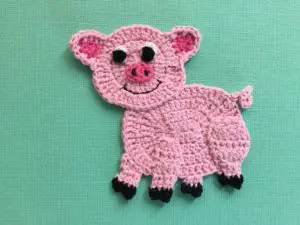
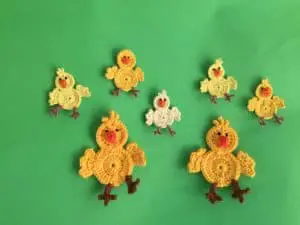
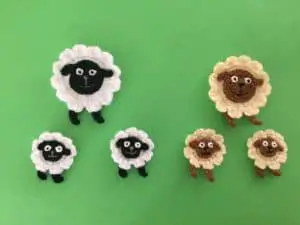
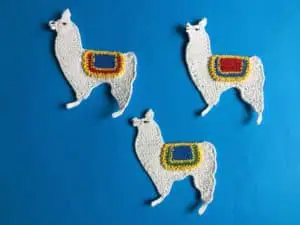
And there’s the finished crochet barn. I hope you’ve enjoyed the pattern. If you want to make some other items to go with the barn I’ve also got cow, horse, pig, chicken, sheep, rabbit and llama patterns.



i really like all your patterns, i wish i had a copping machine i would buy your patterns off of ravelry store, thanks for putting some for free, really love your crochet ,you do a great job great work
Thank you Shiela, it’s great to get lovely feedback. We like to have most of our patterns for free and also have them on Ravelry for the ones who like them in PDF for a small cost.