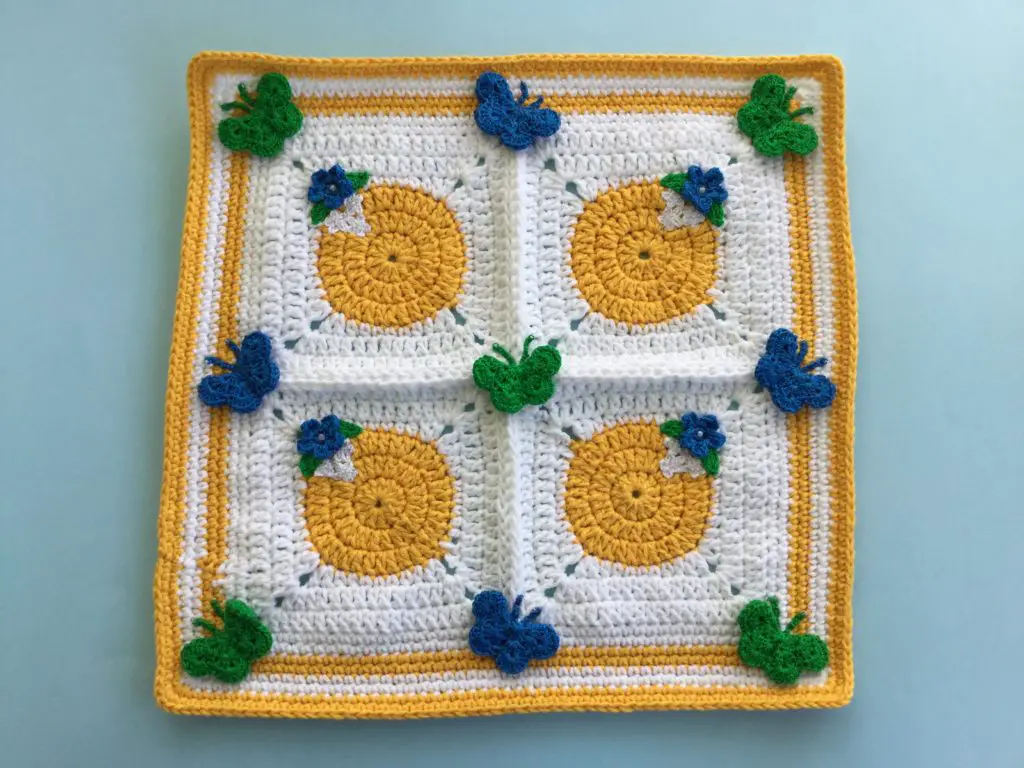
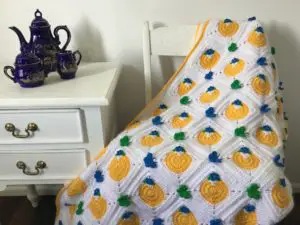
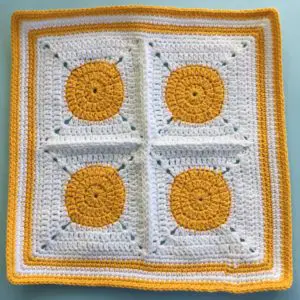
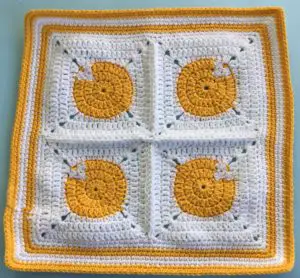
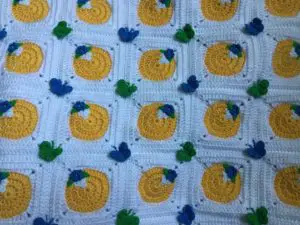
Welcome to my crochet spring blanket or cushion cover pattern. This is what the finished blanket will look like.

There are also video tutorials for this pattern available on my YouTube channel at Spring Blanket and Cushion Cover Tutorials.
To view this pattern for free, continue to scroll down this page. If you would like to download the ad-free version, it’s available on my Ravelry store for $1 at crochet spring blanket pattern and on LoveCrafts at crochet spring blanket pattern.
This pattern will be using US terminology. If you would like to view the UK version go to crochet spring blanket pattern (UK version).
Spring Blanket or Cushion Cover
Abbreviations
- st – stitch
- sts – stitches
- ch – chain
- sl st – slip stitch
- sc – single crochet
- hdc – half double crochet
- dc – double crochet
- tr – treble crochet
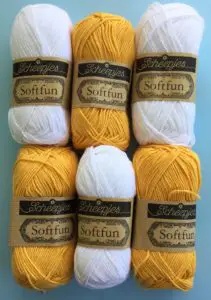
Materials Used
- Crochet cotton and yarn, I used Scheepjes Softfun colors (2412) Snow and (2610) Butterscotch for the circle to square granny squares and Maxi Sugar Rush colors (606) Grass Green, (215) Royal Blue and (106) Snow white for the flowers and butterflies.
- Crochet hooks, I used a 1mm hook for the flowers and butterflies, a 4mm hook for the squares and a 3.5mm hook for the edging.
- Scissors.
- Darning needle to weave in ends.
- Sewing thread and needle to stitch the flowers and butterflies to the blanket and cushion.
- Small seed beads for the small flowers and butterflies and larger white beads for the larger flowers.
- I used a beading needle to attach the seed beads to the small flowers and stitch the flowers together.

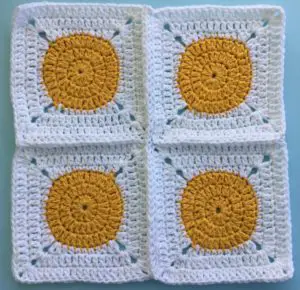
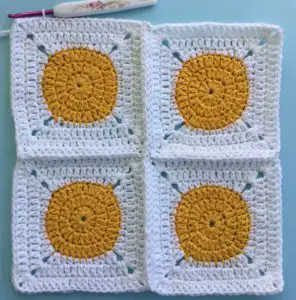
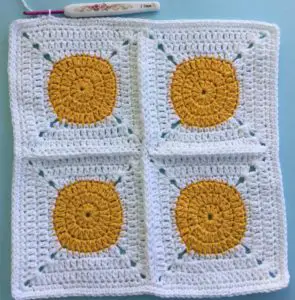
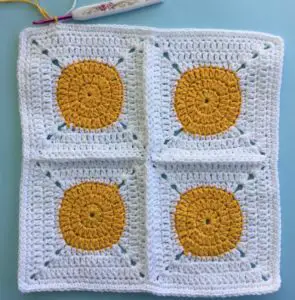
Circle to Square Granny Square (Make the desired amount, I made 130 squares for the blanket and 4 for the cushion)
My blanket is 10 squares wide and 13 squares long. I made 20 circles out of each yellow ball of yarn and 8 squares out of each white ball of yarn. I allowed 2 balls of each for the edging.
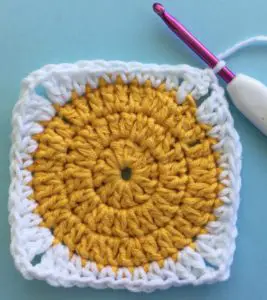
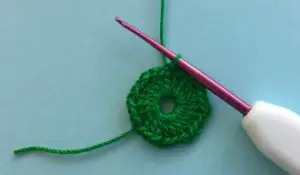
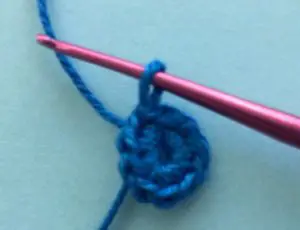
Using yellow make a magic loop.
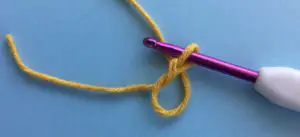

Row 1: 2 ch, work 12 dc in circle. Pull circle tight and join with a sl st in top of 1st st.
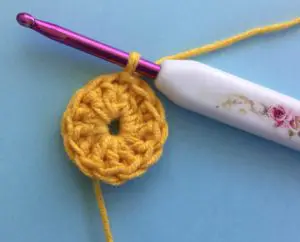

Row 2: 2 ch, work 2 dc in each st. Join with a sl st in top of 1st st. (24 sts)
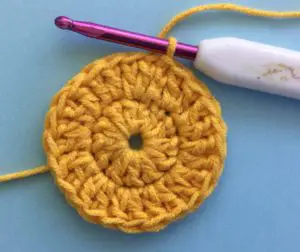

Row 3: 2 ch, work 1 dc in same st as ch, (2 dc in next st, 1 dc in following st) repeat to end of row. Join with a sl st in top of 1st st. (36 sts)
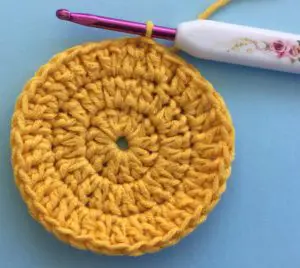

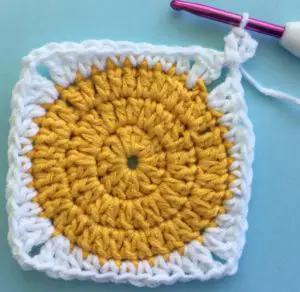
Join in white and fasten off yellow.
Row 4: 3 ch, work 1 dc in same st as ch, (1 hdc in each of next 2 sts, 1 sc in each of following 3 sts, 1 hdc in each of next 2 sts, 2 dc in next st, 2 ch, 2 dc in following st) 3 times, 1 hdc in each of next 2 sts, 1 sc in each of following 3 sts, 1 hdc in each of next 2 sts, 2 dc in next st, 1 ch, work a sc in 3rd ch.

Row 5: 3 ch, work 1 dc in loop next to ch, 1 dc in join, work 1 dc in each st along sides and 2 dc, 2 ch and 2 dc in each corner loop to last corner. Into last corner work 2 dc, 1 ch and 1 sc in 3rd ch.

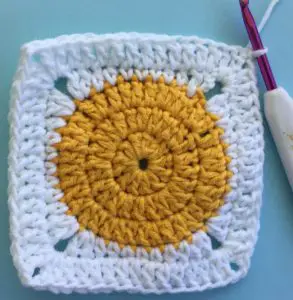

Row 6: 3 ch, work 1 dc in loop next to ch, 1 dc in join, work 1 dc in each st along sides and 2 dc, 2 ch and 2 dc in each corner loop to last corner. Into last corner work 2 dc, 2 ch and sl st in 3rd ch. Fasten off.

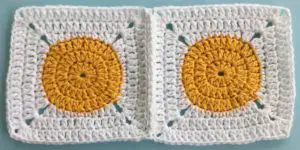
Join the squares together with a sl st or sew them together. For the blanket I added the flowers and butterflies as I joined the squares together to make it easier to stitch them on.


Edging
Join white yarn to any st.

Row 1: 1 ch, work 1 sc in each st along sides and 3 sc in 2 ch corner loops. Join with a sl st in top of 1st st.
Row 2: 1 ch, work 1 sc in each st along sides and 3 sc in corner sts. Join with a sl st in top of 1st st.

Change to yellow.
Row 3 & 4: 1 ch, work 1 sc in each st along sides and 3 sc in corner sts. Join with a sl st in top of 1st st. Fasten off for the blanket.


I worked another 2 rows of row 2 in white and 2 rows of row 2 in yellow for the cushion as I wanted a wider edging to make it bigger and to add butterflies around the edging.

Butterfly
(I made 5 green butterflies and 4 blue butterflies for the cushion. I made 54 of each color butterfly for the blanket)
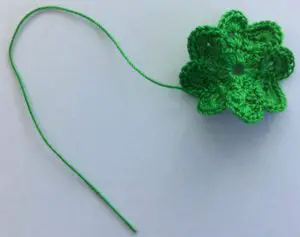
Make a magic loop.
Row 1: 3 ch, work 2 dc in circle, (1 ch, 3 dc in circle) 7 times, 1 ch, join with a sl st in 3rd ch.

Row 2: Sl st to 1st 1 ch loop, 3 ch, work 2 dc, 1 ch 3 dc in loop, (into next loop work 3 dc, 1 ch, 3 dc) 7 times, join with a sl st in 3rd ch.


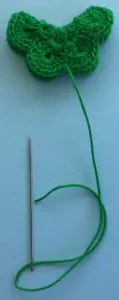
Row 3: (Work 8 dc in next 1 ch loop, 1 sc in between the 2 lots of 3 dc), 7 times, 8 dc in next 1 ch space, sl st in join for row 2. Fasten off leaving a long tail to stitch the butterfly together.

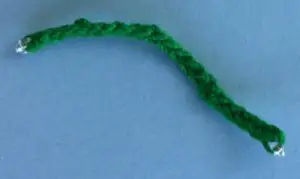
Antenna
Leaving a long tail at each end work 20 ch. Fasten off.
![]()

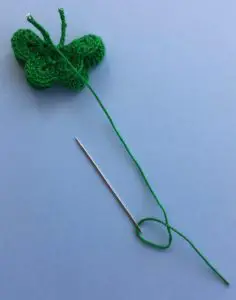
To Make Up
Attach a bead to each end of the antenna and weave the end in over the bead.

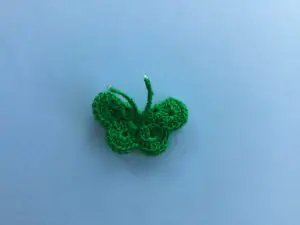
Fold the butterfly in half with the tail at the bottom and using the tail stitch the butterfly together up the middle of the butterfly.

Attach the middle of the antenna to the top of the butterfly.

Flowers
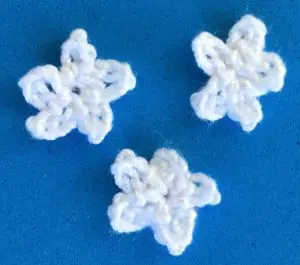
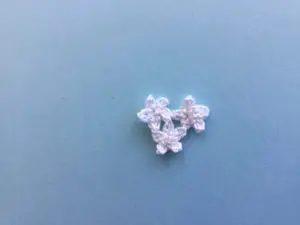
Small flower
I made a set of 3 small flowers for each granny square.
Make a magic loop.
1 ch, (1 sc in circle, 4 ch) 5 times, Sl st in 1st sc. Fasten off.

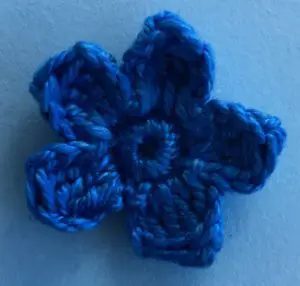
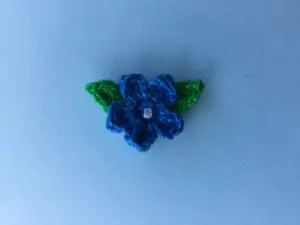
Large Flower
Make a magic loop
Row 1: 1 ch, work 10 sc in circle, join with a sl st in top of 1st st.

Row 2: (3 ch, work a 4 tr cluster, 2 in same st as ch and 2 in next st, 3 ch, sl st in same st as last st, sl st in next st) repeat to end of row. Fasten off.

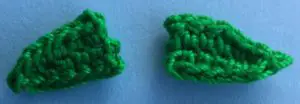
Leaf
8 ch.
Miss 2 ch and work 1 hdc in each of next 3 sts, 1 sc in each of following 2 sts, sl st in last st, 1 ch, sl st in last st, work 1 sc in back loop of each of next 2 sts, 1 hdc in back loop of each st to end. Fasten off.

To Make Up
Weave in ends. Sew 2 small flowers together by end of 1 petal and attach a bead to centre of each flower, stitch the 3rd small flower to other 2 flowers at join of the stitched together petals and 1 petal each side as shown. Sew a bead to the centre of 3rd flower.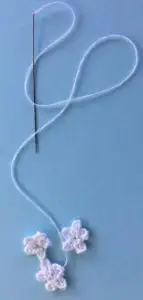

Attach a bead to the centre of the large flower and attach the leaves.
To Make Up Spring Blanket or Cushion
Attach the small white flowers to the top corner of the yellow part of each circle to square granny on one side only. I attached half on the right side and half on the left side for both the blanket and cushion.

Attach the larger flower and leaves to the top of each small flower set as shown.
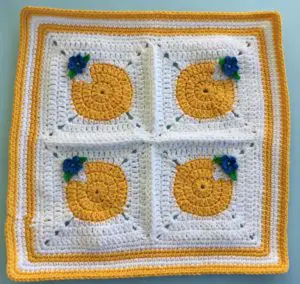

I stitched the wings of the butterflies together before attaching them to the blanket then stitched them to the blanket up the middle of the butterfly. I then stitched the antenna down. For the cushion I had the butterflies facing outward and stitched butterflies around the edging and 1 in the centre but for the blanket I had my butterflies facing towards the centre and only added them to the joins of the granny squares. For my middle row of joins I stitched 1 butterfly facing 1 way and the next the other way.
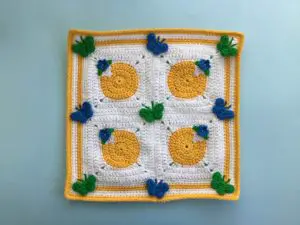
And there’s the finished cushion cover.
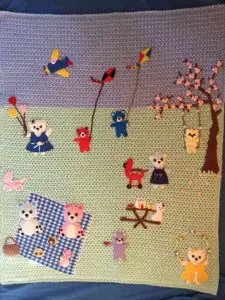
And there’s the finished blanket. I hope you’ve enjoyed the pattern, if you have you might also want to look at my teddy bears picnic blanket.