
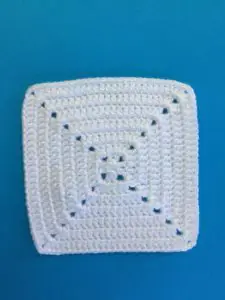
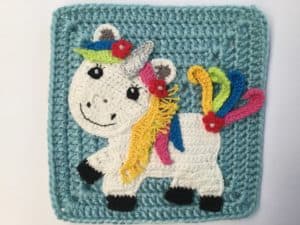
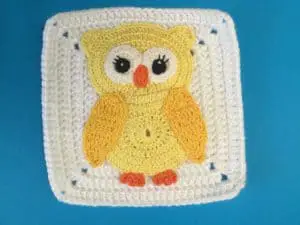
Welcome to my latest crochet beginner pattern and tutorial. I recently entered a granny square design competition and used this solid crochet granny square to attach some of my appliques to.

If you would like to follow along with the video tutorial it’s available at Solid Crochet Granny Square Tutorial.

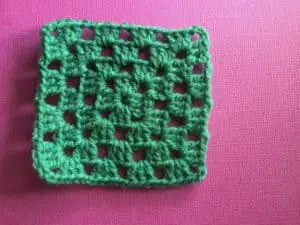
I previously showed you how to crochet a traditional granny square.

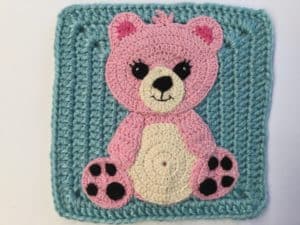
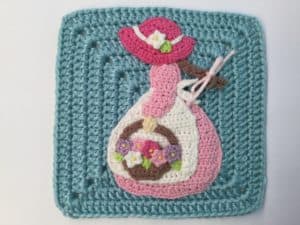
For the competition I entered these squares with a teddy bear, a girl with a basket of flowers, a unicorn and an owl.
This pattern will be using US terminology. If you would like to view the UK version go to Solid Crochet Granny Square Pattern (UK Version).
Solid Crochet Granny Square Pattern
Abbreviations
- st – stitch
- sts – stitches
- ch – chain
- sl st – slip stitch
- hdc – half double crochet
- dc – double crochet
Materials
- Wool.
- Crochet hook suitable for the ply wool you are using.
- Scissors.
- Darning needle to weave in ends.
Granny Square
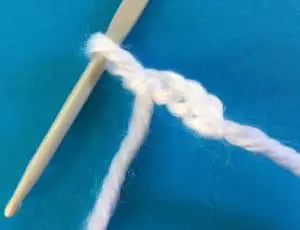
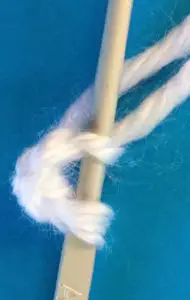
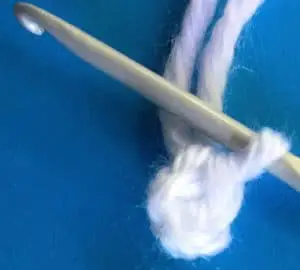
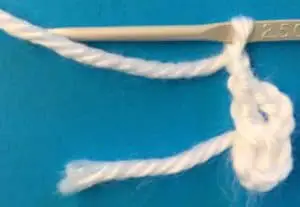
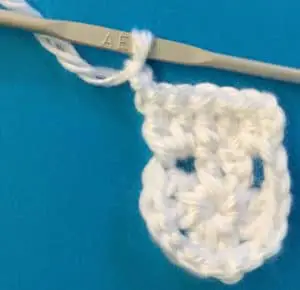
4 ch, join with a sl st in 1st ch.


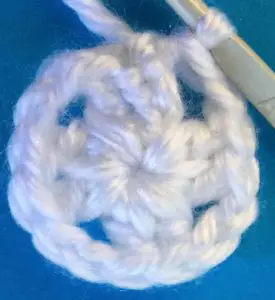
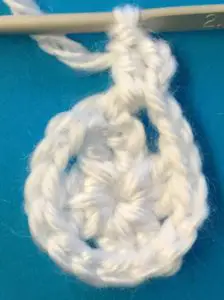
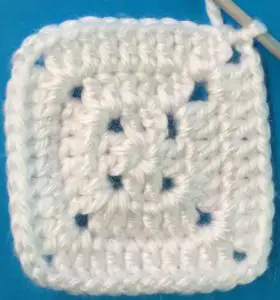
Row 1: 3 ch (Counts as 1st dc), 1 dc into circle (2 ch, 2 dc into circle) 3 times, 1 ch, work a hdc into top of 3 ch from the beginning of row.


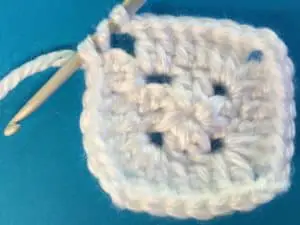
Row 2: 3 ch, 1 dc in same place as 3 ch, 1 dc in each of next 2 sts, (2 dc, 2 ch and 2 dc into next corner, 1 dc into each of next 2 dc) 3 times, 2 dc into next corner, 1 ch, work a hdc into top of 3 ch from beginning of row.


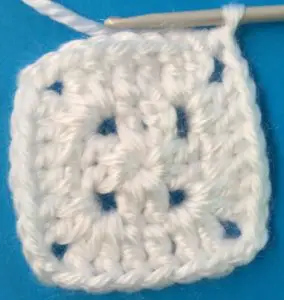

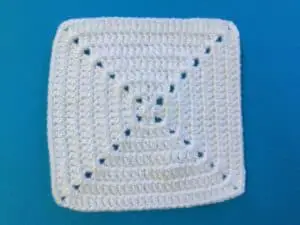
Row 3: 3 ch, 1 dc in same place as 3 ch, 1 dc in each st to next corner ch, (2 dc, 2 ch and 2 dc into next corner, 1 dc in each st to next corner ch,) 3 times, 2 dc into next corner, 1 ch, work a hdc into top of 3 ch from beginning of row.
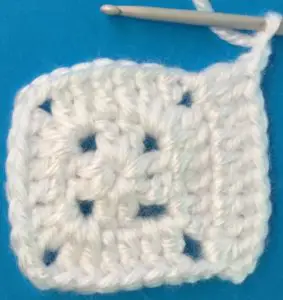


Repeat row 3 until your granny square is the desired size. To end off your granny square work 2 ch and sl st into top of the 3 ch at beginning of row instead of working 1 ch and 1 hdc in top of 3 ch. Fasten off and weave in ends.
Thank you for joining me.