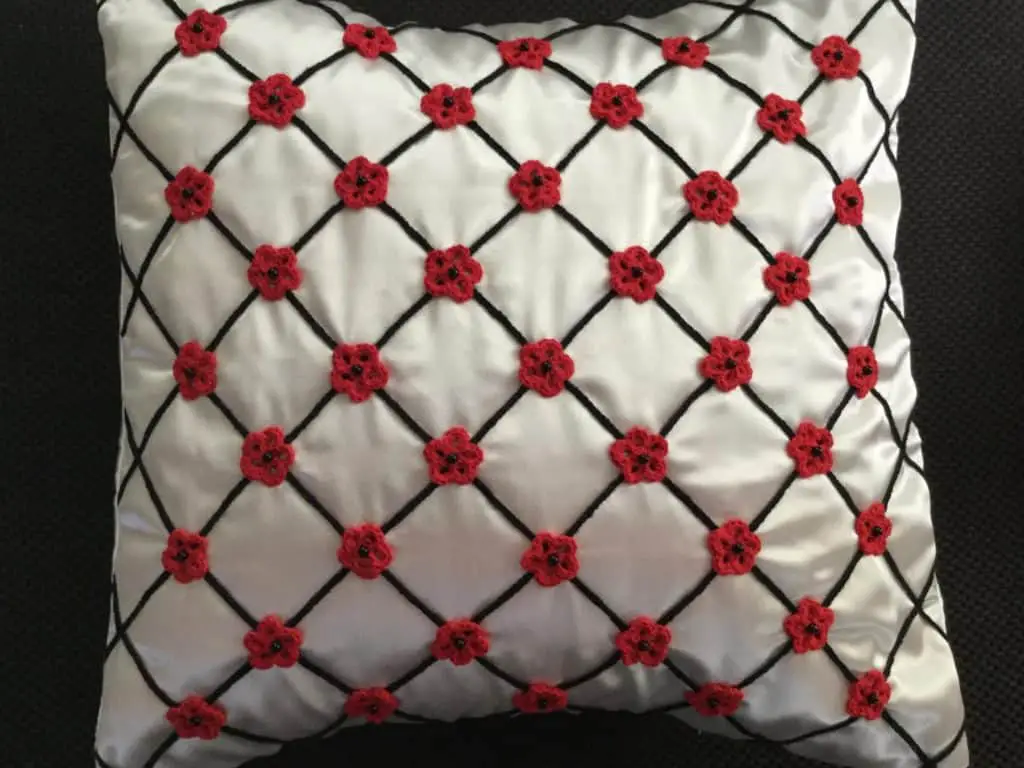
A flower cushion will be the next crochet pattern that I will be releasing. It’s a beginner pattern that will look like this once finished.
I have also made a how to video tutorial to follow along with which is available on YouTube at Crochet Flower Cushion Tutorial.
This pattern will be using UK terminology so if you would like to get the US version go to Flower Cushion Crochet Pattern (US Version).
Flower Cushion Crochet Pattern
Materials Used
- Black and desired colour of 4 Ply Crochet Cotton.
- 1 meter or 1 yard of material for cushion.
- Small amount of lining for the front of cushion (I used Calico).
- Large seed beads.
- Cushion insert (I used a 45cm or 18” insert).
- Scissors.
- Thread.
- Fine needle to fit through seed bead.
Cushion Preparation
Make your cushion 5 cm (which is close to 2”) bigger than the insert.
I draw in the size of my cushion on my material and then draw lines diagonally from the corners. Then I draw in the other lines the same distance apart. (My lines are about 2” apart or 5 cm) as shown.
Chain Strips
Make your chain strips about ½” or 1.5cm longer than your lines. I stitch the chain strips on with my sewing machine but you could hand stitch them on. I start with the 2 longest strips and then work out from the centre so that my cushion stays nice and flat with no puckering.
Once all the chain strips are stitched on I zigzag around the outside just outside the edge of the cushion to hold the ends down.
Flowers
4 ch and join with a sl st.
Row 1: 1 ch, dc into circle, *5 ch, dc into circle* repeat 3 times, 5 ch, sl st into 1st dc. (5 petals).
Row 2: Work 5 dc into each petal with a sl st into the dc in between the petals. Sl st into the 1st dc. Fasten off.
You will need a flower for each time the black strips cross, except if the last row is too close to the edge to put a flower on. I needed 41 flowers.
To Make Up
Attach a flower to each join using a seed bead stitching through the bead a few times to secure it. I like to stitch around my flowers so they don’t look tatty over time.
I stitch over the marking for the size of my cushion so I can use it as a guide on the back when stitching the cushion together. I cut out 2 back pieces for the cushion (these don’t need to be lined) the same width as the cushion and about ¾ of the length.
I turn over and neaten one end of each back and then place the backs with the neatened edges overlapping in the centre on the front with the right sides facing.
I machine stitch the front and backs together and then zigzag around the outside of the stitching. I trim away the excess material and turn the cushion to the right side.
It is now ready to have the insert put in.
I’d love to hear how you go with this pattern.

