
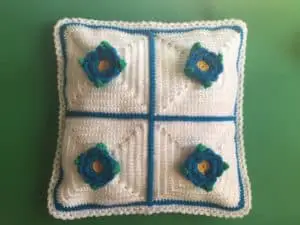
In this weeks beginner guide I’ll show you how to crochet an edging for a cushion. This is an ongoing series in which I’ll show you how to make this cushion.

I’ve also made a video tutorial which you can see at Edging for Cushion Crochet Pattern.

There is also an ebook with the complete pattern for the cushion, including flowers, granny square, joining the granny squares and this edging on my Ravelry store at Crochet Flower Cushion. All the patterns will remain free to view and are available here on my website.
This pattern will use US terminology. If you would like to view the UK version go to Edging for Cushion Crochet Pattern (UK Version).
Edging for Cushion Crochet Pattern
Abbreviations
- st – stitch
- sts – stitches
- ch – chain
- sl st – slip stitch
- sc – single crochet
- hdc – half double crochet
- dc – double crochet
- tr – treble crochet
Materials Used
- 2 colours of wool or cotton. I used 8 ply wool which is light worsted in the US and DK in the UK.
- Crochet hook, I used a 2.5mm hook.
- Scissors.
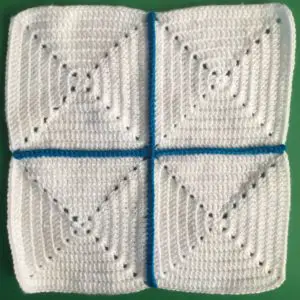
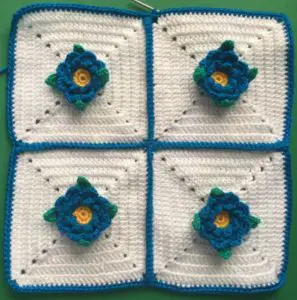
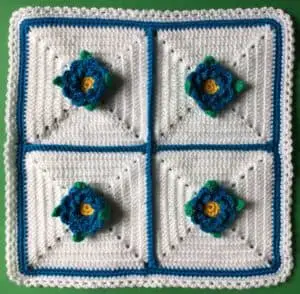
- 4 joined granny squares.
- Flowers to go on the granny squares.
- Thread to stitch the flowers to the granny squares.
- Sewing needle.
- Darning needle to weave in ends.
- Material, lining and filling to make the cushions.

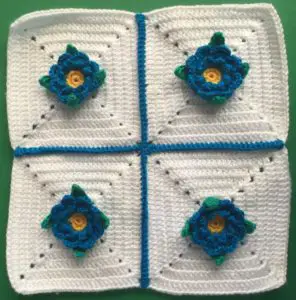

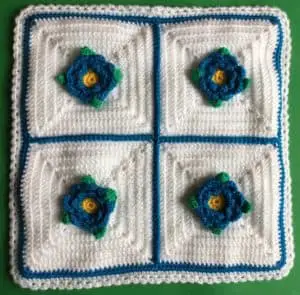
Edging
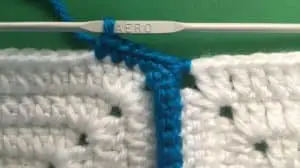
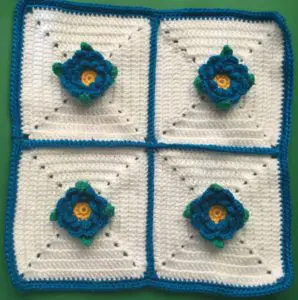
Join contrast wool to the joined granny squares.

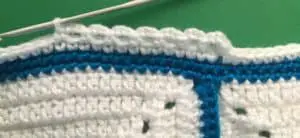
Row 1: 1 ch, work 1 sc in same place as ch, (work 1 sc in each st to corner st, work 3 sc into corner st) repeat around to beginning of row. Join with a sl st in ch.

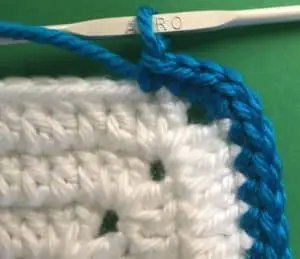


Row 2: 1 ch, work 1 sc in same place as ch, (work 1 sc in each st to 3 corner sts, work 2 sc into each of the 3 corner sts) repeat around to beginning of row. Join with a sl st in ch.


Change to main colour
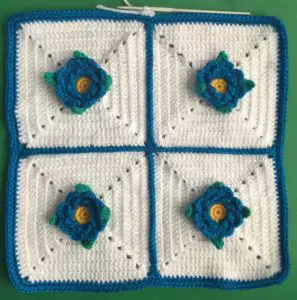
Row 3: 1 ch, work 1 sc in same place as ch, (work 1 sc in each st to 3 corner sts, work 2 sc into each of the 3 corner sts) repeat around to beginning of row. Join with a sl st in ch.
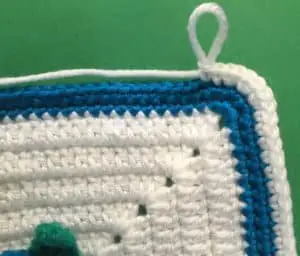


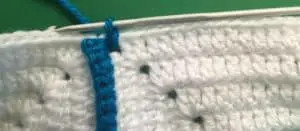
Row 4: 1 ch, I sc in same place as ch, (3 ch, miss 1 sc and work 1 sc in next st) repeat to end of row. Fasten off.

To Make Up
Weave in ends.

To Make Cushion
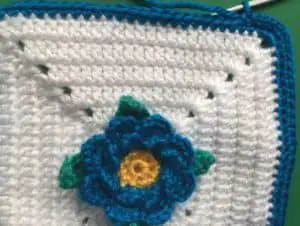
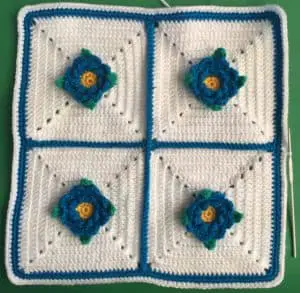
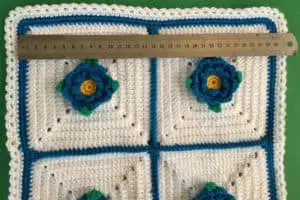
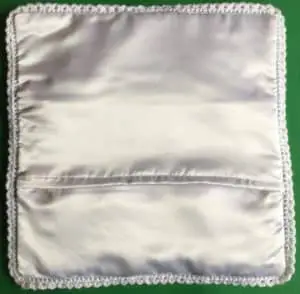
Measure the cushion top from the edge of the 2 contrast rows of edging across to the edge of the 2 contrast rows of edging on the other side as shown. (This will be the size of your cushion).

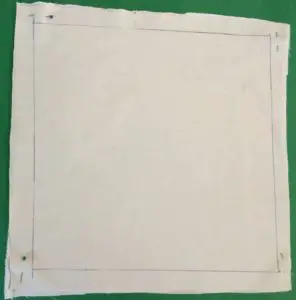
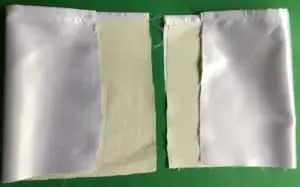
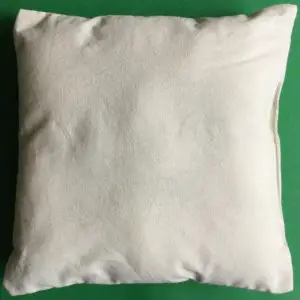
Cut out a piece of material for the cushion front, allowing extra for the seams. I use a lining for the cushion so cut out a lining piece for the 3 cushion pieces. I draw the size of my cushion on to the lining of the front, so I have a stitching guide.
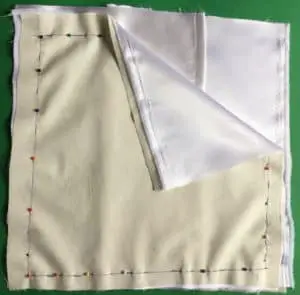
For the 2 pieces for the cushion back I make them the same width as the cushion and ¾ of the length. I turn over the one end of each of the back pieces twice to neaten it and stitch it down.

To put the cushion together put the right sides together, with the neatened back edges overlapping in the middle of the back of the cushion and pin and stitch it all together.

Trim the excess material away and then turn the cushion to the right way and iron.
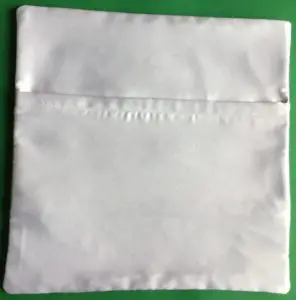

Stitch the cushion top to the cushion.
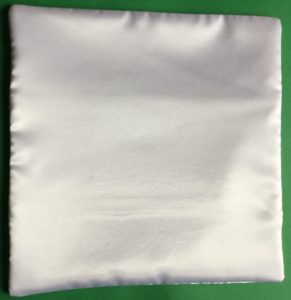
Make a cushion insert slightly smaller than the cushion by stitching two pieces of lining together but leaving a small gap to insert filling. Once your cushion insert is full of filling, stitch the gap up.
Put the insert in the cushion.
And there’s the finished cushion. Here’s the cushion in black as well.
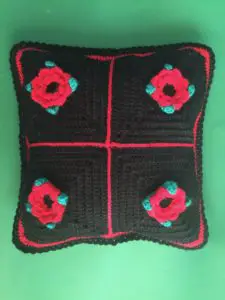

I hope that you’ve enjoyed it.