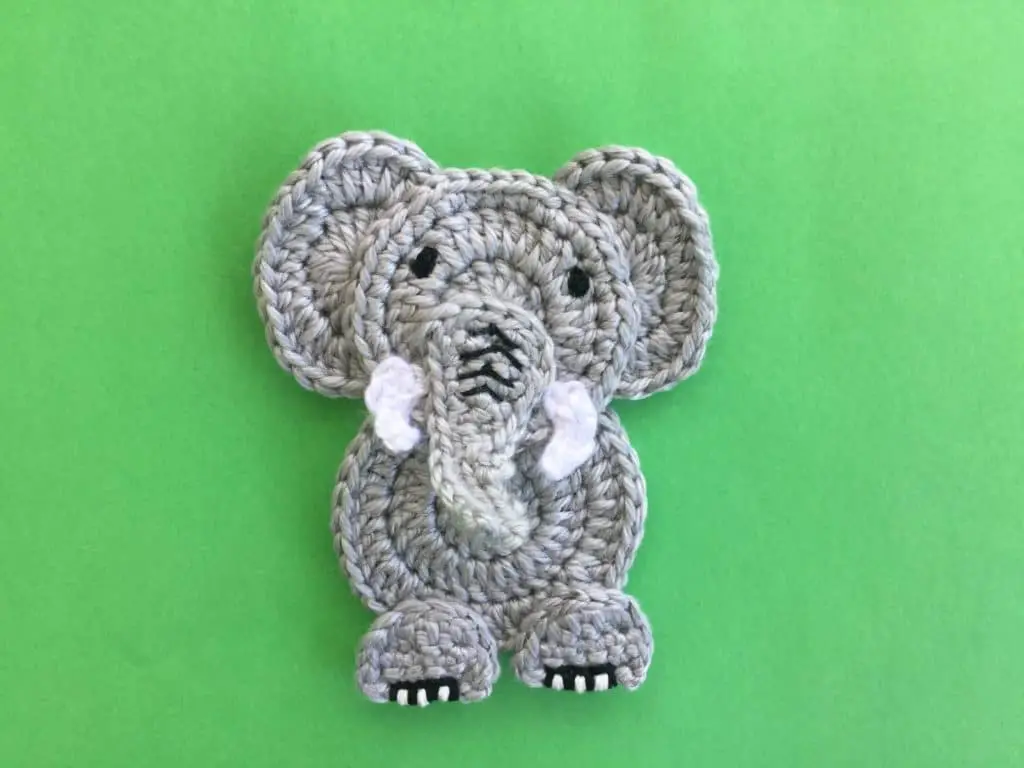
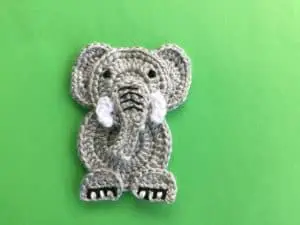
Welcome to my easy crochet elephant applique pattern. I’m hoping to use it on a jungle animal blanket that I’ll be making. This is what the finished elephant will look like.

There’s also a video tutorial for this pattern available on my YouTube channel at easy elephant crochet tutorial.

To view this pattern for free, continue to scroll down this page. If you would like to download the ad-free version, it’s available on my Ravelry store for $1 at easy elephant crochet pattern or on my LoveCrafts store at easy elephant crochet pattern. The ebook also has instructions on how to make an Asian elephant, which has slightly smaller ears.
This pattern will be using US terminology. If you would like to view the UK version go to easy elephant crochet applique pattern (UK Version).
Easy Elephant Crochet Appliqué Pattern
Abbreviations
- st – stitch
- sts – stitches
- ch – chain
- sl st – slip stitch
- sc – single crochet
- hdc – half double crochet
- dc – double crochet
- tr – treble crochet
Materials Used
- Crochet cotton or wool, I used Scheepjes Maxi Sweet Treat 2 ply crochet cotton colors (254) Moon Rock and (105) Bridal White.
- A crochet hook, I used a 1mm hook.
- Scissors.
- Darning needle to weave in ends.
- Sewing needle and thread to stitch the elephant together.
- Black and white thread to embroider on eyes, the trunk markings and the toenails.


Size
Large elephant (Using 8 ply wool)
13cm x 9.5cm or 5” x 3.5”
Medium Elephant (Using 4 ply crochet cotton)
7cm x 6cm or 2.75” x 2.25”
Small Elephant (Using 2 ply crochet cotton)
5cm x 6.5cm or 2” x 2.5”
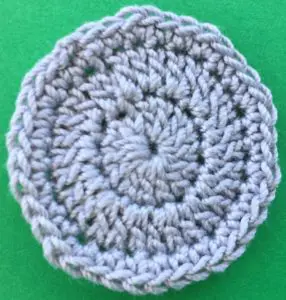
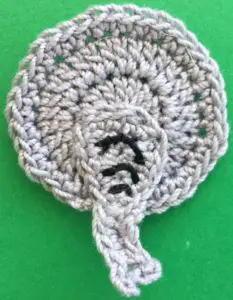
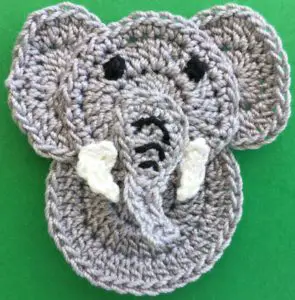
Head
Make a magic loop.
Row 1: 2 ch, work 14 dc into circle and pull circle tight. Join with a sl st in top of 1st st.
Row 2: 2 ch, work 2 dc in each st to end. Join with a sl st in top of 1st st.
Row 3: 1 ch, work 1 sc in same st as ch, (1 sc in each of next 2 sts, 2 sc in following st) repeat to end of row. Join with a sl st in top of 1st st. Fasten off.

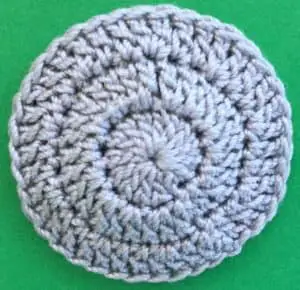
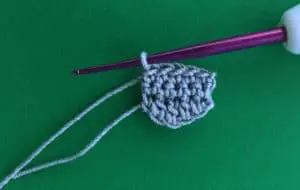
Body
Make a magic loop.
Row 1: 2 ch, work 14 dc into circle and pull circle tight. Join with a sl st in top of 1st st.
Row 2: 2 ch, work 2 dc in each st to end. Join with a sl st in top of 1st st.
Row 3: 2 ch, work 1 dc in same st as ch, 1 dc in next st (2 dc in next st and 1 dc in each of following 2 sts) repeat to end of row. Join with a sl st in top of 1st st. Fasten off.

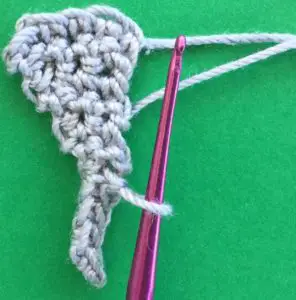
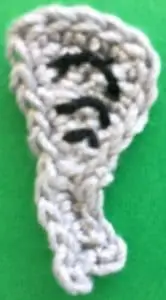
Trunk
6 ch.
Row 1: Miss 1st ch and work 1 sc in each st to end. Turn.
Row 2: 1 ch, work a joined sc over 1st 2 sts, 1 sc in next st, a joined sc over last 2 sts. Turn.
Row 3: 1 ch, work 1 sc in each st to end. Turn.
Row 4: 1 ch, work 1 sc in 1st st, a joined sc over last 2 sts. Turn.
Row 5: 1 ch, work 1 sc in each st to end. Turn.
Row 6: 1 ch, work a joined sc over the 2 sts. 5 ch.
Row 7: Miss 1st ch and work 1 sc in each remaining ch, sl st in top of sc from previous row. Don’t fasten off.

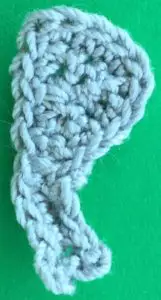
Neatening Row
Work 1 sl st in each st around sides and end, (to make the trunk bend to either side work a joined sl st over 2 sts near the bend) into the tip of the trunk work 3 ch, sl st into the middle of the tip, 3 ch and sl st into the side of the tip. Work to the join and fasten off.

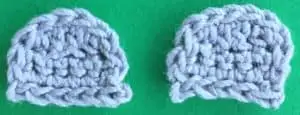
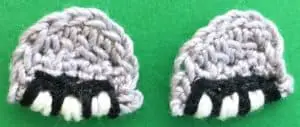
Feet (Make 2)
6 ch.
Row 1: Work 1 sc in 2nd ch from hook, 1 hdc in next st, 1 dc in following st, 1 hdc in next st, 1 sc in last st. Turn.
Row 2: 1 ch, work 1 sc in each st to end. Turn.
Row 3: 1 ch, work 1 sc in each st to end. Don’t fasten off.

Neatening Row
Work 1 sl st in each st around. Fasten off.

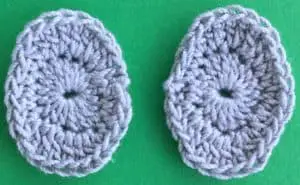
Ears (Make 2)
Make a magic loop.
Row 1: 1 ch, into circle work 3 hdc, 3 dc, 6 hdc, 3 dc and 3 hdc, pull circle tight and join with a sl st in top of 1st st.
Row 2: 1 ch, work 1 hdc in same st as ch, 1 hdc in next st, 2 hdc in following st, 2 dc in each of next 3 sts, 2 hdc in following st, 1 hdc in each of next 4 sts, 2 hdc in following st, 2 dc in each of next 3 sts, 2 hdc in following st, 1 hdc in each st to end. Join with a sl st in top of 1st st. Fasten off.

1st Tusk
Using white work 5 ch.
Work 1 sl st in 2nd ch from hook, 1 sc in each of next 2 sts, 1 hdc in last st. Fasten off.


2nd Tusk
Using white work 6 ch.
Work 1 hdc in 3rd ch from hook, 1 sc in each of next 2 sts, 1 sl st in last st. Fasten off.

To Make Up
Weave in ends. Embroider markings on trunk.

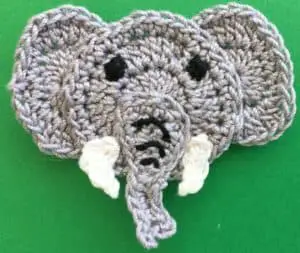
Stitch the trunk to the head just covering the centre circle.

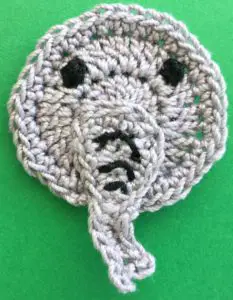
Embroider the eyes on the head.
Sew the tusks to the head.
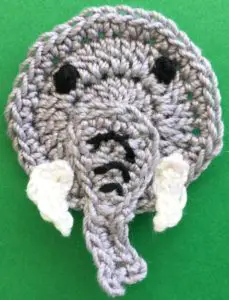

Stitch the ears to the head.

Embroider the toenails to the flat side of the feet.

Stitch the head to the body.

Attach the feet to the body.
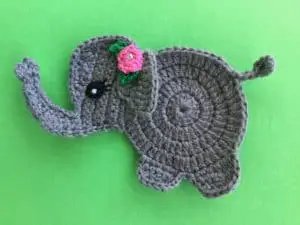
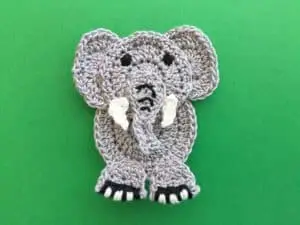
And there’s the finished easy African elephant. I’ve also made an Asian elephant which has slightly smaller ears that looks like this.
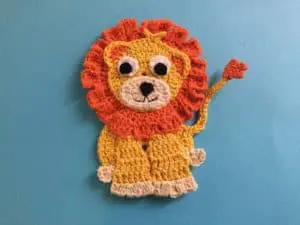
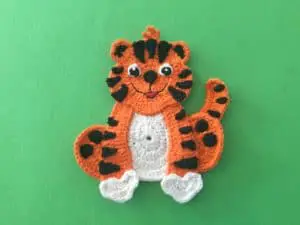
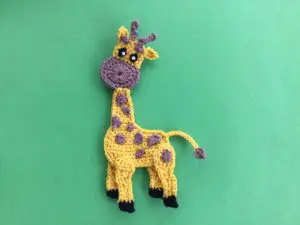
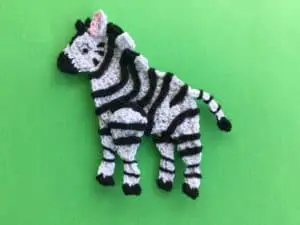
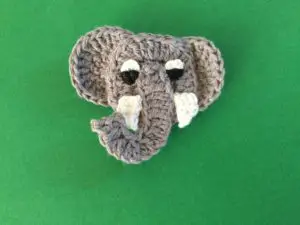
I hope that you’ve enjoyed the pattern. If you’ve liked it you might want to have a look at my lion, tiger, giraffe, zebra, baby elephant and elephant head patterns.