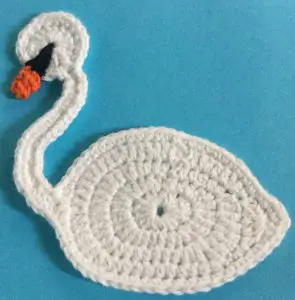
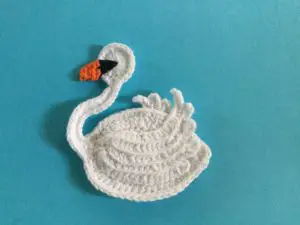
Today I will be making this crochet swan applique pattern. The finished crochet swan will look like this.


If you would like to follow along with the video tutorial for this pattern it’s available at Crochet Swan Applique Tutorial.

The pattern can be viewed for free on this page by continuing to scroll down. If you would like to download the swan pattern it’s available on Ravelry for $1 at Crochet Swan Pattern.
This pattern will use UK terminology, if you would like to get the US version go to Crochet Swan Applique Pattern (US Version).
Crochet Swan Applique Pattern
Abbreviations
- st – stitch
- sts – stitches
- ch – chain
- sl st – slip stitch
- dc – double crochet
- htr – half treble crochet
- tr – treble crochet
- dtr – double treble crochet
Materials Used
- White and orange crochet cotton or wool.
- Crochet hook.
- Scissors.
- White sewing cotton to sew together and black cotton to embroider on the markings above the beak.
- Sewing needle.
- Darning needle to weave in ends.
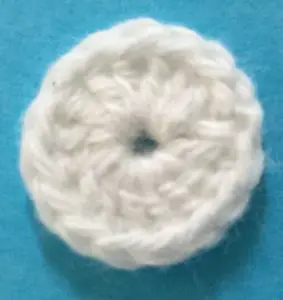
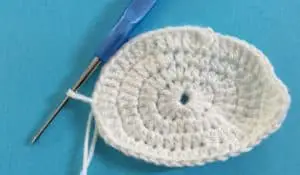
Head
Make a magic loop.
3 ch. work 15 tr into loop and join with a sl st. into 3rd ch. Pull circle tight and fasten off.

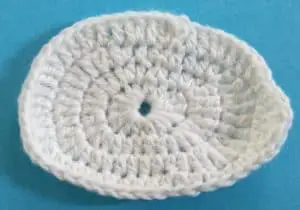
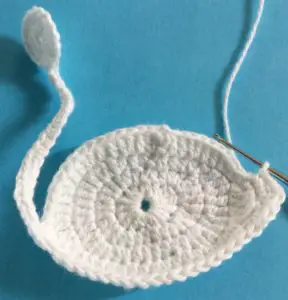
Body
Make a magic loop.
Row 1: 2 ch. Work 2 htr, 4 tr, 2 htr, 2 dc, 2 htr, 3 dtr, 3 htr. into circle and pull circle tight. Slip st. into 3rd ch.
Row 2: 2 ch. 1 htr in next st, 2 htr in following st, 2 tr in each of next 4 sts, 2 htr in next st, 1 htr in each of next 4 sts, 2 htr in next st, 2 dtr in each of next 3 sts, 2 htr in next st, 1 htr in each st to end. Sl st in top of 2 ch.
Row 3: 2 ch. 1 htr in each of next 2 sts, 2 htr in next st, (2 tr in next st and 1 tr in following st) 3 times, 2 tr in next st and 2 htr in following st, work 1 htr in each of next 7 sts, 2 htr in next st, (2 dtr in next st and 1 dtr in following st) 3 times, 1 tr and 1 htr in next st, 1 htr in each st to end. Join with a sl st in top of 2 ch.
Row 4: 3 ch, work 1 tr in same place as ch, (1 tr in each of next 2 sts and 2 tr in following st) 4 times, 1 tr in each of next 2 sts, 1 tr and 1 htr in next st, 1 htr in each of next 11 sts, 1 dc in each of next 4 sts, 2 ch, work a tr cluster over next 4 sts, 1 ch work dc down the last tr of the cluster, into the next st of the body work 1 htr and 1 tr, work 1 tr in each of next 2 sts, 2 tr in next st, 1 tr in remaining sts. Join with a sl st in 3rd ch. Fasten off.


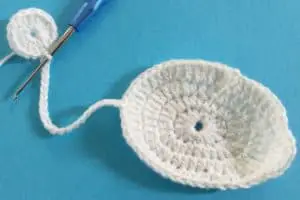
Neck
Join cotton to rounded end of body just below half way up as shown.

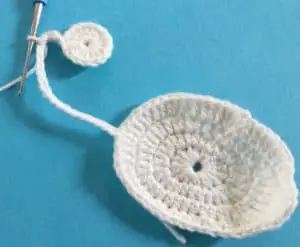
Ch 20 and join to head.
Work 1 dc in first ch of neck, 1 dec dc over next 2 ch, 1 dc in each of next 2 ch, 1 dec dc over next 2 sts, work 1 dc in each of next 5 sts, (work 2 dc in next ch and 1 dc in each of following 2 ch) twice 2 dc in next ch, work a htr cluster over last ch, joining st for neck and 1st st on body.

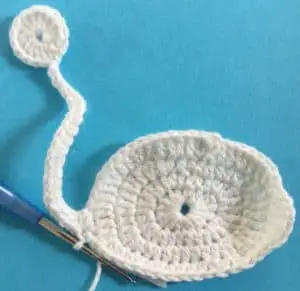

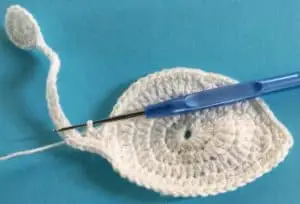
Around Body
Continue working 1 dc into each st around the body until the st before the point of the tail, work 1 dc and 1 htr in this st, into the point of the tail work 1 htr, 1 tr and 1 htr, work 1 htr and 1 dc into next st then work 1 dc in each st to the st before the neck.

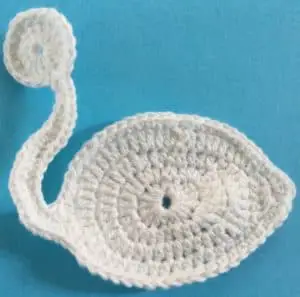
The other edge of the neck.

Work a tr cluster in next st, joining st of neck and 1st st of neck, dc in the back of the 2nd ch of neck, (work 1 dec dc over the next 2 sts and 1 dc in each of following 2 sts) twice and 1 dec dc over next 2 sts. Continue working 1 dc in each st up the neck until the 5th last st. work 2 dc into this sts, 1 dc into each of next 2 sts 2 dc into 2nd last st. Work a joined dc in the last st of the neck and 1st st of the head. Work dc around the head and join with a sl st into 1st st of the neck. Fasten off.

Beak
Join cotton to head 5 sts. up from neck joining.
Row 1: Work 1ch, work 1 dc into same st, and 2 dc into next st. Turn.
Row 2: 1 ch Work a dec. dc over 1st 2 sts, then a dec dc into same st and next st. Turn.
Row 3: 2 ch. Work a htr cluster over all sts. Fasten off.


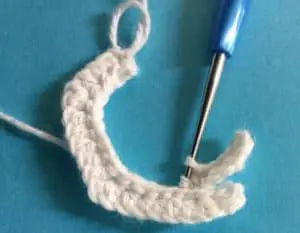
Front Wing
Make a magic loop.
23 ch.
Row 1: Miss 1st 2 sts, work 1 htr in next st, 1 joined htr over the following 2 sts, (1 htr in each of next 5 sts, a joined htr over following 2 sts) 2 times, work 1 htr in each st to last 2, 1 dc in each of last 2 sts and 1 dc in magic loop. Turn.
Row 2: 1 ch, work 1 sl st in each st to last 3 sts, 7 ch. Turn.
Row 3: Miss 1st 2 ch, work 1 htr in next ch, 1 joined htr over the following 2 ch, work 1 htr in each of the remaining ch, now work down the main part of the wing picking up a loop in the back 2 loops of each st as shown. This makes a ridge between the rows. (1 htr in each of next 4 sts, a joined htr over following 2 sts) 2 times, work 1 htr in each st to last 2, 1 dc in each of last 2 sts and 1 dc in magic loop. Turn.


Row 4: 1 ch, work 1 sl st in each st to last 3 sts, 7 ch. Turn.
Row 5: Miss 1st 2 ch, work 1 htr in next ch, 1 joined htr over the following 2 ch, work 1 htr in each of the remaining ch, now work down the main part of the wing, picking up a loop in the back 2 loops of each st. (1 htr in each of next 4 sts, a joined htr over following 2 sts) 2 times, work 1 htr in each st to last 2, 1 dc in each of last 2 sts and 1 dc in magic loop. Turn.
Row 6: 1 ch, work 1 sl st in each st to last 3 sts, 6 ch. Turn.
Row 7: Miss 1st 2 ch, work 1 htr in each of the remaining ch, now work down the main part of the wing, picking up a loop in the back 2 loops of each st. (1 htr in each of next 4 sts, a joined htr over following 2 sts) 2 times, work 1 htr in each st to last 2, 1 dc in each of last 2 sts and 1 dc in magic loop. Turn.
Row 8: 1 ch, work 1 sl st in each st to last 3 sts, 6 ch. Turn.
Row 9: Miss 1st 2 ch, work 1 htr in each of the remaining ch, now work down the main part of the wing, picking up a loop in the back 2 loops of each st. (1 htr in each of next 4 sts, a joined htr over following 2 sts) 2 times, work 1 htr in each st to last 2, 1 dc in each of last 2 sts and 1 dc in magic loop. Fasten off.


Back Wing
Work the same as front wing for the 1st 5 rows. Pull magic loop tight and fasten off.


To Make Up the Crochet Swan Applique
Weave in ends. Embroider on the black markings above the beak.

Stitch on the front wing and then the back wing.


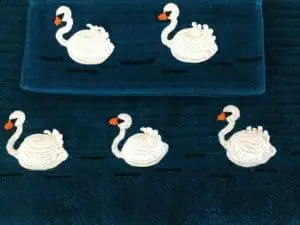
I’ve attached the swans to a towel and face washer set as a gift like this.
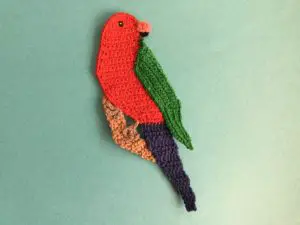
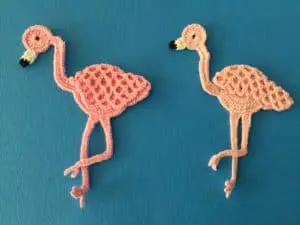
I hope you like this crochet swan applique and if you have any questions leave them in the comments. You may also like this king parrot and the flamingo and an easy swan.