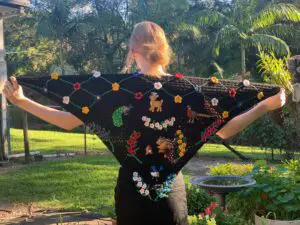
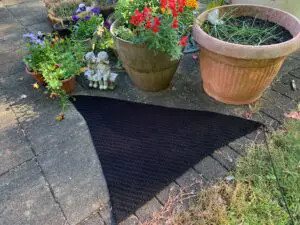
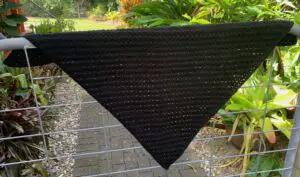
Welcome to my crochet shawl pattern. This is what the finished shawl will look like.

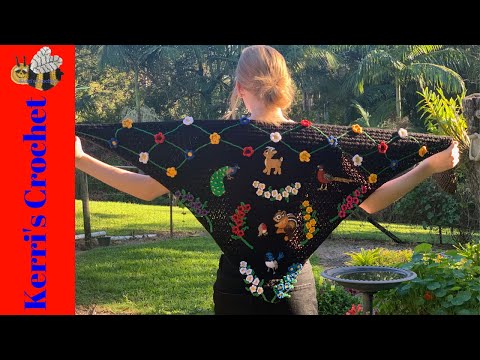
There’s also a video tutorial for this pattern available on my YouTube channel at crochet shawl tutorial.
To view this pattern for free, continue to scroll down this page. If you want to download the ad-free version, it’s available on my Ravelry store for $1 at crochet shawl pattern and on LoveCrafts at crochet shawl pattern. The shawl pattern doesn’t include the appliqués, which can be purchased separately.
This pattern will be using US terminology. If you want to view the UK version, go to crochet shawl pattern (UK version).
Crochet Shawl Pattern
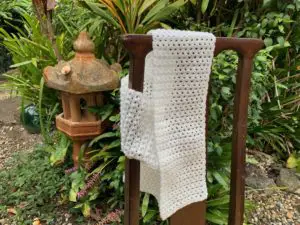
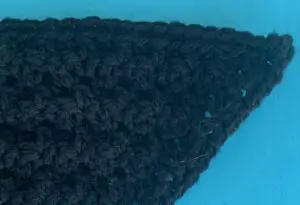
I loved decorating the baby blankets I made recently so much I’ve decided to make a shawl to decorate with some of my favourite appliques. I thought a black shawl would look the best with the appliques I’ve chosen, but black would be very difficult for you to see the detail in the photos. For the photos, I’ve used a light green for the beginning rows of the shawl.
Abbreviations
- st – stitch
- sts – stitches
- ch – chain
- sl st – slip stitch
- sc – single crochet
- dc – double crochet
Materials Used
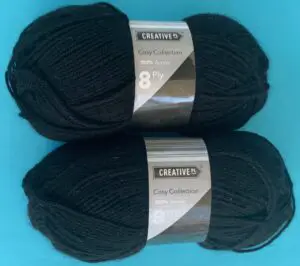
- Any thickness crochet cotton or yarn, I used 2 100gm balls of 8 ply yarn which is light worsted in the US and double knit in the UK.
- Crochet hooks, I used a 5.5mm hook for the main part and a 5mm hook for the neatening row, but I have tight tension, so use the hook you would usually use for the weight yarn.
- A darning needle to weave in ends.
- Scissors.
- Appliques to decorate if desired.
- Thread and needle to stitch the appliques to the shawl.

Appliques Used
Size
114cm wide x 76cm high or 45” wide x 30” high
Shawl
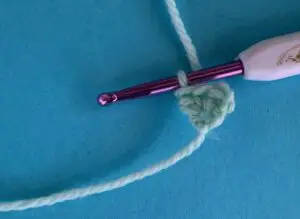
Make a magic loop.
Row 1: 1 ch, work 1 sc in the circle. Pull the circle tight. Turn.
Row 2: 2 ch, work 1 dc, 1 sc and 1 dc in st. Turn.

Row 3: 2 ch, work 1 dc and 1 sc in 1st st, 1 dc in next st, 1 sc and 1 dc in last st. Turn.
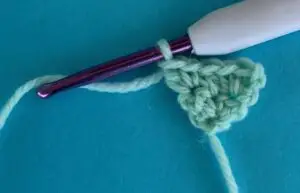

Row 4: 2 ch, work 1 dc and 1 sc in 1st st, 1 dc in next st, 1 sc in back loop only of following st, 1 dc in next st, 1 sc and 1 dc in last st. Turn.
Row 5: 2 ch, work 1 dc and 1 sc in 1st st, 1 dc in next st, (1 sc in back loop only of following st, 1 dc in next st,) repeat to last st, 1 sc and 1 dc in last st. Turn.
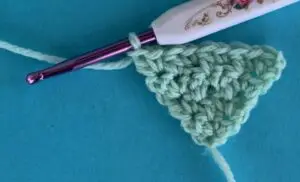

Repeat row 5 until work measures the desired size. Your work will increase by 2 stitches each row.
Neatening Row
I changed to a size 5mm hook.
1 ch, work 1 sc in each st on straight edges and 1 sc, 1 dc and 1 sc in corner stitches. Join with a sl st in the top of 1st st. Fasten off.


To Make Up
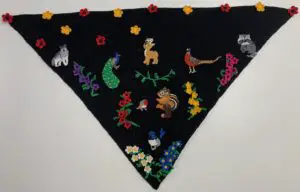
Weave in ends. Decorate the shawl as desired (I arranged the flowers and appliques on the shawl and took a photo once I was happy. I started from the bottom and left the top until I was able to pin the appliques on and try the shawl on. I removed the top side appliques once I tried it on as they were upside down over my shoulder. Once I’d stitched on the appliques, I arranged the flowers at the top and stitched them down.)

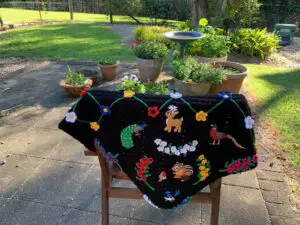
And there’s the finished shawl with the appliqués. I’ve also made the Eva scarf that you might like.