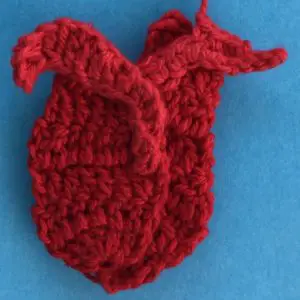
Welcome to my crochet rosebud pattern. The finished rosebud will look like this.


I’ve made an applique and also a bookmark by making a longer stem.
There’s a free video tutorial for this pattern on my YouTube channel at Rosebud Crochet Tutorial.

To view the complete pattern for free scroll down this page. If you would like to download the ad-free version, it’s available on my Ravelry store at Crochet Rosebud Pattern for $1.
This pattern will be using UK terminology. If you would like to view the US version, go to Crochet Rosebud Pattern (US Version).
Rosebud Crochet Applique or Bookmark Pattern UK
Abbreviations
- st – stitch
- sts – stitches
- ch – chain
- sl st – slip stitch
- dc – double crochet
- htr – half treble crochet
- tr – treble crochet
- dtr – double treble crochet
Materials Used
- I used 2 reds and green 4 ply crochet cotton.
- A crochet hook, I used a 1.25mm hook.
- Scissors.
- Darning needle to weave in ends.
- Sewing thread and a sewing needle to stitch the rose together.
Size
Large rose (Using 8 ply wool)
18cm x 10cm or 7” x 4”
Medium rose (Using 4 ply crochet cotton)
11.5cm x 7cm or 4.5” x 2.75”
Small rose (Using No. 20 crochet cotton)
8cm x 4cm or 3” x 1.5”
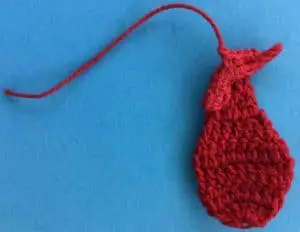
Front Petal
Using bright red make a magic loop.
Row 1: 3 ch, work 6 tr in circle. Pull circle tight but don’t join. Turn.
Row 2: 3 ch, 2 tr in 1st st, 1 tr in each st to end and 1 tr in top of the 3 ch. Turn.
Row 3: 3 ch, 2 tr in 1st st, 1 tr in each st to end. Turn.
Row 4: 3 ch, a joined tr over 1st 2 sts, 1 tr in each st to last 2 sts, a joined tr over last 2 sts. Turn.
Row 5: 3 ch, a joined tr over 1st 2 sts, 1 tr in each st to last 2 sts, a joined tr over last 2 sts. Turn.
Row 6: 3 ch, a tr cluster over all sts. Fasten off.


Right Petal
Using bright red make a magic loop.
Row 1: 3 ch, work 6 tr in circle. Pull circle tight but don’t join. Turn.
Row 2: 3 ch, 2 tr in 1st st, 1 tr in each st to end and 1 tr in top of the 3 ch. Turn.
Row 3: 3 ch, 2 tr in 1st st, 1 tr in each st to end. Turn.
Row 4: 3 ch, a joined tr over 1st 2 sts, 1 tr in each st to last 2 sts, a joined tr over last 2 sts. Turn.
Row 5: 3 ch, a joined tr over 1st 2 sts, 1 tr in each st to last 2 sts, a joined tr over last 2 sts. Turn.
Row 6: 3 ch, a joined tr over 1st 2 sts, 1 tr in next st, a joined tr over last 2 sts. Turn.
Row 7: 3 ch, work a cluster of 1 tr in 1st st and 1 dtr in each remaining st. Fasten off.


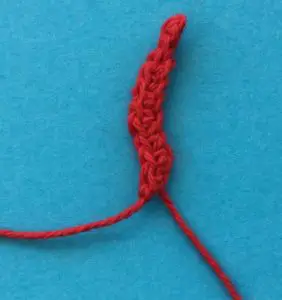
Front Petal Lip
Using dull red chain 18.
Work 1 dc in 2nd st from hook, a joined htr over next 2 sts, a joined tr over following 2 sts, 1 dtr in each of next 2 sts, 2 tr in following st, a joined htr over next 2 sts, 1 htr in following st, a joined dc over next 2 sts, 1 dc in following st, 1 sl st in each st to end. Fasten off.


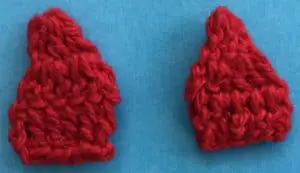
Back Petals (Make 2)
Using bright red make a magic loop.
Row 1: 3 ch, work 2 tr in circle. Pull circle tight but don’t join. Turn.
Row 2: 3 ch, work 2 tr in each st and 1 tr in top of ch. Turn.
Row 3: 3 ch, work 1 tr in each st to end. Fasten off.

Right Petal Lip
Using dull red chain 10.
Miss 1 ch, work 1 sl st in each of next 2 sts, 1 dc in each of following 3 sts, 2 dc in next st, 1 dc in each st to end. Fasten off.

Join cotton to 1st dc after the 2 sl sts.


1 dc in each of next 3 sts. Fasten off leaving a tail to stitch behind a back petal.


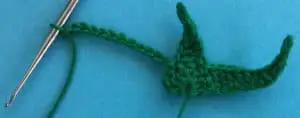
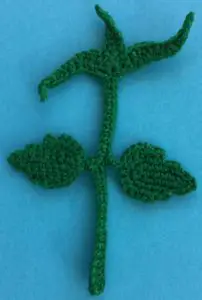
Sepal
Make a magic loop.
Row 1: 3 ch, work 6 tr in circle, pull circle tight but don’t join. Don’t fasten off.
1st Section
12 ch.
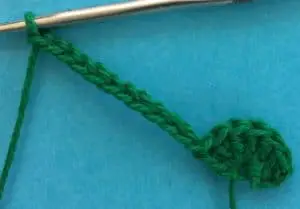

Row 2: Miss 1 ch, sl st in each of next 2 ch, 1 dc in each of following 2 sts, a joined htr over next 2 sts, 1 htr in following st, 1 tr in next st, 2 tr in following st, 1 dtr in each remaining st, miss 1 st on row 1, sl st in next st.


2nd Section
8 ch.
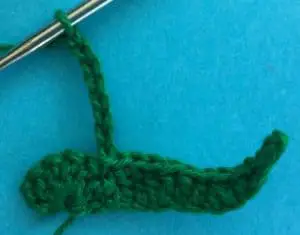

Miss 1 ch, 1 sl st in each of next 2 sts, 1 dc in each of following 2 sts, 1 tr in each remaining ch, sl st in 2nd next st from row 1.

3rd Section
12 ch.

Miss 1 ch, work a sl st in each of next 2 sts, 1 dc in each of following 2 sts, 2 dc in next st, 1 htr in following st, a joined htr over next 2 sts, 1 tr in following st, 1 dtr in each remaining st, sl st in bottom of 1st row. Don’t fasten off.


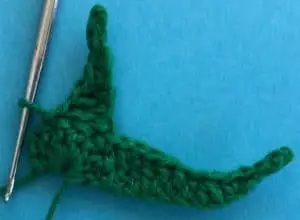
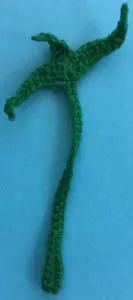
Stem
Sl st to stitch before centre of sepal.
30 ch (If making a bookmark crochet 50 ch)


Miss 2 ch, work 1 tr in each of next 4 sts, 1 htr in each of following 4 sts, 1 dc in each st to end. Sl st into bottom of sepal. Fasten off.

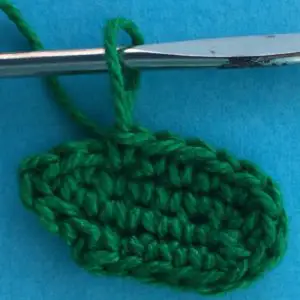
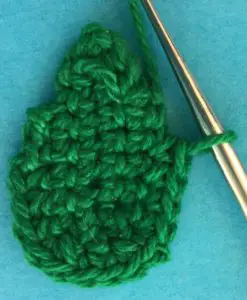
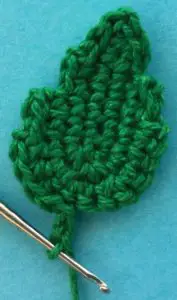
Leaves (Make 2)
8 ch.
Row 1: Miss 1st ch, 1 dc in each ch to last ch, 3 dc in last ch, 1 dc in back of ch to last 2 sts, sl in next st and sl st in point. Don’t turn.
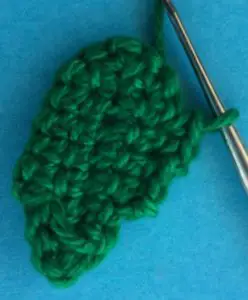
Row 2: Sl st into 2nd st, sl st in next st, 1 ch, work 1 dc in same st as ch, 1 dc in each st to bend, work 2 dc in each st around bend, work 1 dc in each st to 2nd last st. Turn.

Row 3: Sl st into 2nd st, sl st in next st, 1 ch, work 1 dc in same st as ch, 1 dc in each st to bend, work 2 dc in each st around bend, work 1 dc in each st to 2nd last st. Turn.


Row 4: Sl st into 2nd st, sl st in next st, 1 ch, work 1 dc in same st as ch, 1 dc in each st to 2 sts before middle bend st. Sl st in next 2 sts, work 2 ch and join leaf to rose stem with a sl st where desired. Fasten off.


To Make Up
Weave in ends. Stitch front petal lip to front petal where shown.


Sew right petal lip to right petal where shown.

Attach the front petal to the right petal with front petal on top, leaving it open above the bottom of the front petal lip.


Stitch one back petal behind the right petal as shown.
Weave the tail in at the back of the back petal.

Sew the 2nd back petal in behind the other petals.


Stitch the sepal and stem section over the bottom of the rosebud.

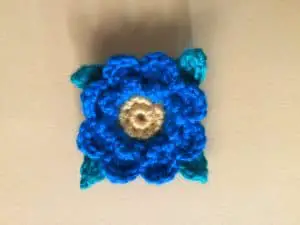
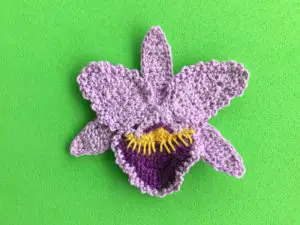
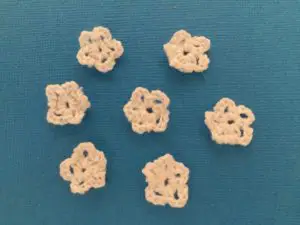
I hope you’ve enjoyed the pattern. I’ve also made another flower that I used for a granny square that you might like, an orchid and a beginner flower.