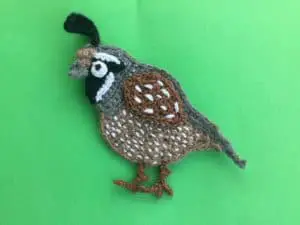
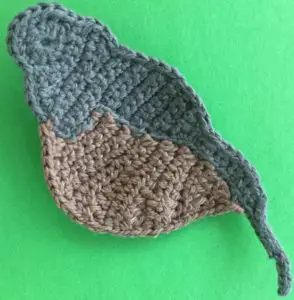
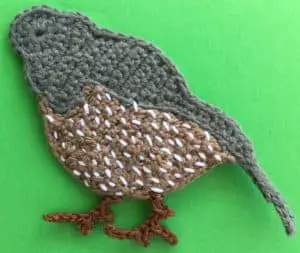
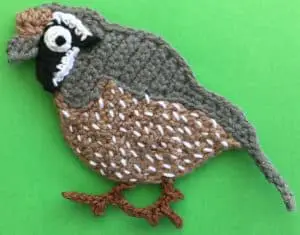
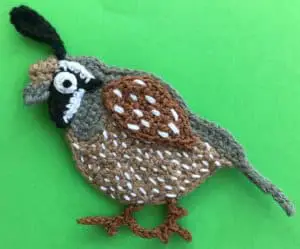
Welcome to my crochet quail pattern. This was a request from one of my subscribers. The finished quail applique will look like this.
We had a bird aviary when I was young and had canaries, finches and quails.

There’s also a video tutorial for this pattern available on my YouTube channel at crochet quail tutorial.

To view this pattern for free, continue to scroll down this page. If you would like to download the ad-free version, it’s available on my Ravelry store for $1 at crochet quail pattern or on my LoveCrafts store at crochet quail pattern.
This pattern will be using UK terminology. If you would like to view the US version go to crochet quail pattern (US Version).
Crochet Quail Pattern
Abbreviations
- st – stitch
- sts – stitches
- ch – chain
- sl st – slip stitch
- dc – double crochet
- htr – half treble crochet
- tr – treble crochet
- dtr – double treble crochet
Materials Used
- Grey, black, light brown, dark brown and white crochet cotton or wool, I used 4 ply crochet cotton.
- A crochet hook, I used a 1.5mm hook.
- Scissors.
- Darning needle to weave in ends.
- Sewing needle and thread to stitch the quail together.
- Black and white thread to embroider a dot on the eye, and the markings on the wing and tummy.
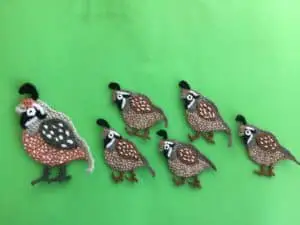
Size
Large quail (Using 8 ply wool)
15.5cm x 13cm or 6” x 5”
Medium quail (Using 4 ply crochet cotton)
9cm x 11.5cm or 3.5” x 4.5”
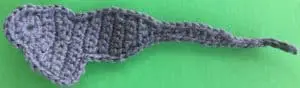
Head
Using grey make a magic loop.
Row 1: 1 ch, work 12 htr into circle, pull circle tight and join with a sl st in top of 1st st. Turn.
Row 2: 1 ch, work 2 dc in 1st st, 1 dc in each of next 4 sts, 1 htr in same st as last dc, 2 tr in next st. Turn. (9 sts)
Row 3: 3 ch, work 2 tr in 1st st, 1 htr in next st, 1 dc in each st to last 2 sts, a joined dc over last 2 sts. Turn. (9 sts)
Row 4: 3 ch, work a joined tr over 1st 2 sts, 1 htr in each of following 2 sts, 1 dc in each st to last st, 2 dc in last st. Turn. (9 sts).
Row 5: 1 ch, work 1 dc in each st to end. Turn. (9 sts)
Row 6: 1 ch, work 1 dc in each st to end. Turn. (9 sts)
Row 7: 1 ch, work 1 dc in each st to last st, 2 dc in last st. Turn. (10 sts)
Row 8: 1 ch, work 2 dc in 1st st, 1 dc in each of next 5 sts. Turn. (7 sts)
Row 9: 1 ch, work a joined dc over 1st 2 sts, 1 dc in each st to end. Turn. (6 sts)
Row 10: 1 ch, work 2 dc in 1st st, 1 dc in each st to end. Turn. (7 sts)
Row 11: 1 ch, work 1 dc in each st to end. Turn. (7 sts)
Row 12: 1 ch, work 1 dc in each st to end. Turn. (7 sts)
Row 13: 1 ch, work a joined dc over 1st 2 sts, 1 dc in each st to end. Turn. (6 sts)
Row 14: 1 ch, work 1 dc in each st to last 2 sts, a joined dc over last 2 sts. Turn. (5 sts)
Row 15: 1 ch, work a joined dc over 1st 2 sts, 1 dc in each st to end. Turn. (4 sts)
Row 16: 1 ch, work 1 dc in each st to last 2 sts, a joined dc over last 2 sts. Turn. (3 sts)
Row 17: 1 ch, work a joined dc over 1st 2 sts and 1 dc in last st. Turn. (2 sts)
Row 18: 1 ch, work 1 dc in each st. Turn. (2 sts)
Row 19: 1 ch, work a joined dc over both sts. Turn. (1 st)
Rows 20-27: 1 ch, work 1 dc in st. Turn.
Row 28: 1 ch, work 1 dc in st. Work 12 ch.


Neatening Row
Work 1 sl st in each st down ch, then work 1 sl st up the back to head, 1 dc in each st around head and 1 sl st in each st down to tip of tail. Fasten off.

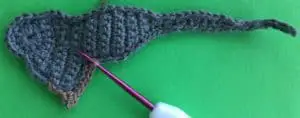
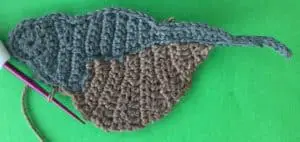
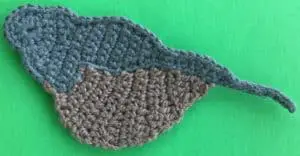
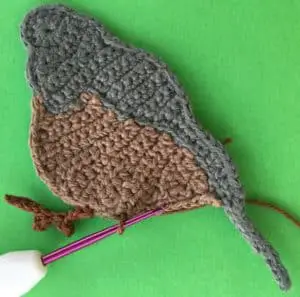
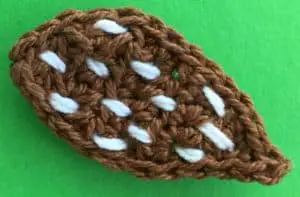
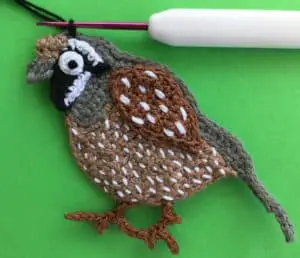
Tummy
Join light brown cotton 4 sts before corner of head and body as shown.

Row 1: 1 ch, sl st into next st on side of body.
Row 2: Sl st into corner st. Turn. Work 1 dc in top of ch from previous row. Turn.
Row 3: 1 ch, work 2 dc in 1st st then 1 dc in each st across to body, sl st into body. Sl st in next st up body. Turn. (7 sts)

Row 4: Work 1 dc in each st to last st, 2 dc in last st. Turn. (8 sts)
Row 5: 1 ch, work 1 dc in each st to end of row. Sl st in next st on body, sl st into next st up body. Turn. (8 sts)
Row 6: Work 2 dc in 1st st, 1 dc in each of next 5 sts, 1 htr in each st to end. Turn. (9 sts)
Row 7: 2 ch, work 1 htr in each of next 6 sts, 1 dc in each st to last st, work 2 dc in last st. Sl st in next st on body, sl st into next st up body. Turn. (10 sts)
Row 8: Work 1 dc in each of 1st 4 sts, 1 htr in each of next 3 sts, 1 tr in next st, a joined tr over last 2 sts. Turn. (9 sts)
Row 9: 3 ch, work 1 tr in each of 1st 3 sts, 1 htr in each of next 3 sts, 1 dc in each st to last st, 2 dc in last st. Sl st in next st on body, sl st into next st up body. Turn. (10 sts)
Row 10: Work 1 dc in each of 1st 4 sts, 1 htr in each of next 3 sts, 1 tr in next st, a joined tr over last 2 sts. Turn. (9 sts)
Row 11: 3 ch, work a joined tr over 1st 2 sts, 1 htr in each of next 3 sts, 1 dc in each st to end. Sl st in next st on body, sl st into next st up body. Turn. (8 sts)
Row 12: Work 1 dc in each of 1st 2 sts, 1 htr in each of next 3 sts, 1 tr in next st, a joined tr over last 2 sts. Turn. (7 sts)
Row 13: 3 ch, work a joined tr over 1st 2 sts, 1 htr in each of next 2 sts, 1 dc in each st to end. Sl st in next st on body, sl st into next st up body. Turn. (6 sts)
Row 14: Work 1 dc in each st to last 2 sts, a joined dc over last 2 sts. Turn. (5 sts)
Row 15: 1 ch, work a joined dc and htr over 1st 2 sts and 1 tr in each of following 3 sts. Sl st in body, sl st into next st up body. Turn. (4 sts)
Row 16: Work 1 dc in each of 1st 2 sts and a joined dc over last 2 sts. Turn. (3 sts)
Row 17: 1 ch, work 1 dc in 1st st and a joined dc over last 2 sts. Sl st in next st on body, sl st into next st up body. Turn. (2 sts)
Row 18: Work a joined dc over the 2 sts. Turn.
Row 19: 1 ch, work 1 dc in st, sl st into body and fasten off.

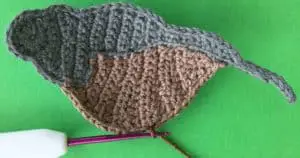
Neatening Row
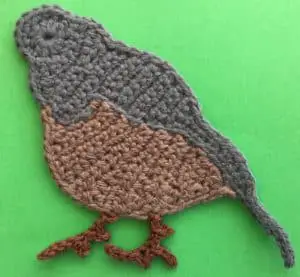
Join cotton to first st on tummy and work 1 sl st in each st down tummy to tail. Fasten off.


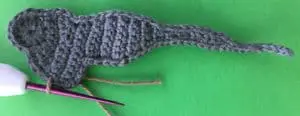
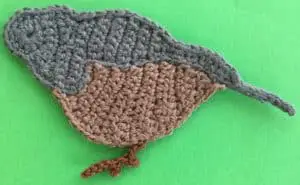
Front Claw
Join dark brown cotton where shown.

10 ch.
Miss 1 ch, work a sl st in each of next 4 sts, 2 ch, miss 1 ch and work a sl st in next ch and then a sl st in next 2 original ch, 2 ch, miss 1 ch and work 1 sl st in next ch and in each ch to body. Sl st in body and fasten off.

Back Claw
Join dark brown cotton 4 sts back from front claw.

10 ch.
Miss 1 ch, work a sl st in each of next 4 sts, 2 ch, miss 1 ch and work 1 sl st in next ch, 4 ch, miss 1 ch and work 1 sl st in each remaining ch, then next 2 of original ch, 2 ch, miss 1 ch then work 1 sl st in each ch to body. Sl st in body and fasten off.

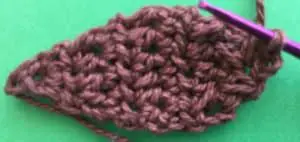
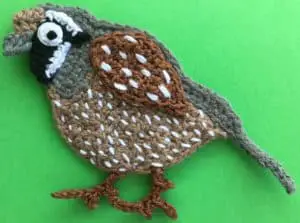
Wing
Using dark brown make a magic loop.
Row 1: 2 ch, into circle work 1 htr, pull circle tight but don’t join. Turn. (1 st)
Row 2: 2 ch, work 2 htr into st and 1 htr in top of ch. Turn. (3 sts)
Row 3: 2 ch, work 2 htr in 1st st and 1 htr in each st to end. Turn. (4 sts)
Row 4: 2 ch, work 2 htr in 1st st and 1 htr in each st to end. Turn. (5 sts)
Row 5: 2 ch, work 2 htr in 1st st and 1 htr in each st to end. Turn. (6 sts)
Row 6: 2 ch, work 1 htr in each st to end. Turn. (6 sts)
Row 7: 2 ch, work a joined htr over 1st 2 sts, 1 htr in each of next 2 sts, a joined htr over last 2 sts. Turn. (4 sts)
Row 8: 2 ch, work a joined htr over 1st 2 sts and a joined htr over last 2 sts. Turn.
Row 9: 2 ch, work a joined htr over both sts. Don’t fasten off.
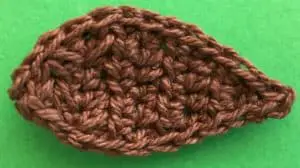
Neatening Row
Work 1 sl st in each st around the wing. Fasten off.

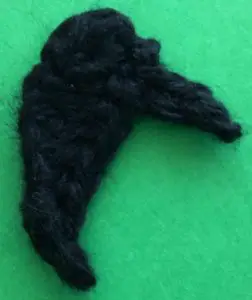
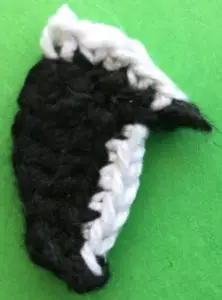
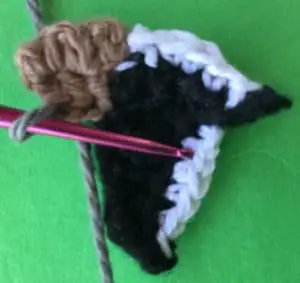
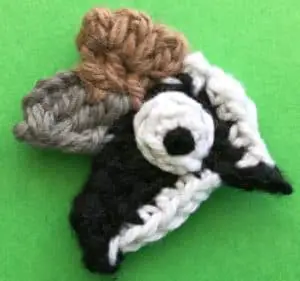
Head Marking
Using black make a magic loop.
Row 1: 1 ch, into circle work 5 dc, pull circle tight and join with a sl st in top of 1st st. 8 ch.
Row 2: Work 1 sl st in 2nd ch from hook, a joined dc over next 2 sts, 1 htr in following st, 1 tr in next st, 1 dtr in each remaining ch, sl st into circle where dtr meets, 4 ch, work a sl st in 2nd ch from hook then 1 dc in each remaining ch, sl st into circle and fasten off.

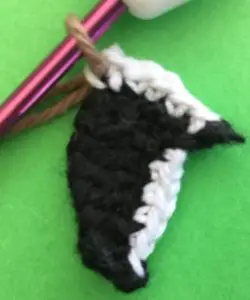
Join white cotton to head marking where shown.
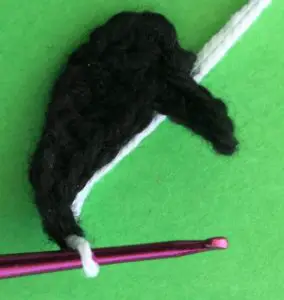

Work 1 sl st in next st and 1 dc in each st up to join. Fasten off.
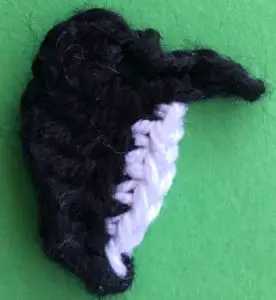

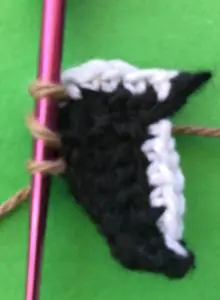
Join white cotton to head marking where shown.

Work 1 sl st in next st and 1 dc in each st up to corner. Fasten off.

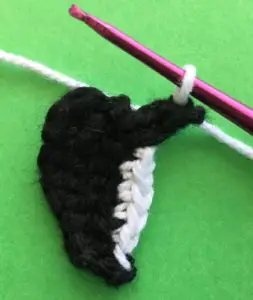
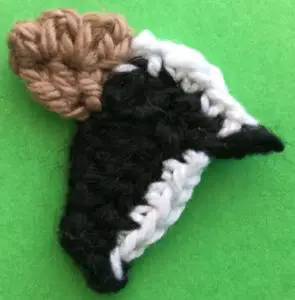
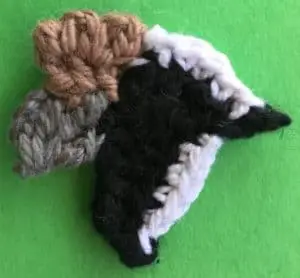
Join light brown cotton to head marking where shown.

Work a tr into 3rd st down the side, a tr into bottom of last tr and a tr into bottom of last tr. Turn. 2 ch, sl st in top of tr, 2 ch, sl st in top of next tr, 2 ch, sl st in top of last tr. Fasten off.


Beak
Join grey cotton in bottom of 2nd tr of head marking as shown.

3 ch, work a joined tr, and 2 dtr over same st as ch and next 2 sts. Fasten off.

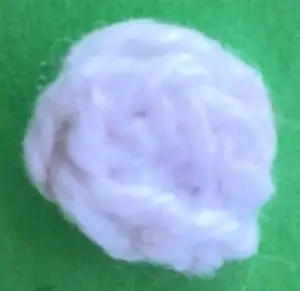
Eye
Using white make a magic loop.
1 ch, work 4 dc into circle, pull circle tight and join with a sl st in top of 1st st. Fasten off.

To Make Up
Weave in ends. Embroider markings on tummy if desired.

Embroider a black dot on eye.


Stitch the eye to the head markings where shown.

Sew the head marking to the head.

Embroider markings on the wing if desired.

Stitch the wing to the quail.

Crochet on the plume.
Plume
Join black cotton to head 3 sts back from head marking.

11 ch.
Work 1 tr in 3rd ch from hook, 2 dtr in next st, 1 dtr in following st, a joined tr over next 2 sts, 1 htr in following st then 1 sl st in each remaining ch. Sl st into head and fasten off.

Embroider small white dots on the quail’s head and neck if desired.
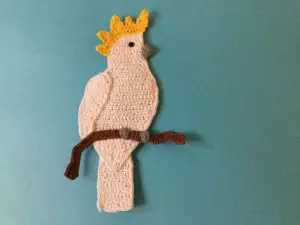
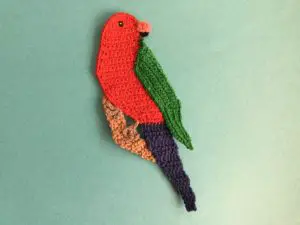
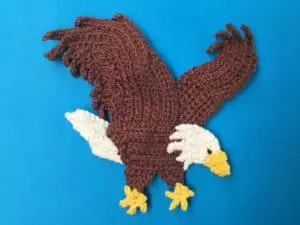
And there’s the finished crochet quail. I hope that you’ve enjoyed the pattern. If you have you might want to look at some of my other patterns including a cockatoo, a king parrot and a bald eagle.