
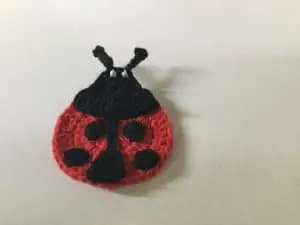
Today I have a pattern for a crochet Ladybug. The completed ladybug pattern will look like this.

I am using the US terminology here but if you would like to UK version go to Crochet ladybug appliqué pattern (UK version).
If you would like to follow along with my tutorial on how to create this design go to the video at How to crochet a ladybug appliqué.

Lady Bug US
Abbreviations
- st – stitch
- sts – stitches
- ch – chain
- sl st – slip stitch
- sc – single crochet
- hdc – half double crochet
- dc – double crochet
- tr – treble crochet
Materials Used
Small amounts of red and black crochet cotton or wool. Crochet hook. Black sewing thread and needle. White fabric paint for eyes. ( You could sew eyes on or use beads). I made small circles for the spots but your could use sequins if you preferred.
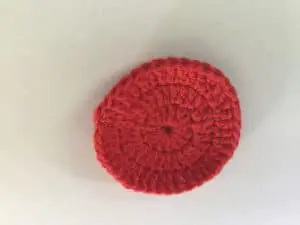
Body
Make a magic loop
Row 1. 3 ch. Work 14 dc. into loop and pull tight. Sl st. into 3rd ch.
Row 2. 3 ch. work 2 dc into each dc join with a sl st.
Row 3. 3 ch. .*work 1 dc in each of next 2 dc and 2 dc in following dc, * repeat from * to * to end, sl st. in 3rd ch. Fasten off.
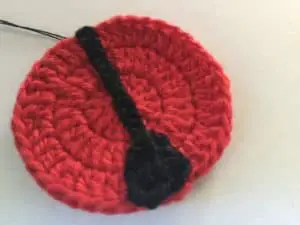
Marking for back
Work about 18 ch. Dc in 4th ch, from hook, 1 hdc in next st and then sc, pulling yarn underneath work sl st into the backside of the ch you worked the sc in, sc in this st, 1 hdc and then 1 dc in next 2 sts. Fasten off.
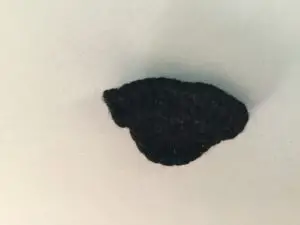
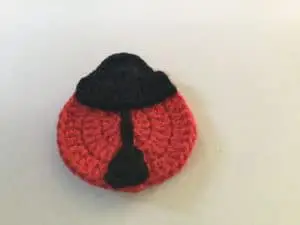
Head
Make a magic loop
Row 1. 4 ch. Work 9 tr. into loop, pull tight.
Row 2. Without turning ch 4, work 12 tr evenly across bottom of half circle as shown. Fasten off.
Circles (make 4)
Make a magic loop
1 ch. work 4 sc. into loop, sl st. into ch. st.

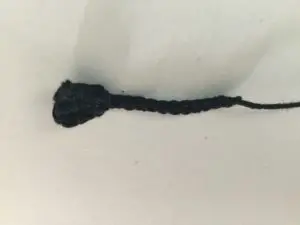
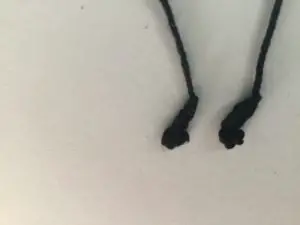
Antenna (Make 2)
Ch 6, sc in 2nd ch from hook. Fasten off.
To Make up
Finish off ends. Attach marking to body, head to body as shown. Sew on circles. Attach Antenna. Sew on eyes.
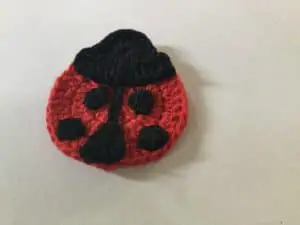
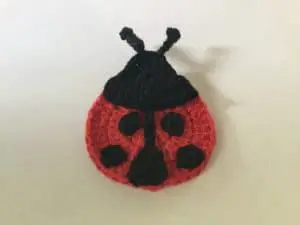
And here is the finished Ladybug.
I hope you enjoy making the ladybug and I look forward to hearing how it goes.