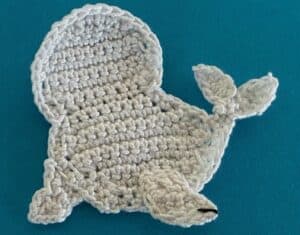
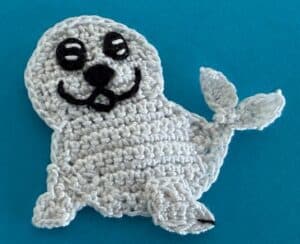
Welcome to my crochet baby seal pattern. This pattern was another request. This is what the finished baby seal applique will look like.


There’s also a video tutorial for this pattern available on my YouTube channel at crochet baby seal tutorial.

To view this pattern for free, continue to scroll down this page. If you want to download the ad-free version, it’s available on my Ravelry store for $1 at crochet baby seal pattern and on LoveCrafts at crochet baby seal pattern.
This pattern will be using UK terminology. If you want to view the US version, go to crochet baby seal pattern (US version).
Crochet Baby Seal Pattern
Abbreviations
- st – stitch
- sts – stitches
- ch – chain
- sl st – slip stitch
- dc – double crochet
- htr – half treble crochet
- tr – treble crochet
- dtr – double treble crochet
Materials Used
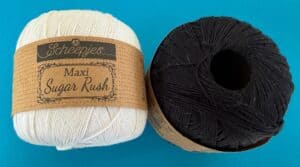
- Any thickness crochet cotton or yarn, I used Scheepjes Maxi Sweet Treat 2 ply crochet cotton colours (106) Snow White and (110) Black.
- A crochet hook, I used a 1mm hook.
- A darning needle to weave in ends.
- Thread and needle to stitch the seal together and white thread to embroider dots in the centre of the eyes.
- Black and red thread for embroidery.
- Scissors.

Size
Large seal (Using 8 ply yarn & a 3mm hook)
9cm wide x 9cm high or 3.5” wide x 3.5” high
Medium seal (Using 4 ply crochet cotton & a 1.5mm hook)
8cm wide x 8cm high or 3” wide x 3” high
Small seal (Using 2 ply crochet cotton & a 1mm hook)
5cm wide x 5cm high or 2” wide x 2” high
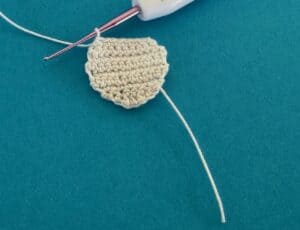
Head
Using (106) Snow White work 8 ch.
Row 1: Work 1 dc in 2nd ch from hook, 1 htr in next ch, 1 tr in each of following 3 ch, 1 htr in next ch, 1 dc in last ch. Turn. (7 sts)
Row 2: 1 ch, work 2 dc in 1st st, 1 dc in each of next 5 sts, 2 dc in last st. Turn. (9 sts)
Row 3: 1 ch, work 2 dc in 1st st, 1 dc in each of next 7 sts, 2 dc in last st. Turn. (11 sts)
Rows 4-6: 1 ch, work 1 dc in each st. Turn. (11 sts)
Row 7: 1 ch, work a joined dc over 1st 2 sts, 1 dc in each of next 7 sts, a joined dc over last 2 sts. Turn. (9 sts)
Row 8: 1 ch, work a joined dc over 1st 2 sts, 1 dc in each of next 5 sts, a joined dc over last 2 sts. Turn. (7 sts)

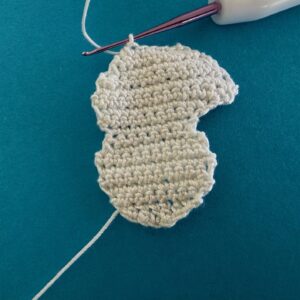
Body
Row 9: 1 ch, work 2 dc in 1st st, 1 dc in each of next 5 sts, 2 dc in last st. Turn. (9 sts)
Row 10: 1 ch, work 2 dc in 1st st, 1 dc in each of next 7 sts, 2 dc in last st. Turn. (11 sts)
Row 11: 2 ch, work 1 htr and 2 dc in 1st st, 1 dc in each st to end. Turn. (13 sts)
Row 12: 1 ch, work 1 dc in each st to last st, 3 htr in last st. Turn. (15 sts)
Row 13: 2 ch, work 2 htr in 1st st, 1 dc in each st to end. Turn. (16 sts)
Row 14: 1 ch, work a joined dc over 1st 3 sts, 1 dc in each of next 10 sts, a joined dc and tr over following 2 sts. Turn. (12 sts)
Row 15: 1 ch, work a joined dc over 1st 2 sts, 1 dc in each of next 8 sts, a joined dc over last 2 sts. Turn. (10 sts)
Row 16: 1 ch, work a joined dc over 1st 2 sts, 1 dc in each of next 6 sts, a joined dc over last 2 sts. Turn. (8 sts)
Row 17: 1 ch, work a joined dc over 1st 3 sts, 1 dc in each of next 3 sts, a joined dc over last 2 sts. Don’t fasten off.

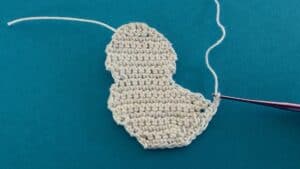
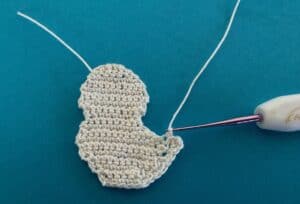
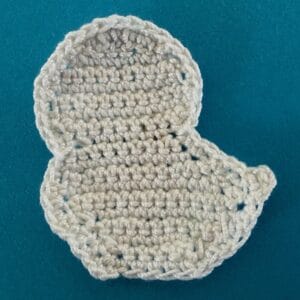
Neatening Row
Turn work before neatening row.
1 ch, work 1 or 2 dc in each st around to end of back, 2 ch, 1 htr in same st, sl st down the side of htr, 1 dc in each st to end of row, join with a sl st in top of 1st st. Fasten off.


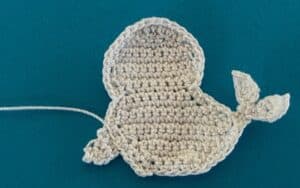
Tail
Join (106) Snow White to end of stump where shown.
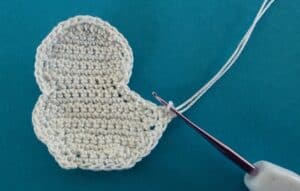

(6 ch, work 1 dc in 2nd ch from hook, 1 tr in next ch, 1 dtr in following ch, 1 tr in next ch, 1 dc in last ch, sl st in same st as join) 2 times. Fasten off.


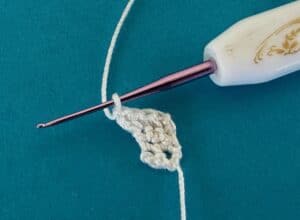
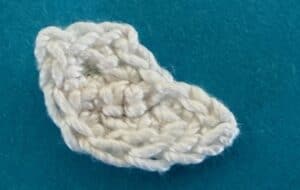
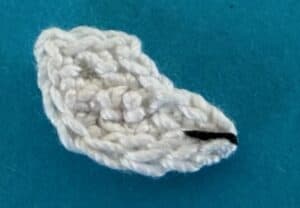
Front Flipper
Using (106) Snow White work 3 ch.
Row 1: Miss 1st ch, work 1 dc in each remaining ch. Turn. (2 sts)
Row 2: 1 ch, work 2 dc in 1st st, 1 dc in last st. Turn. (3 sts)
Row 3: 1 ch, work 2 dc in 1st st, a joined dc over last 2 sts. Turn. (3 sts)
Row 4: 1 ch, work a joined dc over 1st 2 sts, 1 dc, 1 htr and 1 tr in last st. Don’t turn or fasten off.

Neatening Row
1 ch, work 1 sl st in each st around, join with a sl st in top of 1st st. Fasten off.

Back Flipper
Join (106) Snow White in back loop only about halfway down the side where shown. I left a long tail to work the neatening row.


Row 1: 1 ch, working into back loop only work a joined dc over same st as join and next st, 1 dc in each of next 2 sts. Turn. (3 sts)
Row 2: 3 ch, work 1 tr in 1st st, a joined htr and dc over last 2 sts. Turn. (2 sts)
Row 3: 1 ch, work a joined dc over the 2 sts. Fasten off.

Neatening Row
Using the tail from the beginning of the flipper work 1 sl st in each st around to the body. Fasten off.


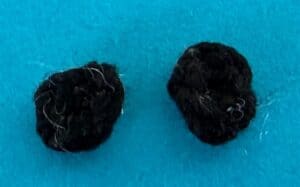
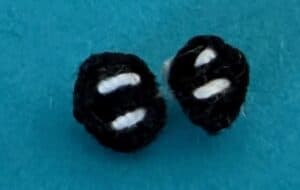
Eyes (Make 2)
Using (110) Black make a magic loop.
1 ch, work 4 dc in circle. Pull circle tight and join with a sl st in top of 1st st. Fasten off.

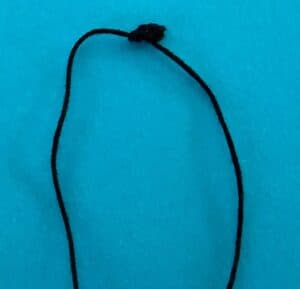
Nose
Using (110) Black make a magic loop. I left long ends on start and end to use for the embroidery.
1 ch, work 2 dc in circle. Pull circle tight. Fasten off.

To Make Up
Weave in ends. Embroider marking on front flipper.

Stitch flipper to body.

Embroider markings on eyes.
Attach eyes to head.

Sew nose to head and using tails embroider around the mouth.

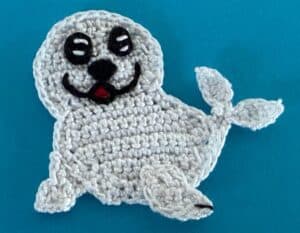
Fill in the mouth with red cotton.

Embroider on whiskers.
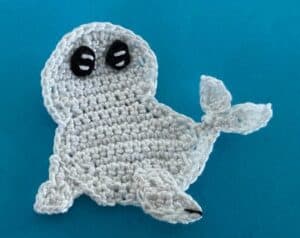
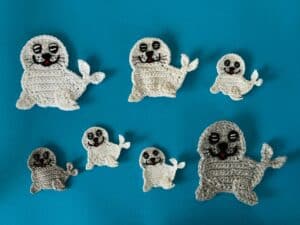
There’s the finished baby seal appliqué. I’ve also made it in different sizes and colours.
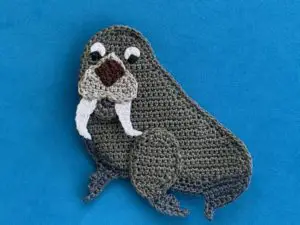
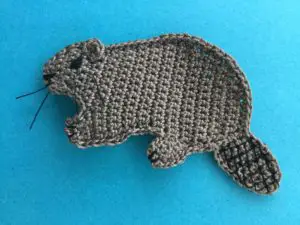
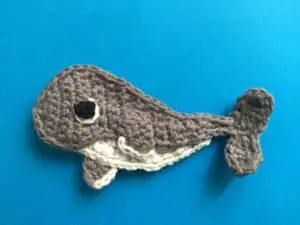
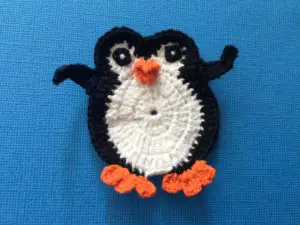
I hope that you’ve enjoyed the pattern. Have a look at some of my other patterns, including the crochet walrus, the beaver, the humpback whale pattern and the penguin.